Photoshop巧用图层样式做玻璃字体教程
老三 人气:0教大家用PhotoShop制作透明玻璃字体效果,很简单的,主要就是设置图层样式,喜欢的同学可以学习一下!
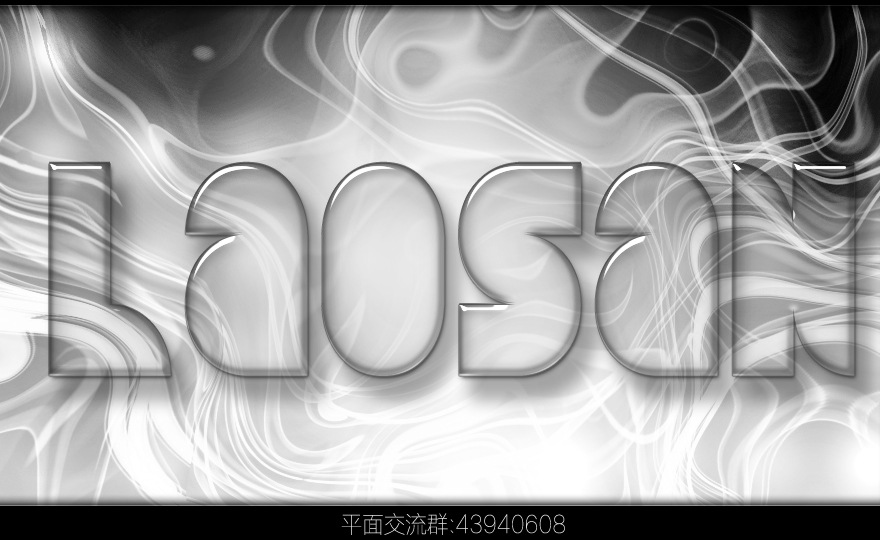
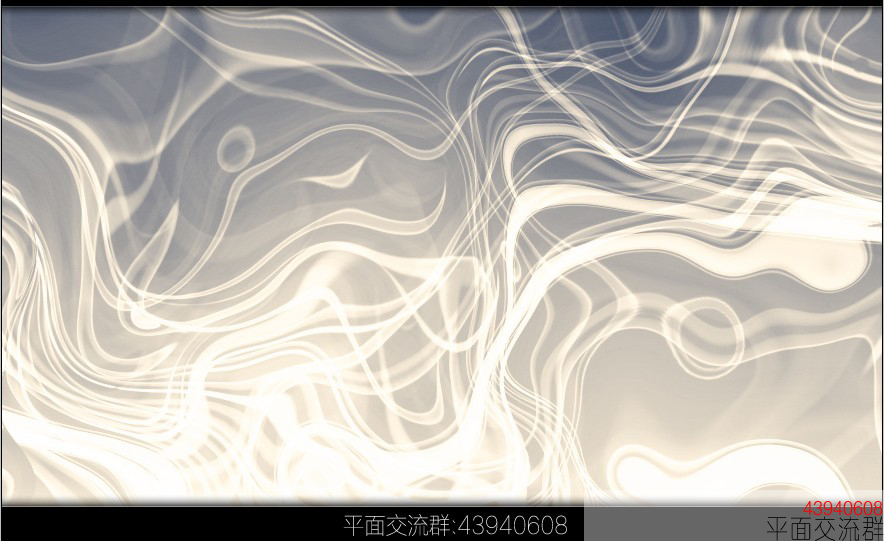
效果图:
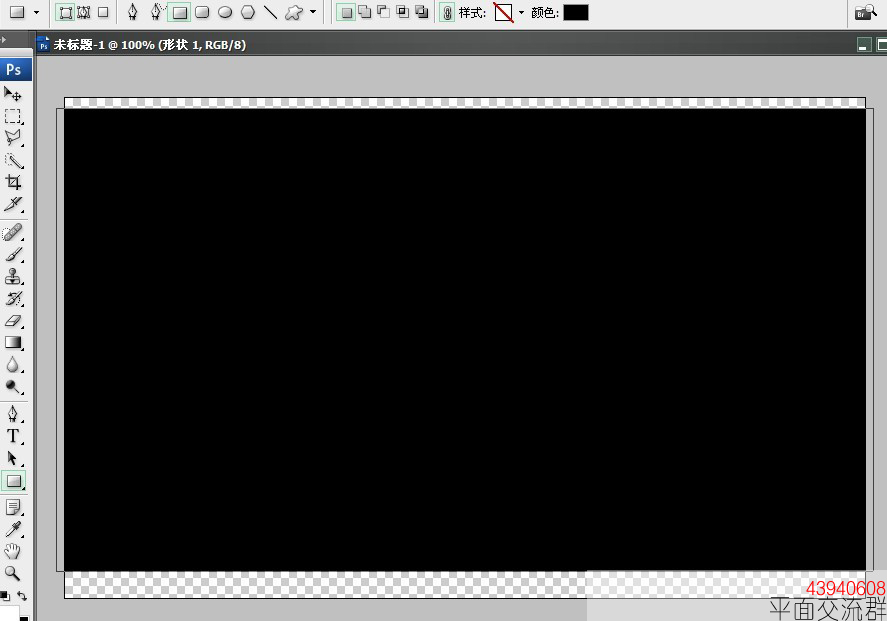
1.新建设置如下

2.选择形状工具
3.添加形状样式,设置如下

4.把背景拉进来调好适当位置,添加样式
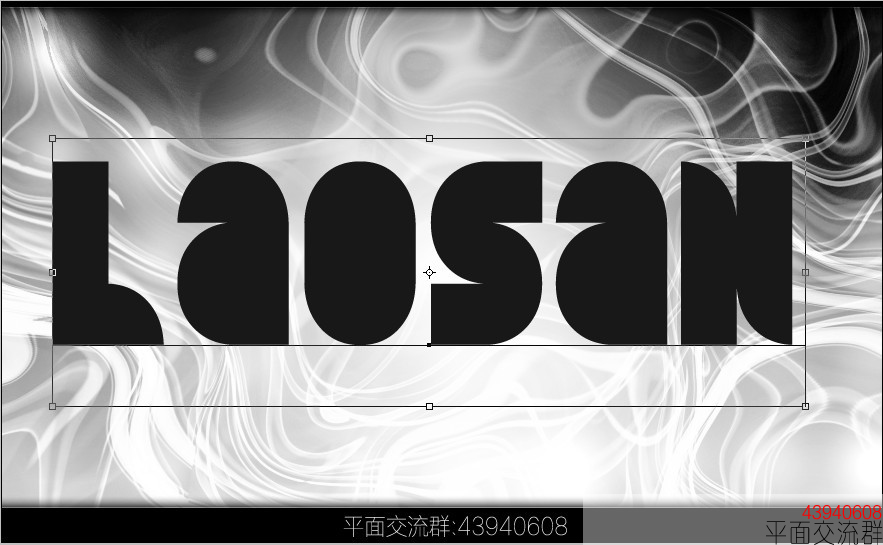
5.打上我们需要的文字,这里用到的字体是【Quarterround】网上可以下载到
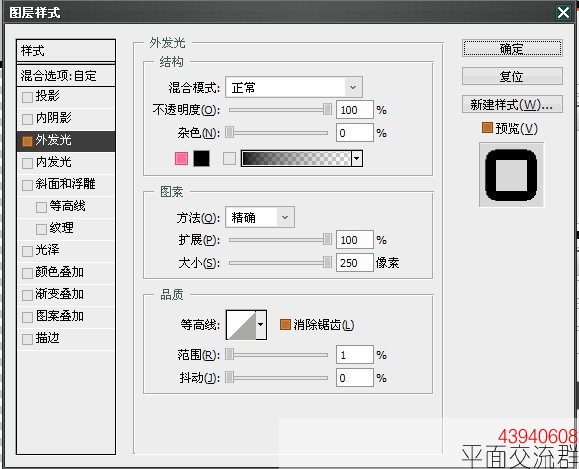
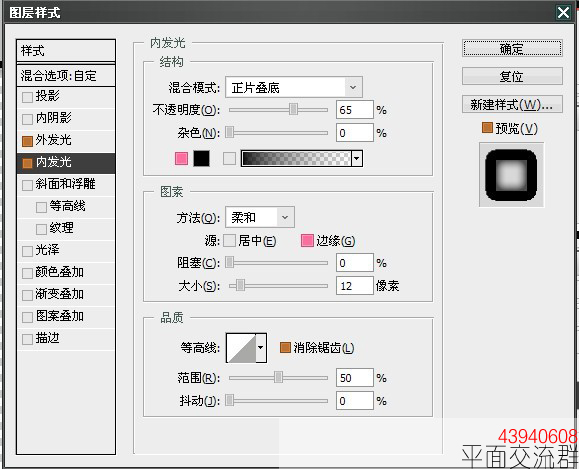
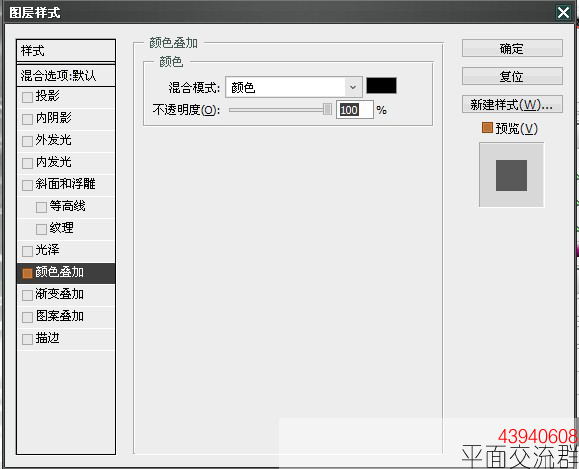
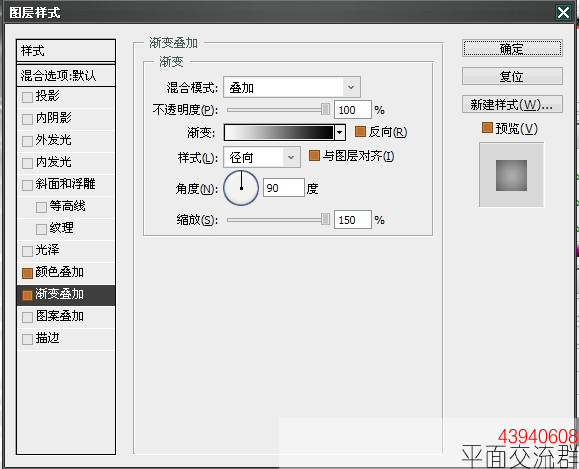
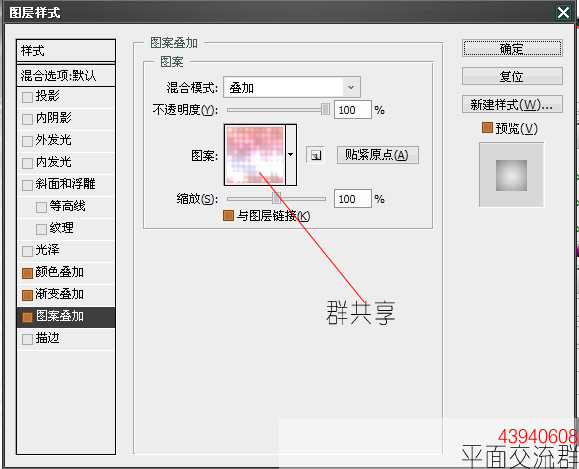
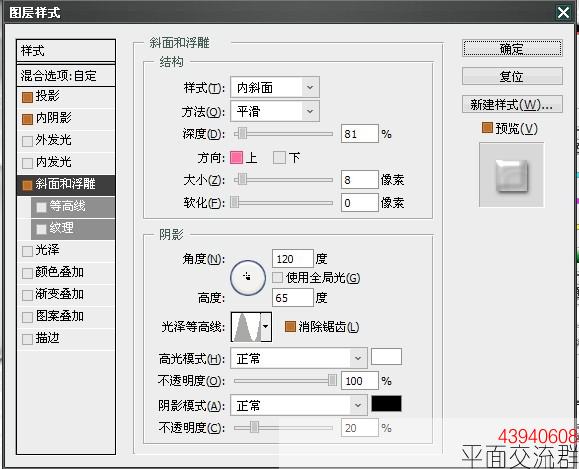
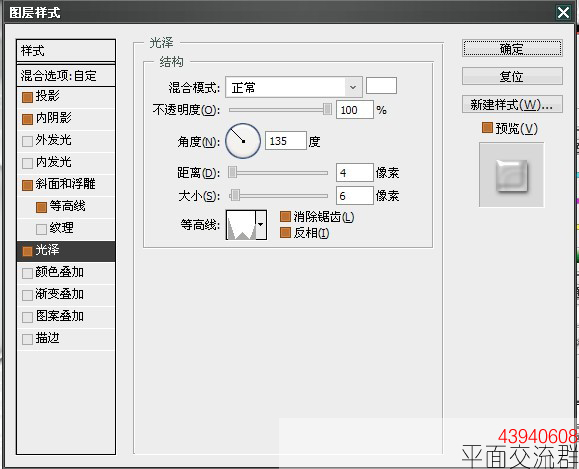
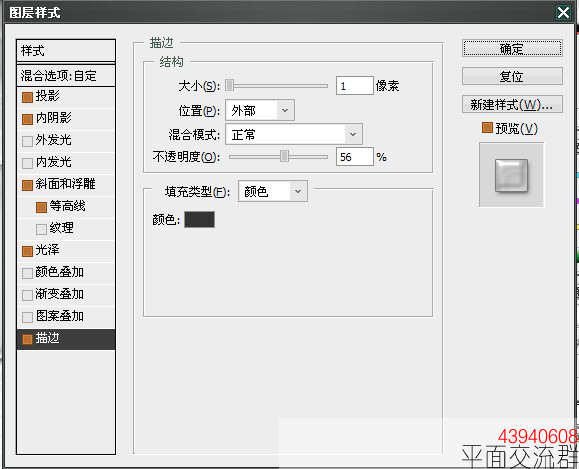
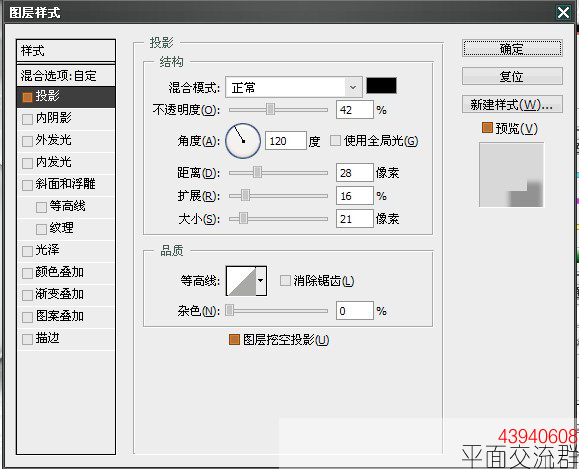
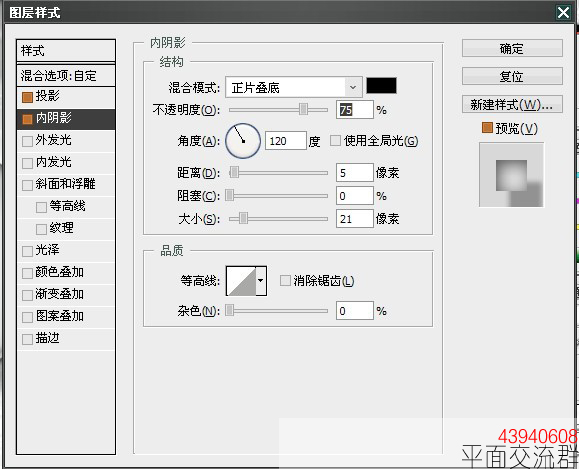
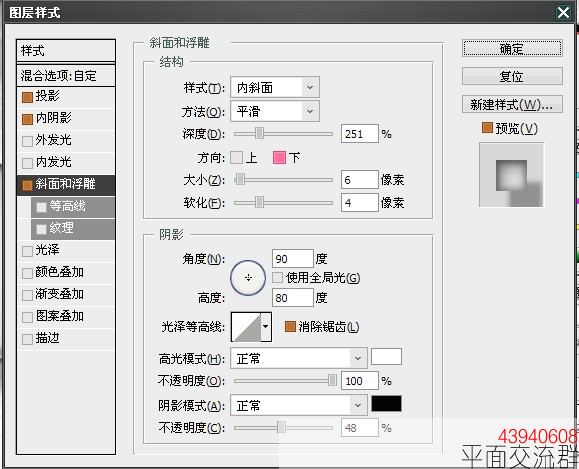
6.添加文字样式,设置如下
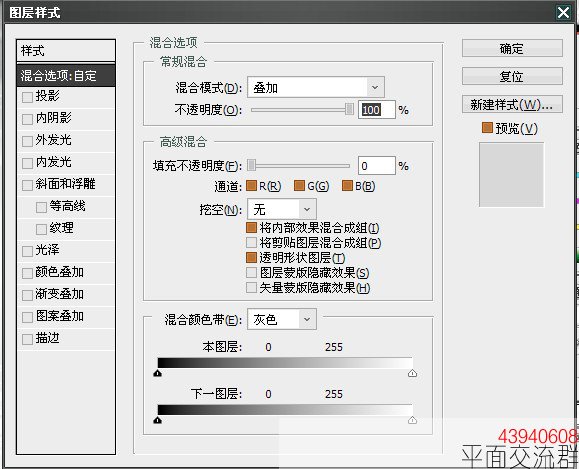
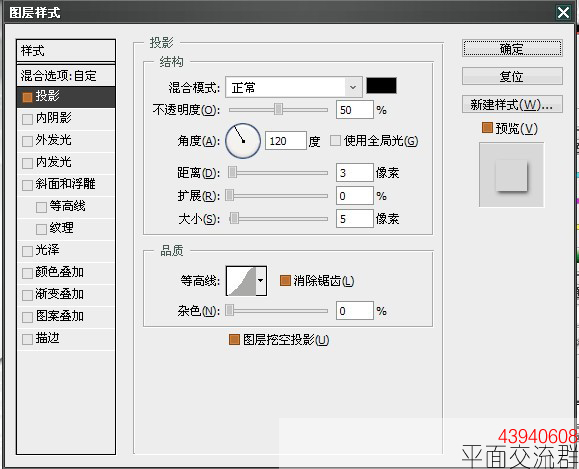
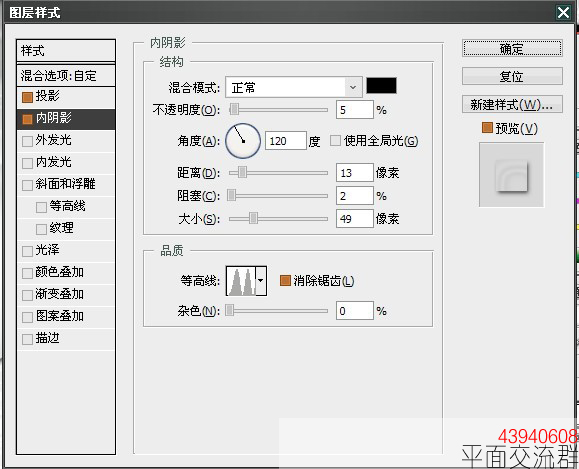

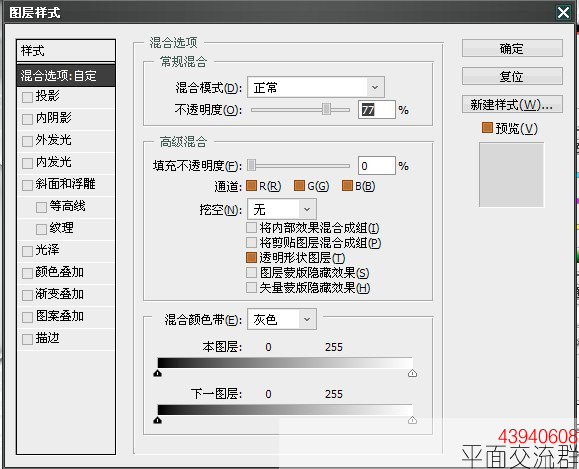
7.复制laosan文字图层,放到laosan图层下面,你懂得。添加图层样式,设置如下
最终效果!
加载全部内容