Photoshop制作黑白点阵字体文字特效教程
qp3db 人气:0

photoshop教程效果图
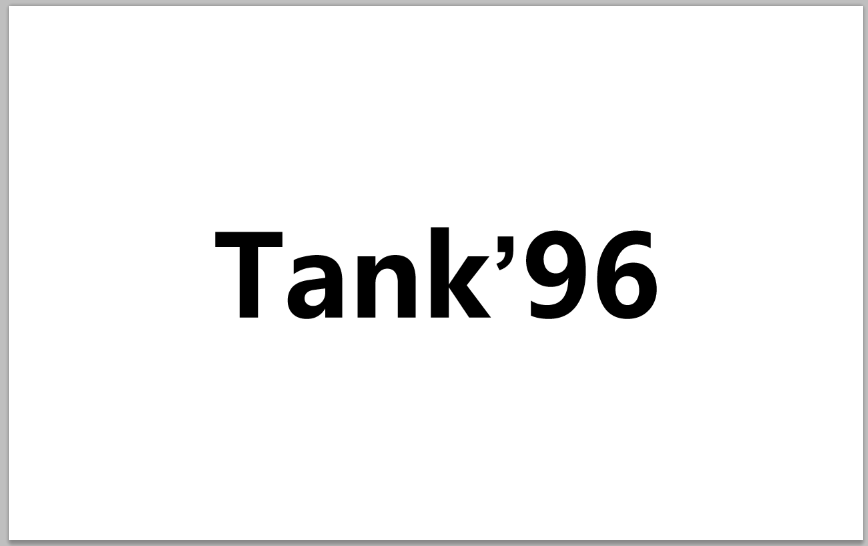
新建一个文字图层(快捷键T),并写上你需要的文本。
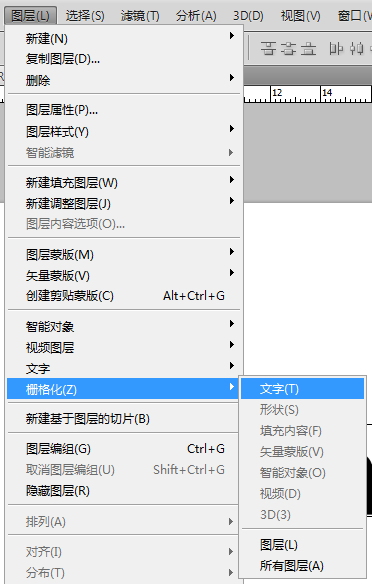
进行文本删格化
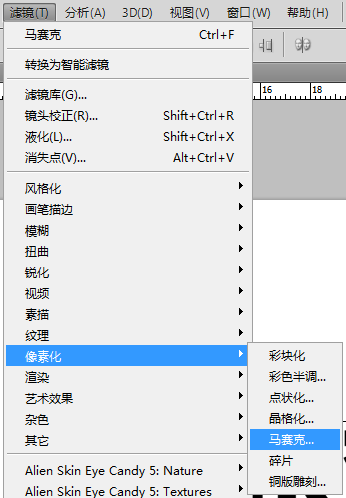
使用滤镜->像素化->马赛克
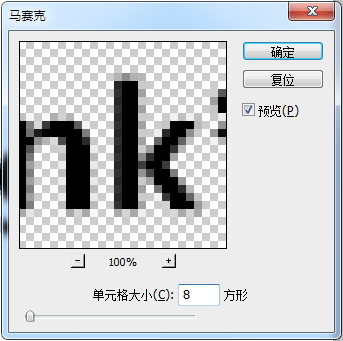
调整马赛克值为8像素
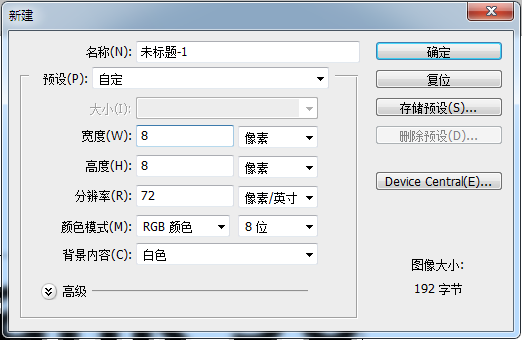
新建一个8×8像素的画布(这里我们称做F画布)
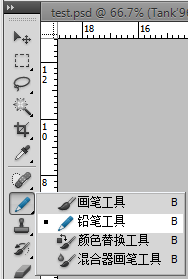
选择铅笔工具。(快捷键B,建议调整铅笔大小为6像素)
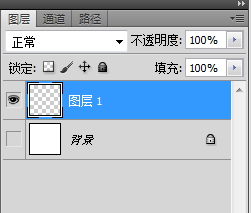
在F画布上新建一个空白图层
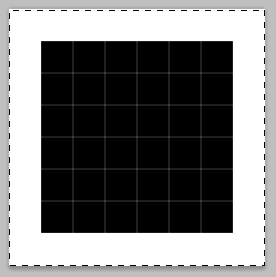
在F画布中间画上一个6×6大小的像素图,并Ctrl+A全选画布。
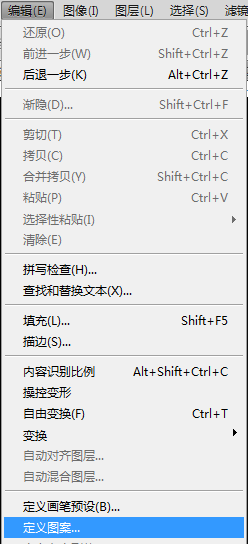
选择编辑 定义图案
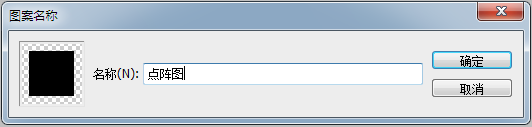
将定义图案保存
回到我们初始的文本画布

将文本域背景图层合并(选中所需要合并的图层 Ctrl+E)
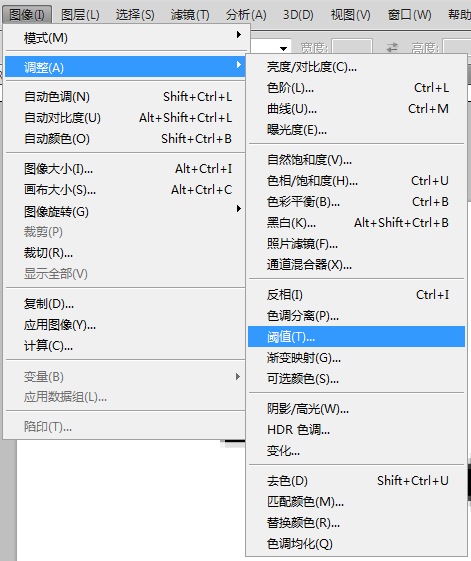
针对背景图层 调整->阈值
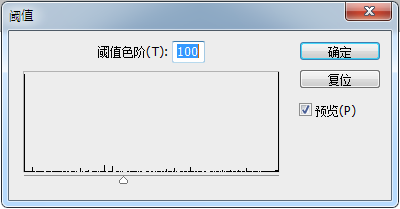
根据自己的需要改变阈值(推荐100)
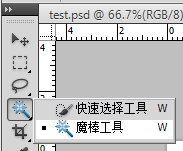
选择魔棒工具(快捷键W)
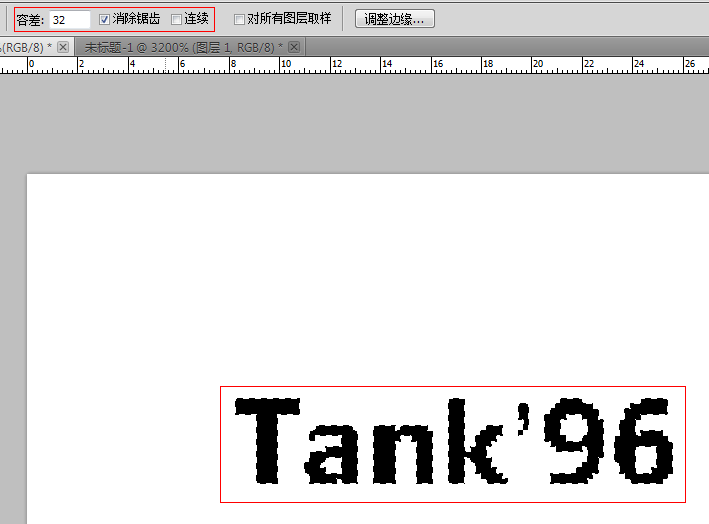
调整魔棒选择区域及范围,选中黑色的文本。
新建空白图层。

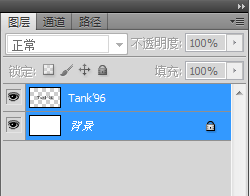
所看到的图层面板效果。
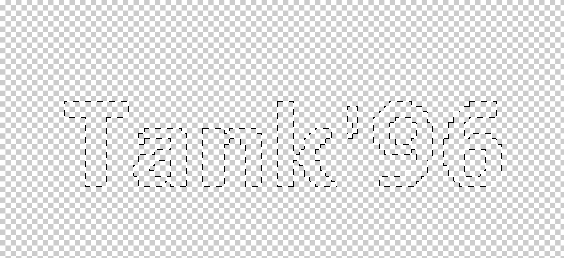
所看见的载入选区的效果。
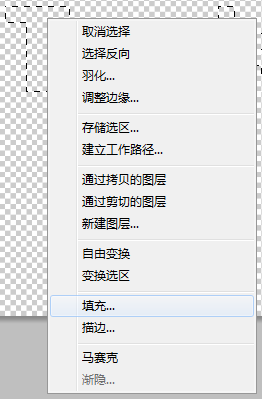
针对刚才所见的图层进行填充。
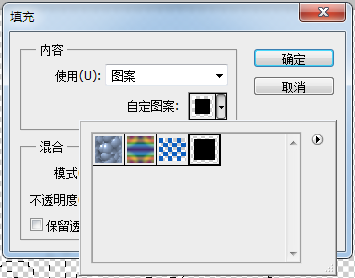
填充刚才在F画布中所创建的填充图形。
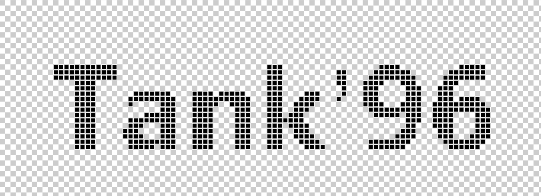
得到的效果。
最终根据自己的需要,添加背景或其他渲染素材。
加载全部内容