springboot yml配置文件值注入
//try 人气:0yml配置文件值注入
搭建项目
参考 IDEA快速搭建spring-boot项目(Spring initializr)
pom.xml
创建项目后,还需在pom.xml中的<dependencies>标签添加该依赖。
<dependency>
			<groupId>org.springframework.boot</groupId>
			<artifactId>spring-boot-configuration-processor</artifactId>
			<optional>true</optional>
</dependency>
创建实体类
package com.demo.demo;
import org.springframework.boot.context.properties.ConfigurationProperties;
import org.springframework.stereotype.Component;
@Component
@ConfigurationProperties(prefix = "person")
public class Person {
    private String name;
    private int age;
    @Override
    public String toString() {
        return "person{" +
                "name='" + name + '\'' +
                ", age=" + age +
                '}';
    }
    public String getName() {
        return name;
    }
    public void setName(String name) {
        this.name = name;
    }
    public int getAge() {
        return age;
    }
    public void setAge(int age) {
        this.age = age;
    }
}
spring boot核心配置文件application.yml
1.将application.properties文件后缀改为.yml,内容为:
server:
  port: 8080
person:
  name: 小狗
  age: 21
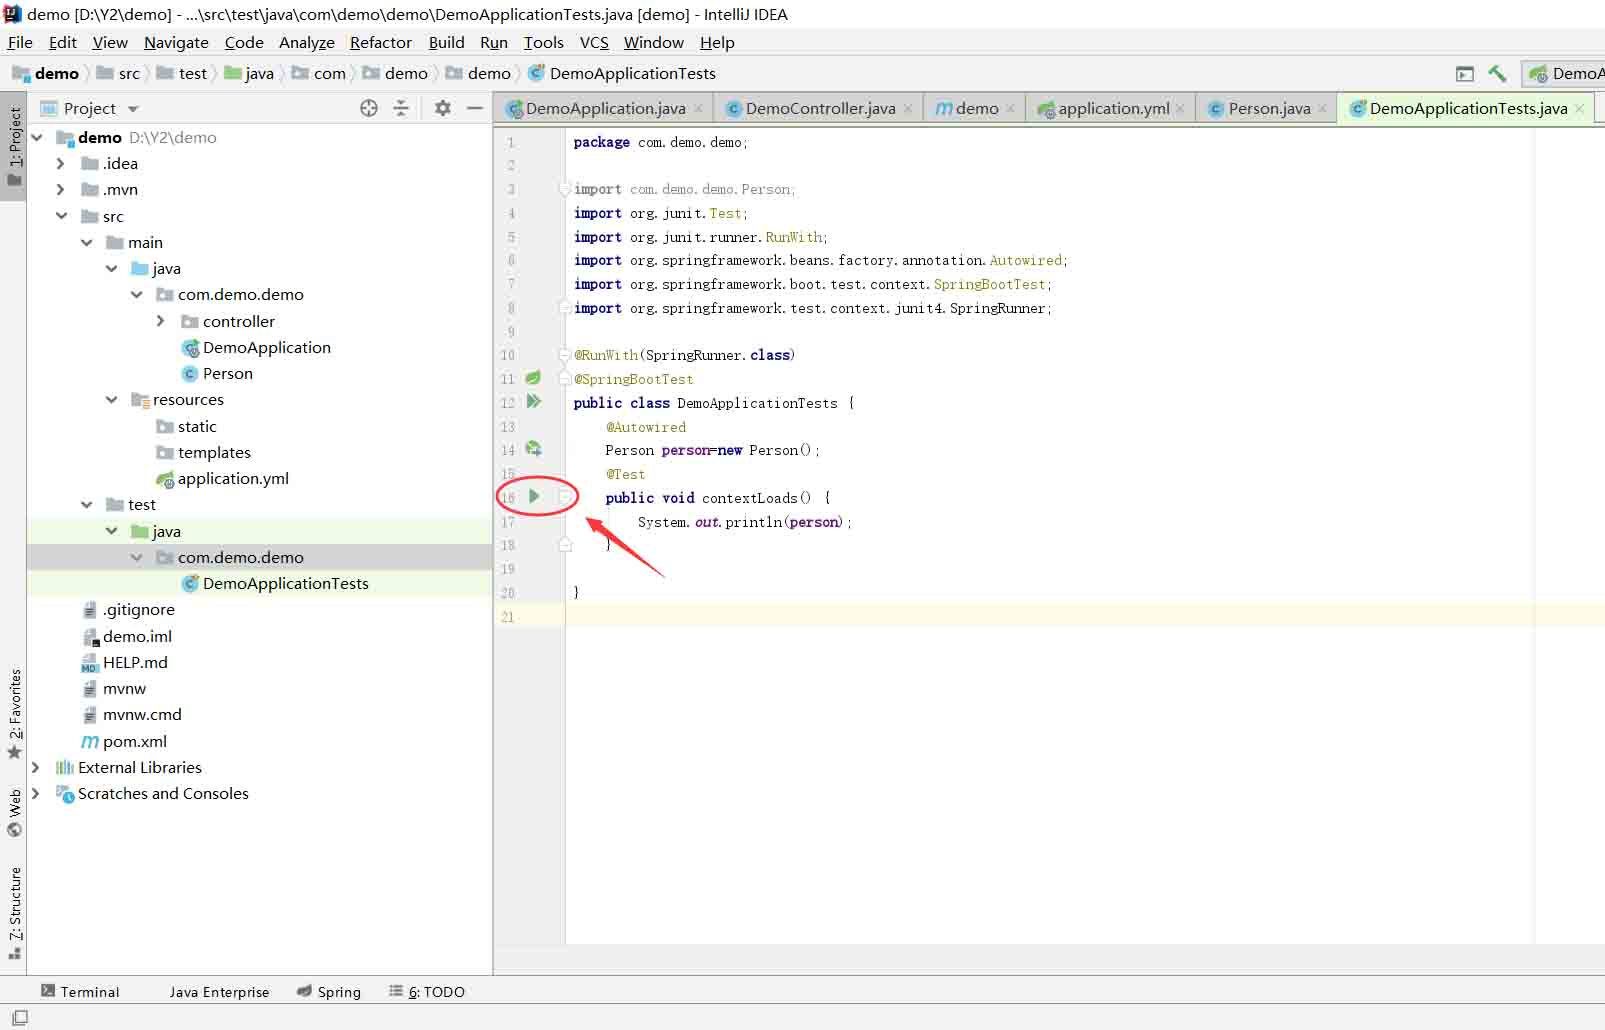
测试类
package com.demo.demo;
import com.demo.demo.Person;
import org.junit.Test;
import org.junit.runner.RunWith;
import org.springframework.beans.factory.annotation.Autowired;
import org.springframework.boot.test.context.SpringBootTest;
import org.springframework.test.context.junit4.SpringRunner;
@RunWith(SpringRunner.class)
@SpringBootTest
public class DemoApplicationTests {
    @Autowired
    Person person=new Person();
    @Test
    public void contextLoads() {
        System.out.println(person);
    }
}
运行

结果:

自动注入yml文件和properties文件
在springboot中,如果需要使用到配置文件中的数据,自动注入即可,非常方便,但是在使用yml中的属性时,自动注入却失效了? 发现,如果是properties文件,直接注入即可,但是yml需要增加一个配置
yml文件的自动注入class
yml文件相对于properties较整洁和简便,在自动注入的使用需要增加配置
增加pom依赖
  <!--*.yml auto inject config-->
   <dependency>
       <groupId>org.springframework.boot</groupId>
       <artifactId>spring-boot-configuration-processor</artifactId>
       <optional>true</optional>
   </dependency>
增加配置类
public class YamlPropertyLoaderFactory  extends DefaultPropertySourceFactory {
    @Override
    public PropertySource<?> createPropertySource(String name, EncodedResource resource) throws IOException {
        if (null == resource) {
            super.createPropertySource(name, resource);
        }
        return new YamlPropertySourceLoader().load(resource.getResource().getFilename(), resource.getResource(),null);
    }
}
注入指定yml配置文件到实体类中
/**
 * 在需要注入的class类上加上这3个注解即可
 */
@Configuration
@PropertySource(value = "classpath:application-quartz.yml", factory = YamlPropertyLoaderFactory.class)
@ConfigurationProperties(prefix = "quartz")
public class JobTime {
    private String articleCarwler;
    private String earthlySweetSentenceApi;
    private String rainbowFartApi;
    private String qqRobotMsgTimer;
}
说明:
@PropertySource(value = "classpath:application-quartz.yml", factory = YamlPropertyLoaderFactory.class)
这个注解表示注入哪个配置文件,指定第二步中的配置类
@ConfigurationProperties(prefix = "quartz")
表示指定配置文件中的属性是什么前缀,可忽略,例如:quartz.articleCarwler=0 0/5 * * * ?
Properties配置文件自动注入
properties类型的配置文件就比较简单,不需要增加上面的依赖和配置,直接指定注入即可
直接注入属性到class
@Configuration
@PropertySource("classpath:/application.properties")
@ConfigurationProperties(prefix = "quartz")
public class JobTime {
    private String task1;
    private String task2;
}
说明:
@PropertySource("classpath:/application.properties")指定配置文件名称
@ConfigurationProperties(prefix = "quartz")
指定配置文件中的key的前缀,可忽略此注解, 例如:quartz.task1=0 3 * * * ?
代码中直接注入
如果是在代码中使用单独的属性,不需要将属性都注入到class中,那么可直接使用注解注入到变量中,在代码中直接使用
无论是yml还是properties都可以直接注入,不需要其他配置
使用注解:@Value("${key}") 就可以直接注入。
例如:
    @Value("${quartz.taks1}")
    private String taks1;
以上为个人经验,希望能给大家一个参考,也希望大家多多支持。
加载全部内容