Vue $router 与 $route
mochenxiya 人气:0前言
- this.$route:当前激活的路由的信息对象。每个对象都是局部的,可以获取当前路由的 path, name, params, query 等属性。
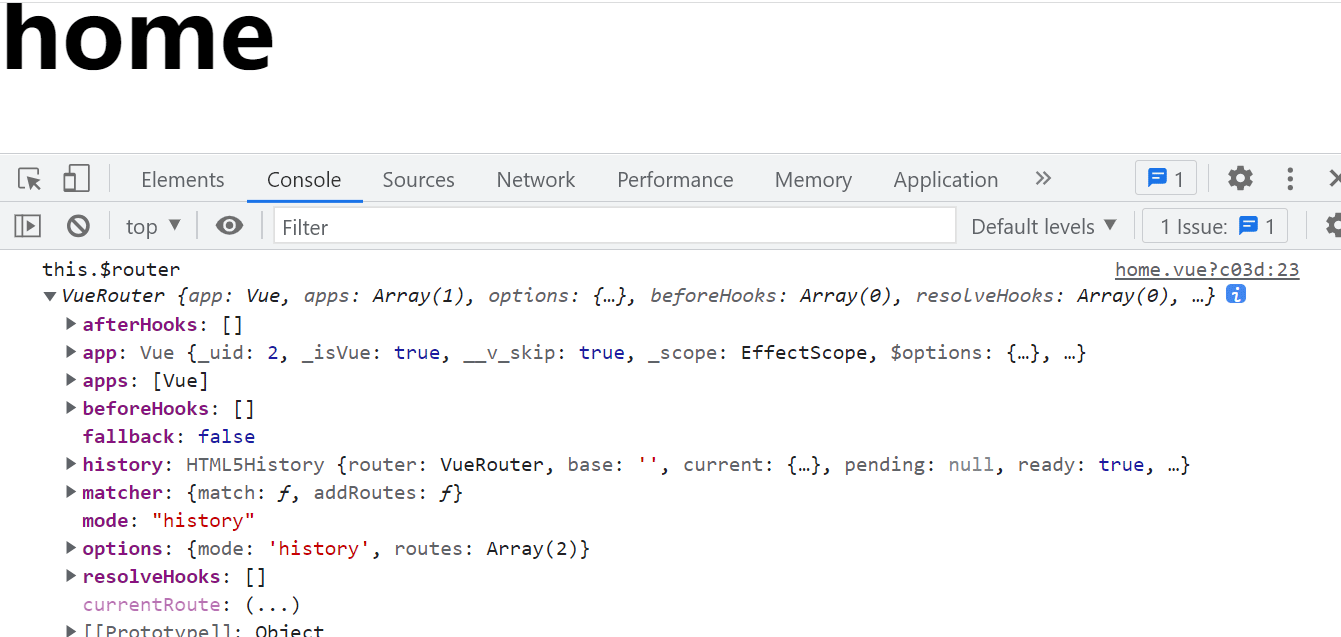
- this.$router:全局的 router 实例。通过 vue 根实例中注入 router 实例,然后再注入到每个子组件,从而让整个应用都有路由功能。其中包含了很多属性和对象(比如 history 对象),任何页面也都可以调用其 push(), replace(), go() 等方法。
路由跳转分为编程式和声明式
声明式:
简单来说,就是使用 router-link 组件来导航,通过传入 to 属性指定链接(router-link 默认会被渲染成一个a标签)。
编程式:
采用这种方式就需要导入 VueRouter 并调用了。
src\router\index.js
import Vue from 'vue';
import VueRouter from 'vue-router';
Vue.use(VueRouter)
// 1. 定义一些路由
// 每个路由都需要映射到一个组件。
const routes = [
    { path: '/home', component: ()=> import('../views//home.vue') },
    { path: '/about', component: ()=> import('../views/about.vue') },
]
const router = new VueRouter({
    // mode: 'hash',       //默认是hash模式,url是带#号的
    mode: 'history',     //history模式url不带#号
    routes
  })
export default router
src\views\home.vue
<template>
  <div id="app">
    <h1>home</h1>
    <button @click="handerHerf">跳转</button>
  </div>
</template>
<script>
export default {
  name: 'App',
  data(){
    return {

    }
  },
  mounted() {

  },
  components:{

  },
  methods:{
    handerHerf(){
      console.log('this.$router',this.$router)
      this.$router.push('/about')
    }
  }
}
</script>
<style scoped>
</style>
src\views\about.vue
<template>
  <div>
    <h1>about</h1>
  </div>
</template>

<script>
export default {
  name: 'about',
  data(){
    return {
    }
  },
  created(){
    console.log('this.$route',this.$route)
  },
  mounted() {

  },
  computed:{

  },
  methods:{

  }
}
</script>
<style scoped>
</style>
this.$router参数详情
this.$route参数详情

加载全部内容