Android实现视差滚动
POIKurenai 人气:0什么是视差滚动?
视差滚动原本是一个天文学术语,当我们观察星空的时候,离我们比较远的星星移动速度比较慢,离我们比较近的星星移动速度比较快,当我们坐在车上向车窗外看的时候也会有这种体验,远处的群山似乎没有移动,但近处的行道树却在飞速掠过。
在工程设计中,视差滚动是指通过为背景图像设定比前景图像更慢的移动速度模拟现实世界中人类的视觉体验,从而在 2D 场景中产生深度的错觉,增加沉浸感。
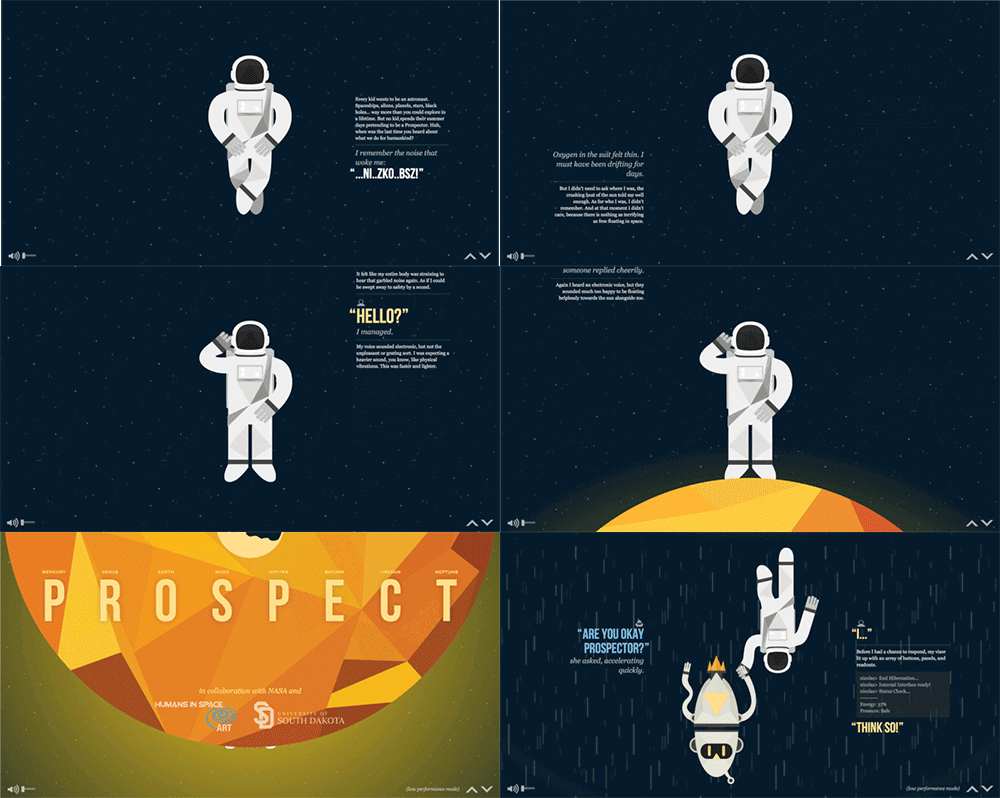
以下是几个设计实例:


如何在 Android 中实现视差滚动?
首先创建一个新项目
新建 Android project
选择 Empty Activity
Name:ParallaxAndroid
Package name:com.example.parallaxandroid
Language:Kotlin
然后添加需要的依赖:
implementation "androidx.coordinatorlayout:coordinatorlayout:1.1.0"
implementation 'androidx.recyclerview:recyclerview:1.1.0'
implementation 'com.google.android.material:material:1.2.0-alpha06'
此处以创建一个具有视差滚动效果的展示书籍磁贴的页面为例。
首先从 XML 布局开始。
在 main activity XML 中添加 collapsing toolbar layout,collapsing toolbar layout 类似 FrameLayout,所有最后加入的元素都将被放置在顶部。这种放置方式对实现视差滚动非常重要。
 <androidx.coordinatorlayout.widget.CoordinatorLayout>
 <com.google.android.material.appbar.AppBarLayout>
     <com.google.android.material.appbar.CollapsingToolbarLayout>
         <ImageView/>
         <android.appcompat.widget.Toolbar />
         <com.google.android.material.tabs.TabLayout/>
     </com.google.android.material.appbar.CollapsingToolbarLayout>
 </com.google.android.material.appbar.AppBarLayout>
 <androidx.viewpager.widget.ViewPager/>
 </androidx.coordinatorlayout.widget.CoordinatorLayout>
activity_main.xml 文件如下:
<?xml version="1.0" encoding="utf-8"?>
<androidx.coordinatorlayout.widget.CoordinatorLayout xmlns:android="http://schemas.android.com/apk/res/android" xmlns:tools="http://schemas.android.com/tools"
android:layout_width="match_parent"
android:layout_height="match_parent"
xmlns:app="http://schemas.android.com/apk/res-auto"
tools:context=".MainActivity">
<com.google.android.material.appbar.AppBarLayout android:layout_width="wrap_content"
android:layout_height="wrap_content" android:theme="@style/ThemeOverlay.AppCompat.Dark.ActionBar" android:fitsSystemWindows="true">
<include layout="@layout/toolbar"/> <com.google.android.material.tabs.TabLayout
android:id="@+id/tabs"
android:layout_width="match_parent"
android:layout_height="wrap_content"
app:tabGravity="fill" app:tabTextAppearance="@style/TextAppearance.AppCompat.Medium" app:tabSelectedTextColor="@android:color/black" app:tabBackground="@android:color/holo_orange_dark" app:tabTextColor="@android:color/white" app:tabIndicatorColor="@android:color/white"
app:tabMode="fixed" />
</com.google.android.material.appbar.AppBarLayout>
<androidx.viewpager.widget.ViewPager
android:id="@+id/viewPager"
android:layout_width="match_parent"
android:layout_height="wrap_content"
android:layout_marginTop="15dp"
app:layout_behavior="com.google.android.material.appbar.AppBarLayout$ScrollingViewBehavior"/>
</androidx.coordinatorlayout.widget.CoordinatorLayout>
toolbar layout:
<?xml version="1.0" encoding="UTF-8"?>
<com.google.android.material.appbar.CollapsingToolbarLayout
android:id="@+id/collapsing_toolbar"
android:layout_width="match_parent"
android:layout_height="match_parent"
android:fitsSystemWindows="true"
app:contentScrim="@android:color/holo_orange_dark"
app:expandedTitleMarginEnd="64dp"
app:expandedTitleMarginStart="48dp"
app:layout_scrollFlags="scroll|exitUntilCollapsed"
xmlns:android="http://schemas.android.com/apk/res/android"
xmlns:app="http://schemas.android.com/apk/res-auto">
<ImageView
android:src="@drawable/books"
app:layout_scrollFlags="scroll|enterAlways|enterAlwaysCollapsed"
android:layout_width="wrap_content"
android:layout_height="160dp"
android:scaleType="centerCrop"
app:layout_collapseMode="parallax"
android:minHeight="50dp" />
<androidx.appcompat.widget.Toolbar
android:id="@+id/toolbar"
android:contentDescription="@string/books"
android:layout_width="match_parent"
app:title="@string/app_name"
app:titleTextAppearance="@style/TextAppearance.AppCompat.Medium"
app:titleTextColor="@android:color/white"
android:layout_height="?attr/actionBarSize"
app:layout_scrollFlags="scroll|enterAlways" />
</com.google.android.material.appbar.CollapsingToolbarLayout>
在上面的布局中,我们添加了这些属性:CollapsingToolbarLayout
app:layout_scrollFlags="scroll|exitUntilCollapsed"
ImageView
app:layout_scrollFlags="scroll|enterAlways|enterAlwaysCollapsed"
app:layout_collapseMode="parallax"
Toolbar
app:layout_scrollFlags="scroll|enterAlways"
接下来配置 ManActivity 文件。
class MainActivity : FragmentActivity() {
private lateinit var mPager: ViewPager
private lateinit var tabLayout : TabLayout
override fun onCreate(savedInstanceState: Bundle?) {
super.onCreate(savedInstanceState)
setContentView(R.layout.activity_main)
mPager = findViewById(R.id.viewPager)
tabLayout = findViewById(R.id.tabs)
tabLayout.setupWithViewPager(mPager)
val pagerAdapter = ScreenSlidePagerAdapter(supportFragmentManager)
mPager.adapter = pagerAdapter
}
override fun onBackPressed() {
if (mPager.currentItem == 0) {
// If the user is currently looking at the first step, allow the system to handle the
// Back button. This calls finish() on this activity and pops the back stack.
super.onBackPressed()
} else {
// Otherwise, select the previous step.
mPager.currentItem = mPager.currentItem - 1
}
}
private inner class ScreenSlidePagerAdapter(fm: FragmentManager) :
FragmentStatePagerAdapter(fm, BEHAVIOR_RESUME_ONLY_CURRENT_FRAGMENT) {
override fun getCount(): Int = 3
override fun getItem(position: Int): Fragment = BooksFragment().newInstance()
override fun getPageTitle(position: Int): CharSequence? {
var title = ""
when(position) {
0 -> title ="Tech"
1 -> title = "Novels"
2 -> title = "Motivational"
}
return title
}
}
}
创建用来加载 Recycleview 的 fragment:
class BooksFragment : Fragment() {
fun newInstance(): BooksFragment {
return BooksFragment()
}
override fun onCreateView(inflater: LayoutInflater, container: ViewGroup?, savedInstanceState: Bundle?): View? {
val view : View? = inflater.inflate(R.layout.books_fragment, container, false)
val rvBooks : RecyclerView = view!!.findViewById(R.id.rvBooksList)
rvBooks.layoutManager = LinearLayoutManager(activity);
val recyclerAdapter = BooksRecyclerAdapter(Util().getBooks())
rvBooks.adapter = recyclerAdapter
return view
}
}
然后需要创建一个用来加载所有元素的 adapter。
class BooksRecyclerAdapter(private val mBooks: List<Books>) : RecyclerView.Adapter<ViewHolder>() {
inner class ViewHolder(listItemView: View) : RecyclerView.ViewHolder(listItemView) {
val titleTextView: TextView = itemView.findViewById(R.id.text_title)
val authorTextView: TextView = itemView.findViewById(R.id.text_author)
val subTitleTextView: TextView = itemView.findViewById(R.id.text_subtitle)
}
override fun onCreateViewHolder(
parent: ViewGroup,
viewType: Int): ViewHolder {
val context: Context = parent.context
val inflater = LayoutInflater.from(context)
val booksView: View = inflater.inflate(R.layout.item_books, parent, false)
return ViewHolder(booksView)
}
override fun onBindViewHolder(
viewHolder: ViewHolder,
position: Int) {
val titleTextView: TextView = viewHolder.titleTextView
titleTextView.text = mBooks[position].title
val authorTextView: TextView = viewHolder.authorTextView
authorTextView.text = mBooks[position].author
val subTitleTextView: TextView = viewHolder.subTitleTextView
subTitleTextView.text = mBooks[position].subtitle
}
override fun getItemCount(): Int {
return mBooks.size
}
}
以上是主要的 Kotlin 文件和 layout 文件。
在 toolbar layout 的 ImageView 中可以设置滚动速度和其它属性。
加载全部内容