uniapp轮播图组件
Abdulaziz02 人气:0vue部分如下:
<template>
	<view class="">
		<!-- 轮播图组件 -->
		<swiper :indicator-dots="true" :autoplay="true" :interval="3000" :duration="1000" circular="">
			<block v-for="(item,index) in swipers" :key="index">
				<swiper-item>
					<view class="swiper-item" @tap="event(index)">
						<image :src="item.src"
						 lazy-load
						 style="height: 350upx;"></image>
					</view>
				</swiper-item>
			</block>
		</swiper>
	</view>
</template>
nvue部分如下:
<template>
	<div>
		<!-- 轮播图组件 -->
		<slider :auto-play="true" :interval="3000" class="slider">
			<div style="position: relatice;" v-for="(item,index) in swipers" :key="index" @click="event(index)">
				<image class="image" resize="cover" :src="item.src"></image>
			</div>
			<indicator class="indicator"></indicator>
		</slider>
	</div>
</template>
nvue部分的css样式如下:
<style>
.slider,.image{
		width: 750px;
		height: 350px;
	}
	.indicator{
		position: absolute;
		right: 0;
		bottom: 0;
		width: 150px;
		height: 30px;
		background-color: rgba(0,0,0,0);
		item-color:rgba(255,255,255,0.5);
		item-selected-color: #FFFFFF;
	}
</style>
js部分如下:
vue与nvue的js写法是一样的
<script>
	export default {
		data() {
			return {
				swipers:[{src:"/static/images/demo/demo4.png"},
						{src:"/static/images/demo/demo4.png"},
						{src:"/static/images/demo/demo4.png"},
						{src:"/static/images/demo/demo4.png"}]
			}
		},
		methods: {
			event(index){
				console.log("点击了 index:"+index)
			}
		}
	}
</script>
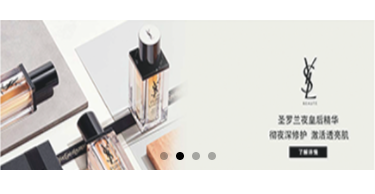
效果图如下:
vue:

nvue:

加载全部内容