C++第一个MFC程序 VS2019实现C++的第一个MFC程序
心跳包 人气:0一、创建项目

然后点下一步,配置项目,这里我命名的是myfisrtmfc

点击创建按钮,然后弹出下面的对话框。

对上面的MFC应用程序进行配置,如下:
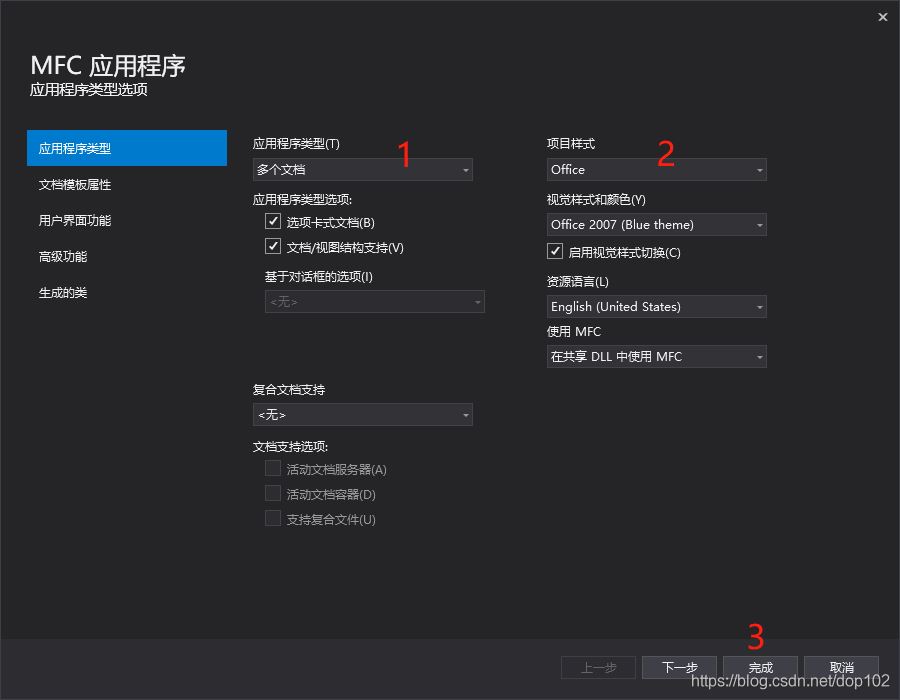
点击完成,生成如下界面。
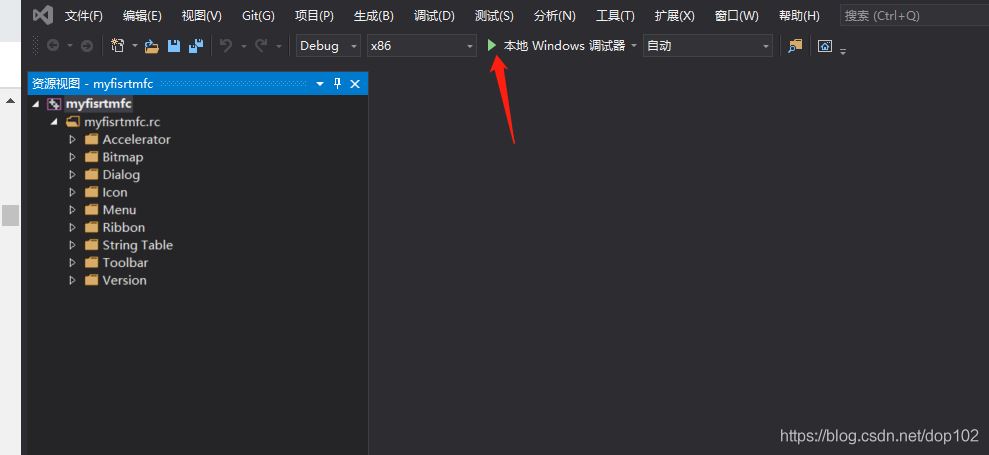
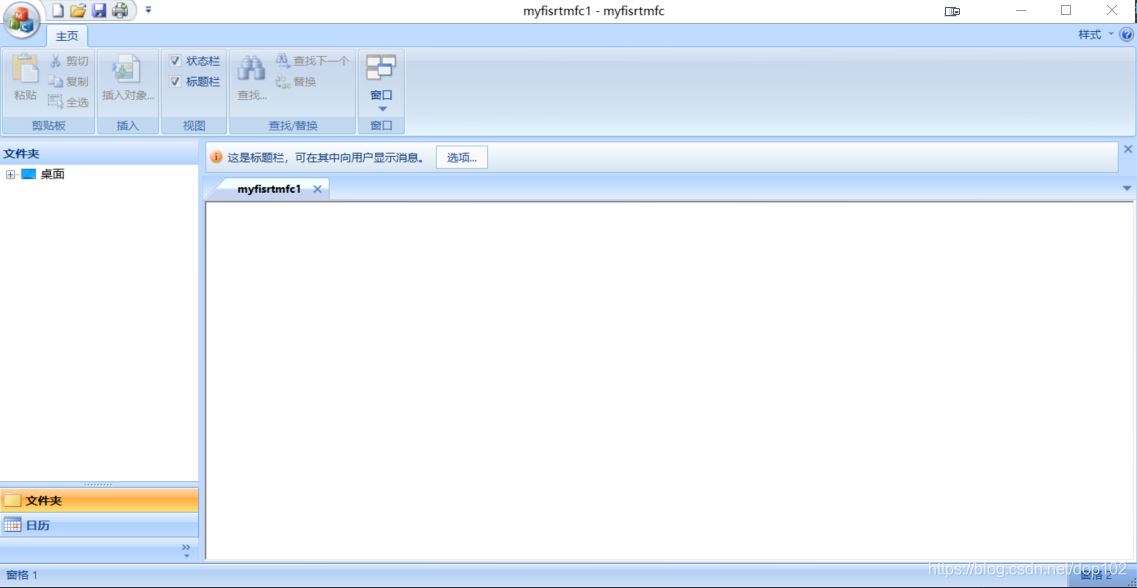
第一次编译生成的默认项目,之后得到下面的界面
点击VS2019的界面,“解决方案资源管理器”
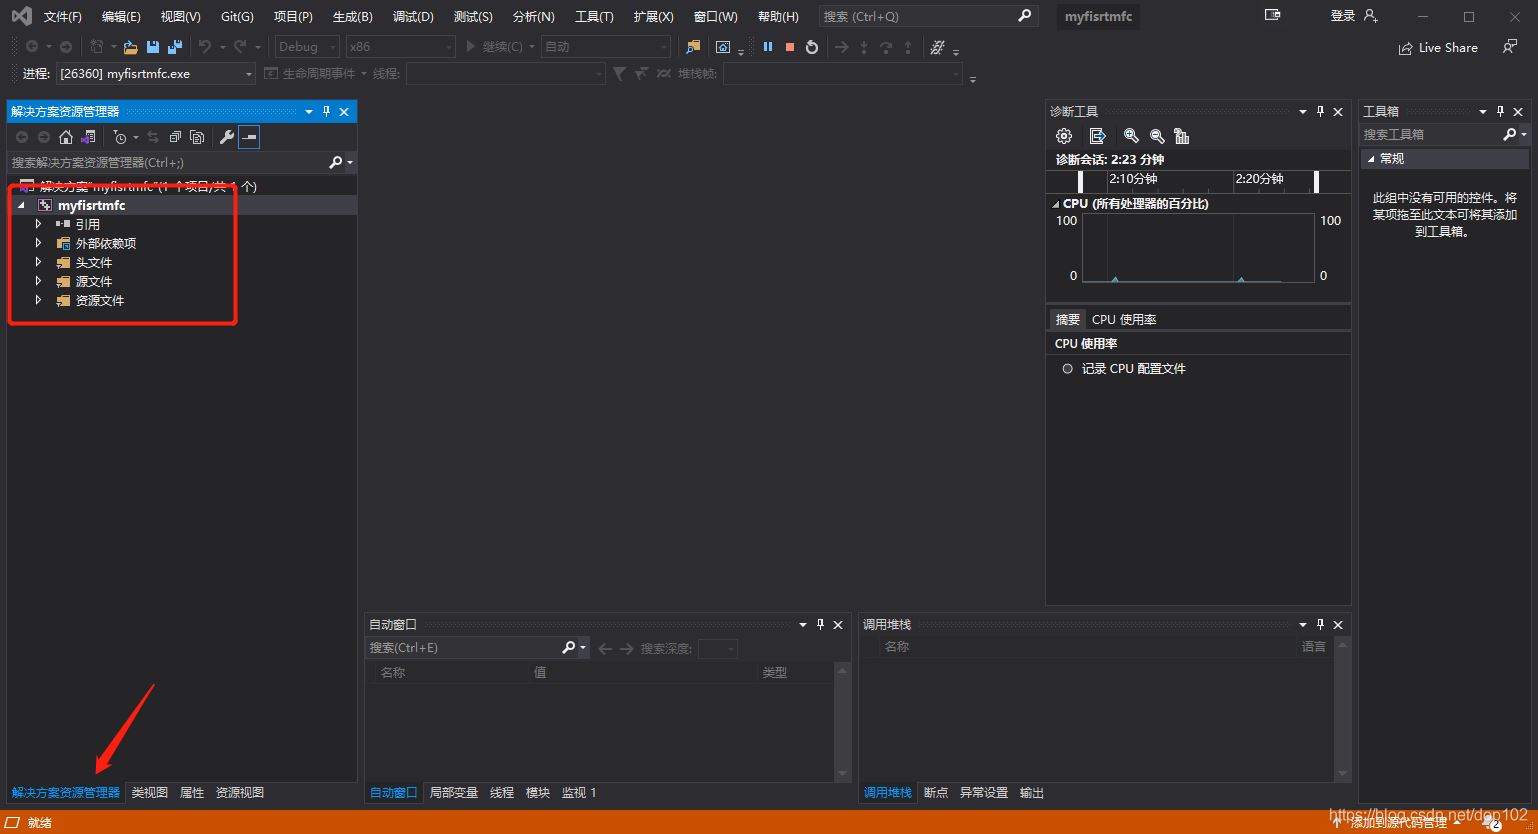
到这里,项目建成,并且编译通过。
二、添加自定义的功能(以比较通用的画图为例)
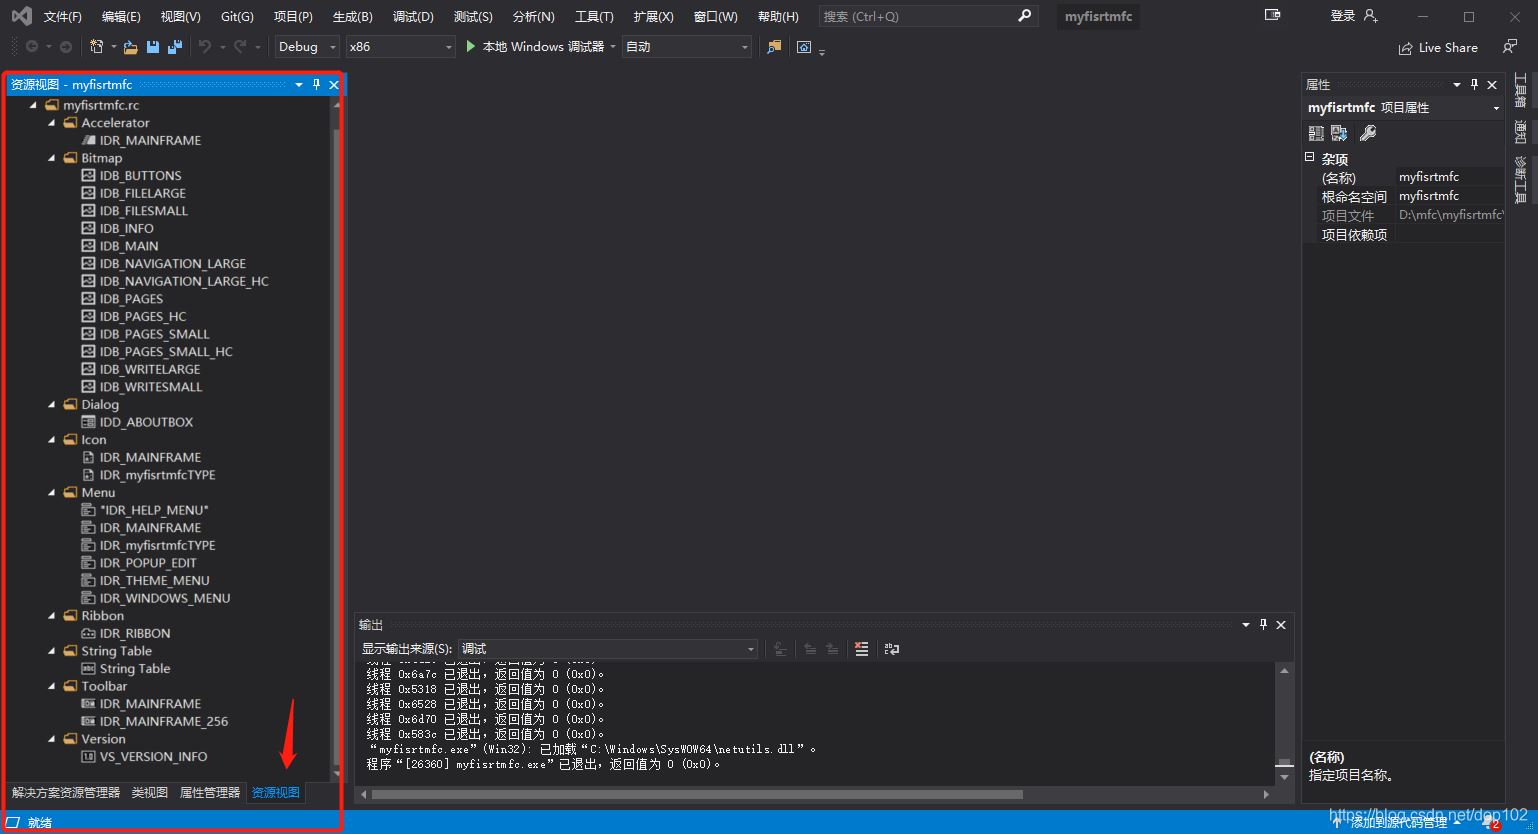
点击资源视图,这里的控件将是后面需要操作的。
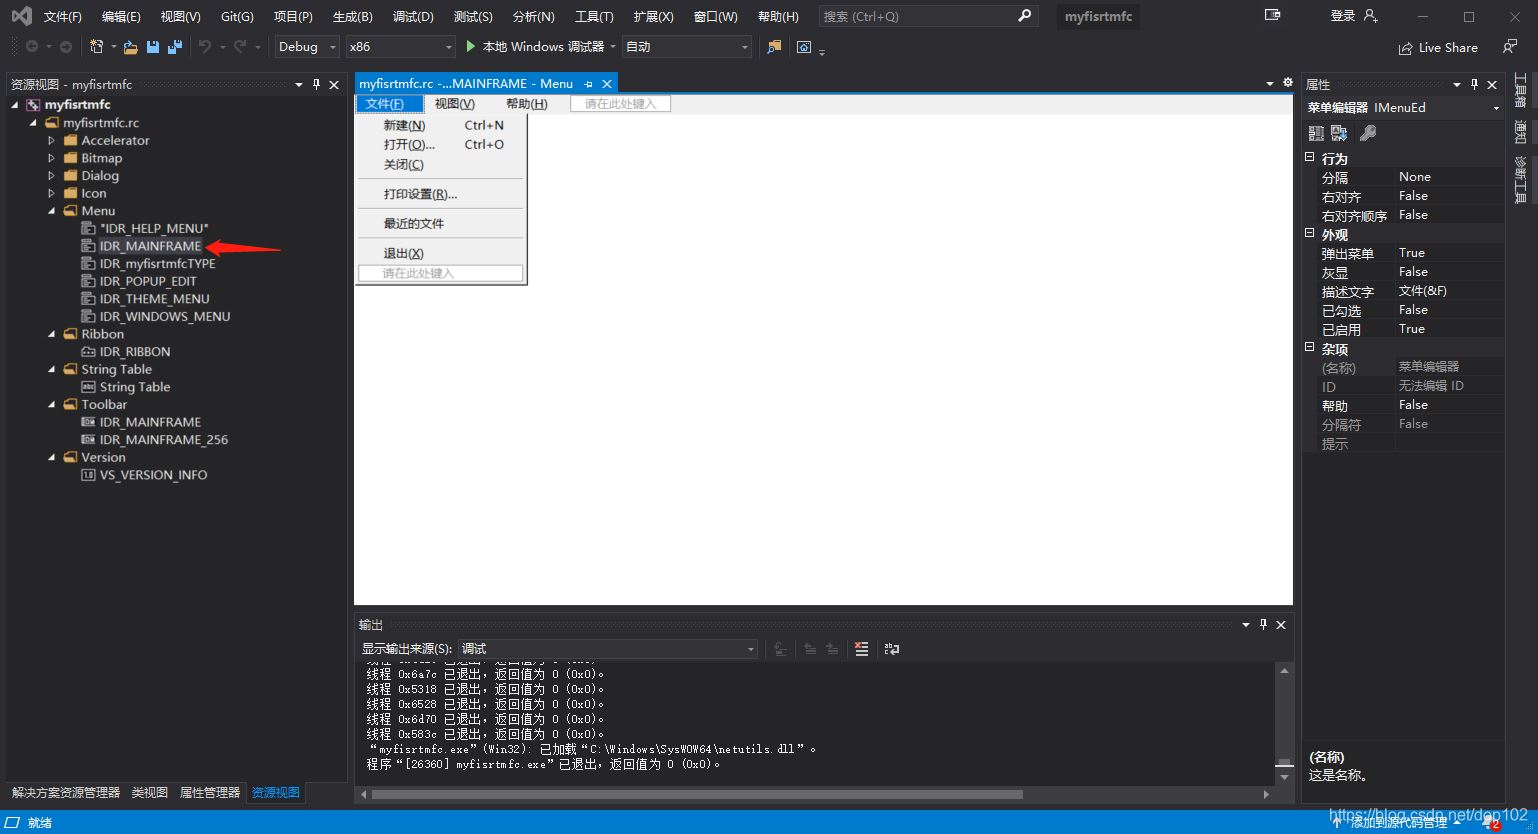
双击IDR_MAINFRAME,可以在这里面添加画图功能。
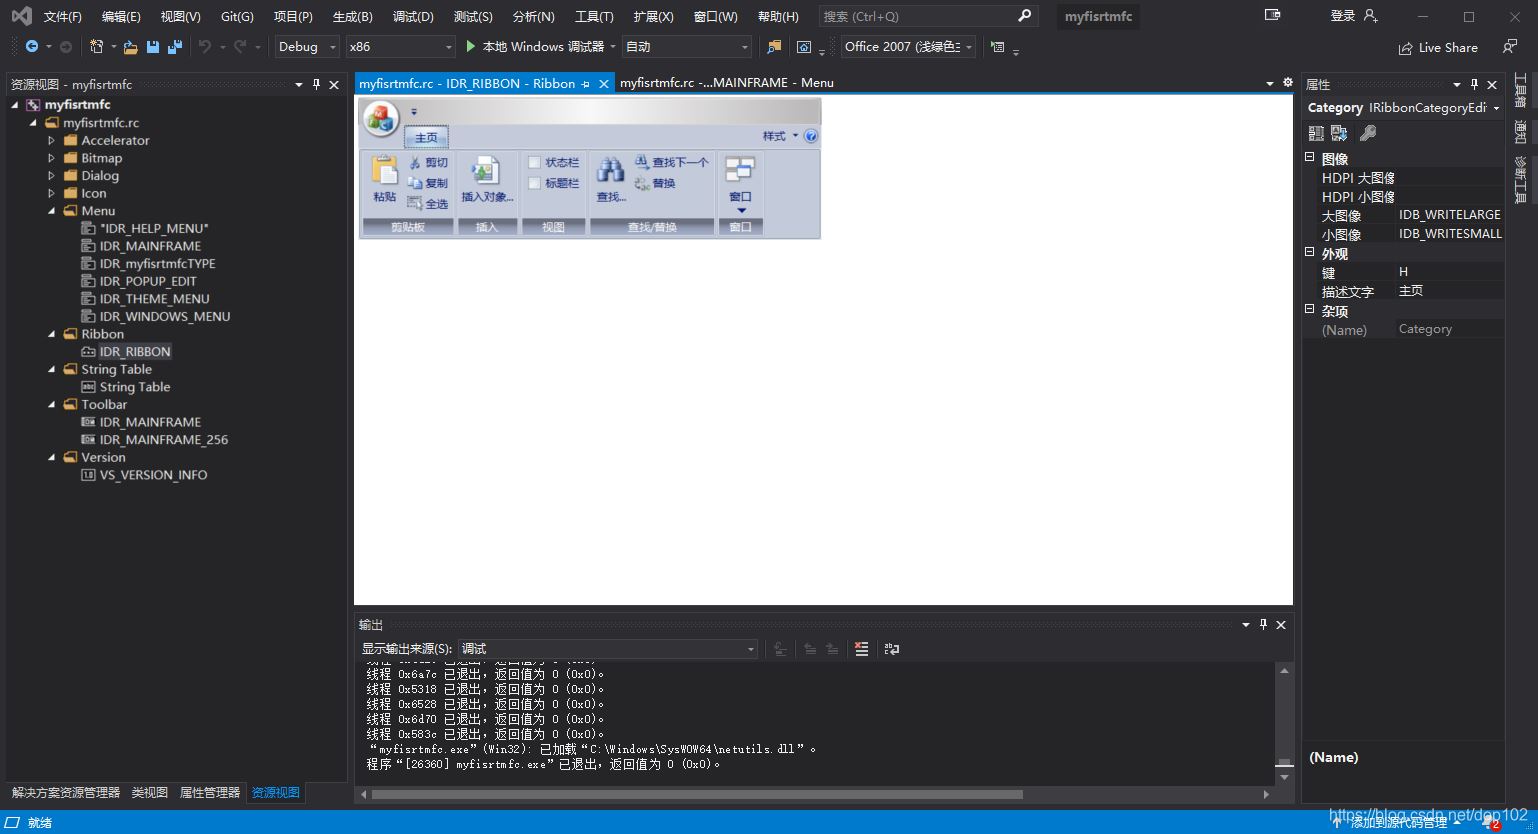
也可以在Ribbon里面添加画图功能
然后点击工具箱->RIbbon编辑器:
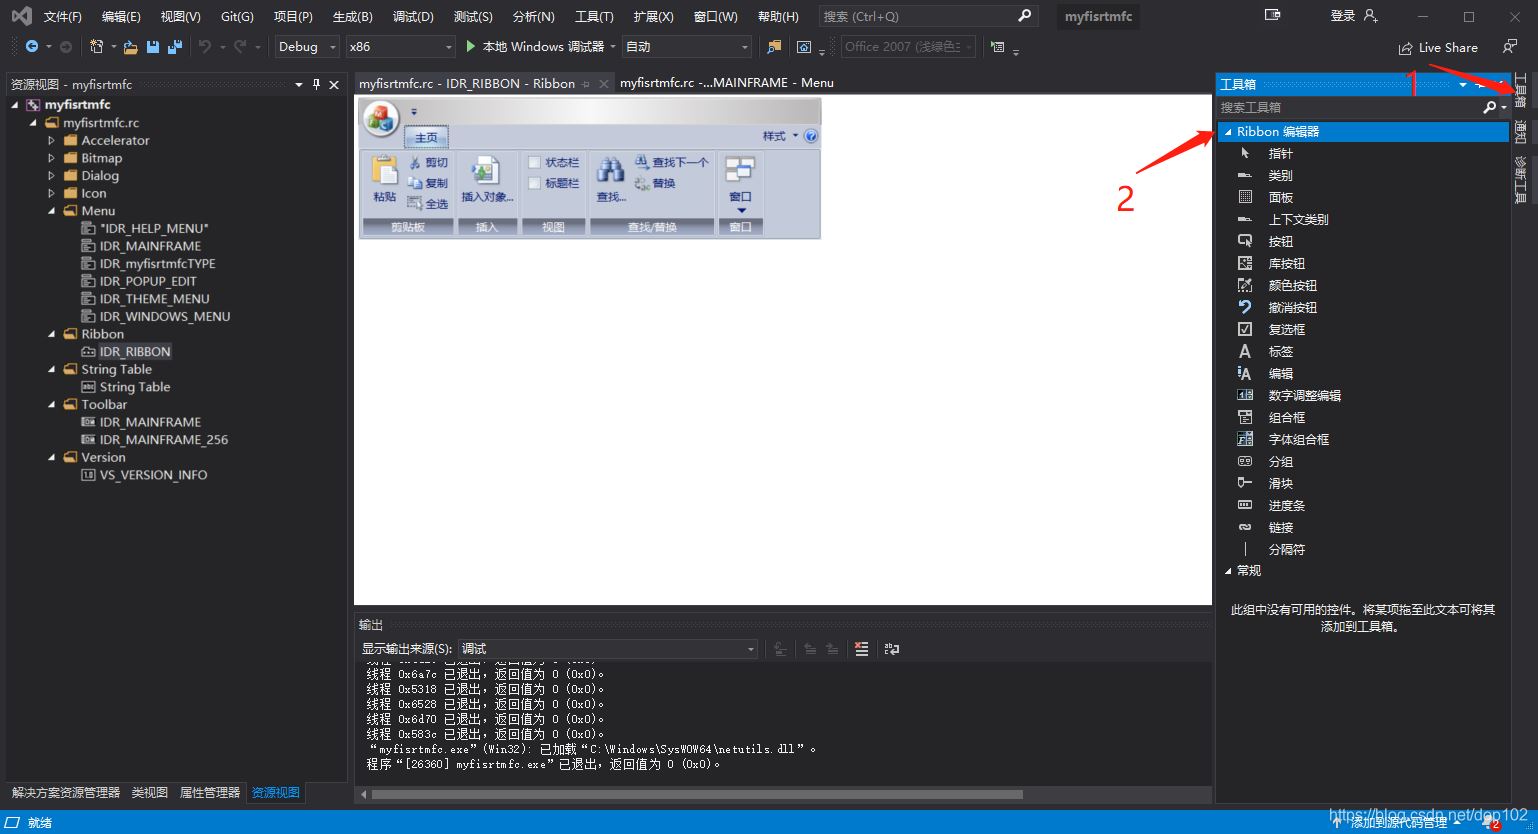
双击Ribbon下的面板控件
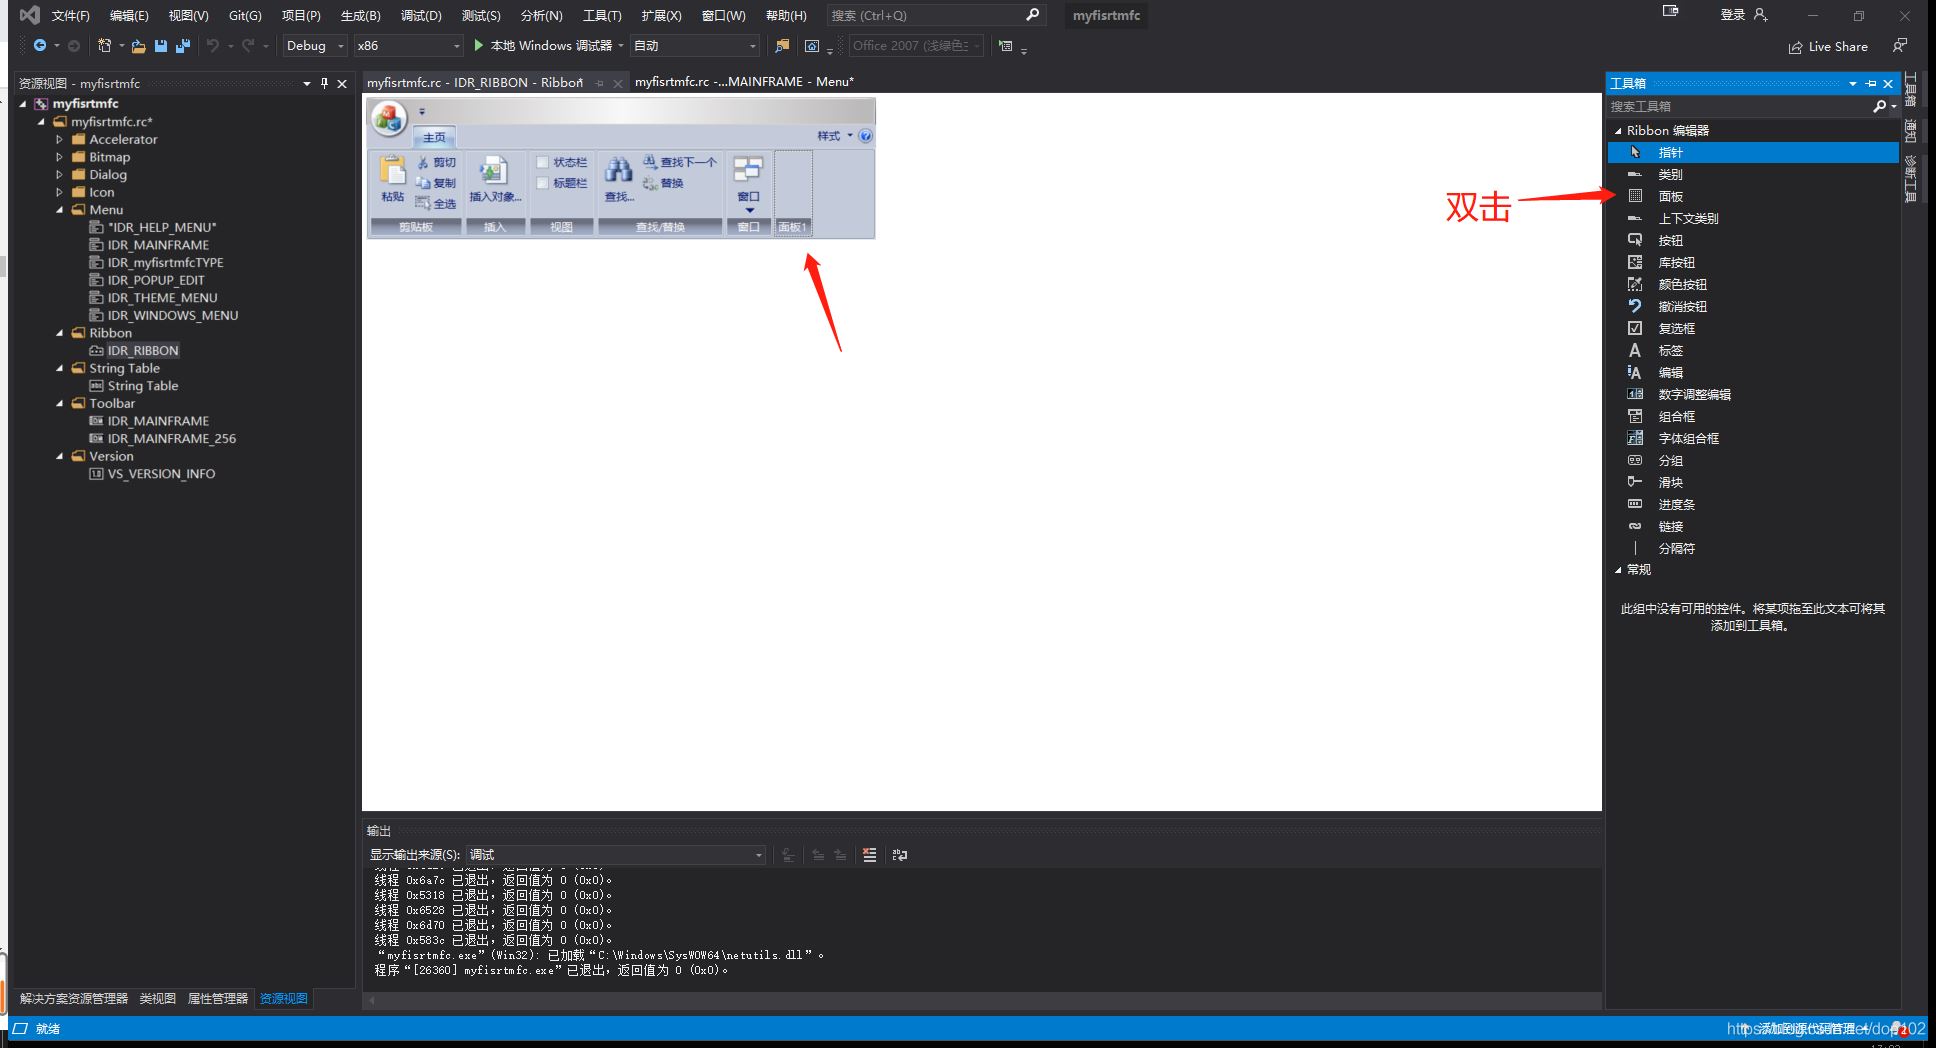
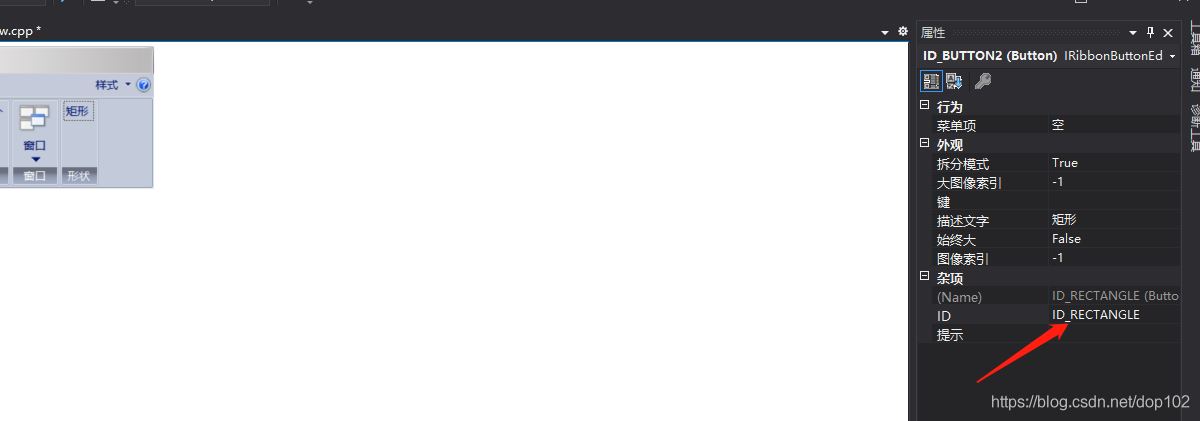
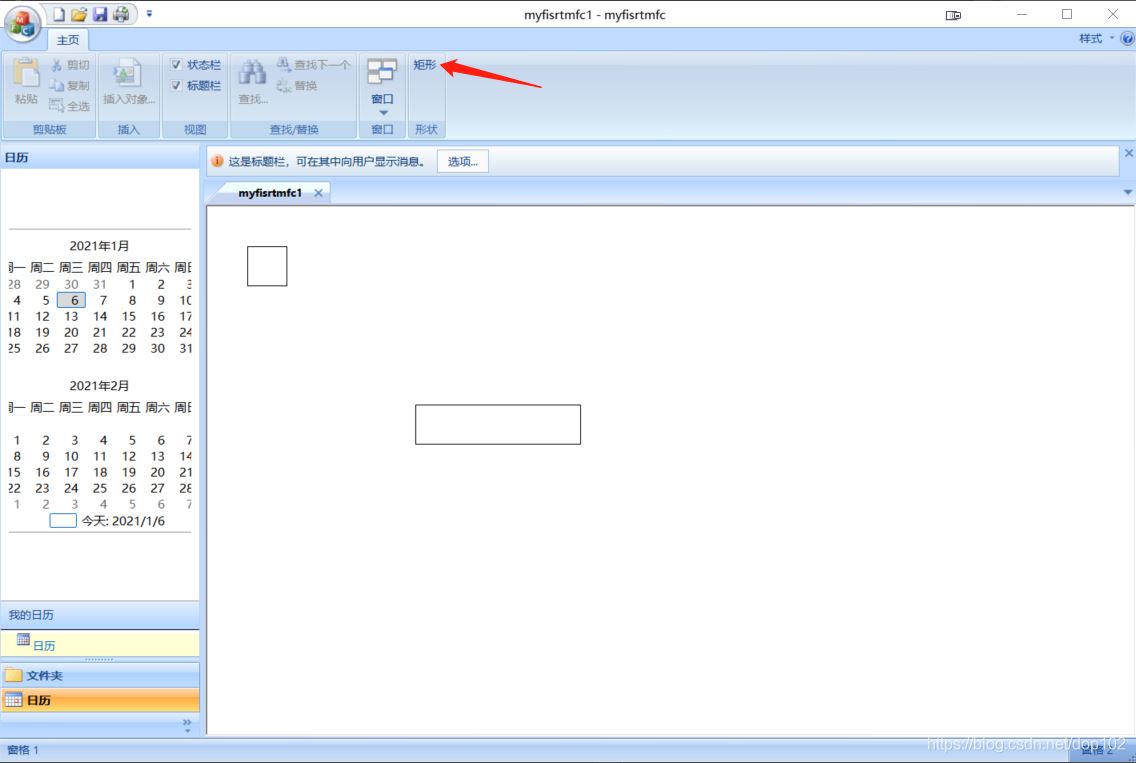
修改名称为形状,并添加一个按钮控件,修改名字为矩形

修改矩形的杂项,ID改为ID_RECTANGLE
右键矩形按键,选择添加事件处理程序

得到如下弹窗
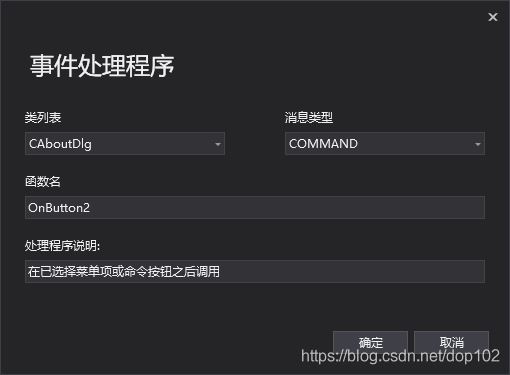
配置这个弹窗如下:
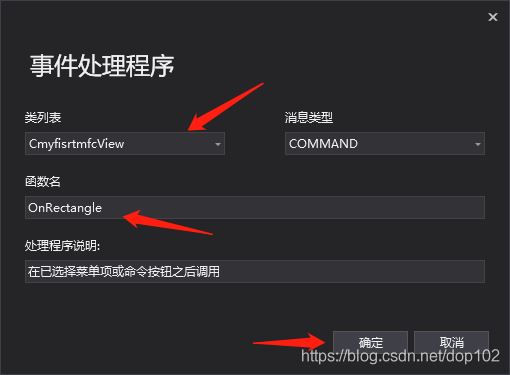
点击确定后,我们得到下面的代码
以下内容参考https:
第一次使用c++,mfc很多函数都不熟悉,就直接套用了。
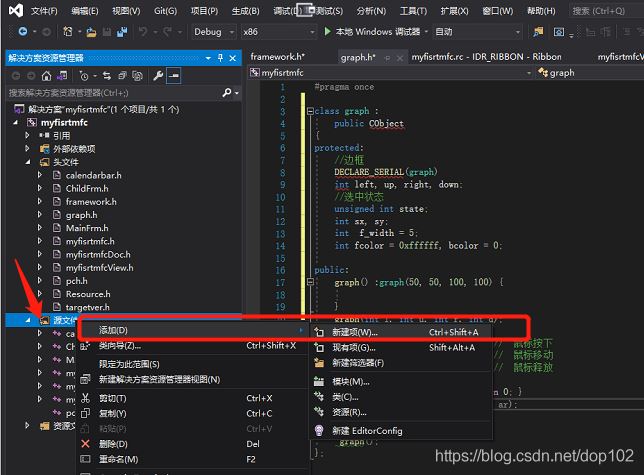
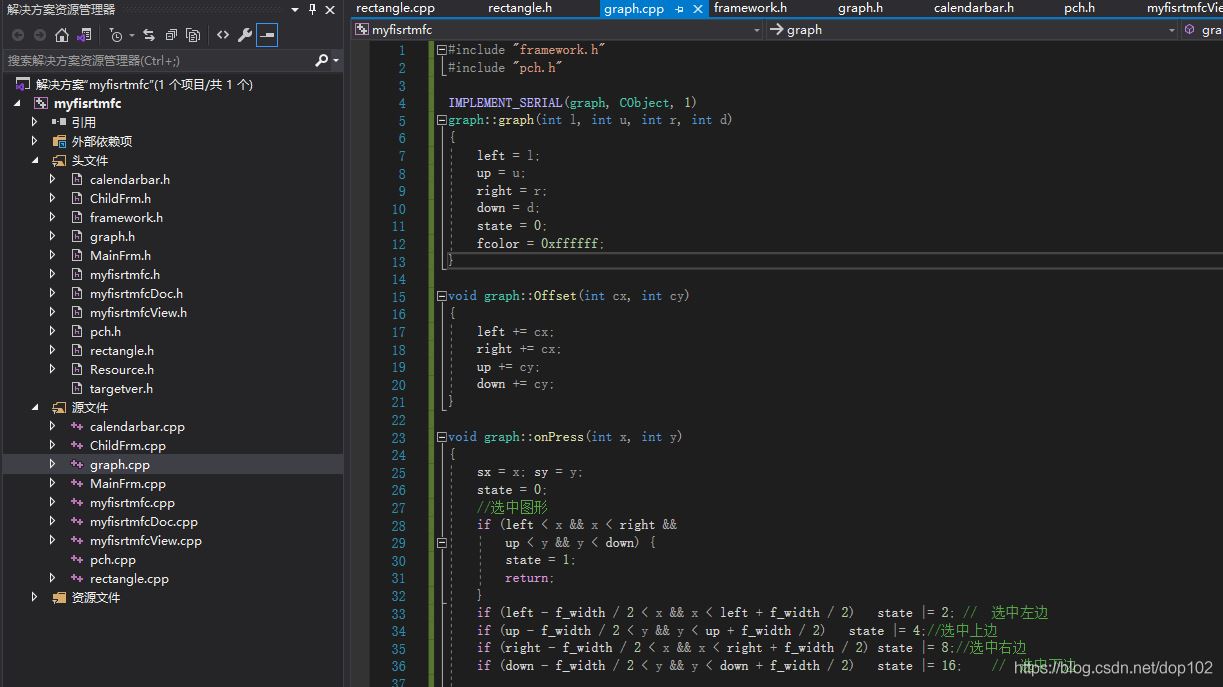
这里我们新建一个graph.cpp源文件

#include "framework.h"
#include "pch.h"

IMPLEMENT_SERIAL(graph, CObject, 1)
graph::graph(int l, int u, int r, int d)
{
    left = l;
    up = u;
    right = r;
    down = d;
    state = 0;
    fcolor = 0xffffff;
}

void graph::Offset(int cx, int cy)
{
    left += cx;
    right += cx;
    up += cy;
    down += cy;
}

void graph::onPress(int x, int y)
{
    sx = x; sy = y;
    state = 0;
    //选中图形
    if (left < x && x < right &&
        up < y && y < down) {
        state = 1;
        return;
    }
    if (left - f_width / 2 < x && x < left + f_width / 2)    state |= 2;    //    选中左边
    if (up - f_width / 2 < y && y < up + f_width / 2)    state |= 4;//选中上边
    if (right - f_width / 2 < x && x < right + f_width / 2)    state |= 8;//选中右边
    if (down - f_width / 2 < y && y < down + f_width / 2)    state |= 16;    //    选中下边

}

void graph::onRelease(int x, int y)
{
    state = 0;
}


void graph::SetBorderColor(int color)
{
    fcolor = color;
}

void graph::SetFillColor(int color)
{
    bcolor = color;
}
int graph::onMove(int x, int y)
{
    int cx, cy;
    cx = x - sx; cy = y - sy;
    sx = x; sy = y;

    if (state == 1) {
        Offset(cx, cy);        //  位移量cx,cy
    }

    if (2 == (state & 2)) {
        left = x;

    }

    if (4 == (state & 4)) {
        up = y;

    }

    if (8 == (state & 8)) {
        right = x;

    }

    if (16 == (state & 16)) {
        down = y;

    }
    return state == 0 ? 0 : 1;
}
void graph::Serialize(CArchive& ar)
{
    CObject::Serialize(ar);
    if (ar.IsLoading()) {
        ar >> left >> right >> up >> down >> f_width >> fcolor >> bcolor;
    }
    else
    {
        ar << left << right << up << down << f_width << fcolor << bcolor;
    }
}
graph::~graph()
{
}
void graph::onDraw(CDC* pDC) {
    CBrush b(fcolor);
    pDC->SelectObject(&b);
    CRect r(left, up, right, down);
    pDC->FillRect(&r, &b);
    CPen p(PS_SOLID, 1, bcolor);
    pDC->SelectObject(&p);
    pDC->Rectangle(left, up, right, down);
    pDC->MoveTo(left, up);
    pDC->DrawText(_T("空图形"), -1, new CRect(left, up, right, down), DT_CENTER | DT_VCENTER | DT_SINGLELINE);
}
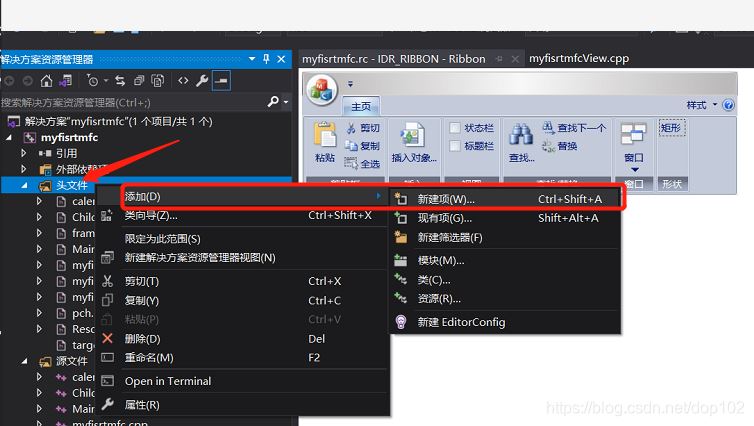
在项目中添加头文件graphz.h


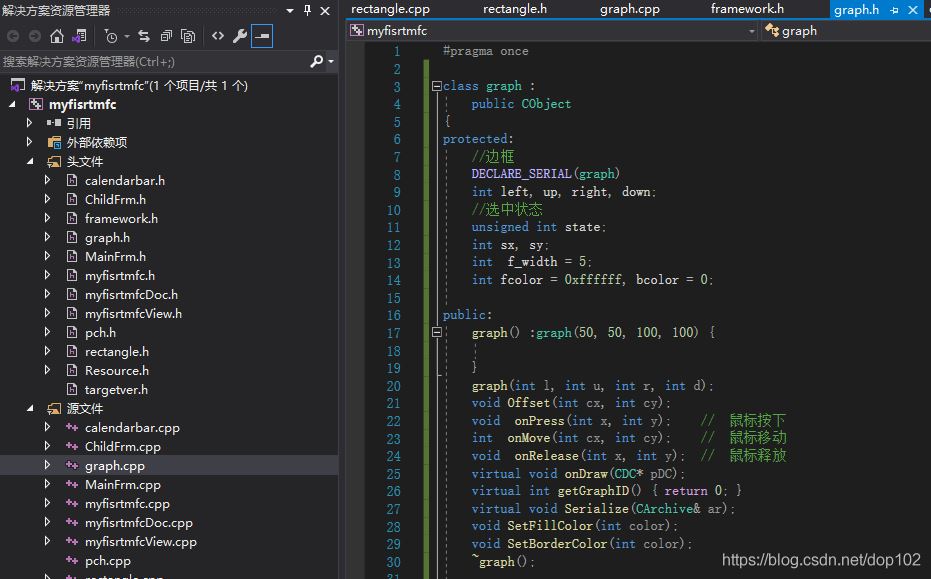
在graph.h中添加下面的代码:
#pragma once

class graph :
	public CObject
{
protected:
	//边框
	DECLARE_SERIAL(graph)
	int left, up, right, down;
	//选中状态
	unsigned int state;
	int sx, sy;
	int  f_width = 5;
	int fcolor = 0xffffff, bcolor = 0;

public:
	graph() :graph(50, 50, 100, 100) {

	}
	graph(int l, int u, int r, int d);
	void Offset(int cx, int cy);
	void  onPress(int x, int y);	//  鼠标按下
	int  onMove(int cx, int cy);	//  鼠标移动
	void  onRelease(int x, int y);	//  鼠标释放
	virtual void onDraw(CDC* pDC);
	virtual int getGraphID() { return 0; }
	virtual void Serialize(CArchive& ar);
	void SetFillColor(int color);
	void SetBorderColor(int color);
	~graph();

};
在framework.h中添加graph.h
#include "graph.h"
我们要画矩形,这里添加矩形的相关代码,
跟上面的步骤一样,见一个rectangle.h和rectangle.cpp
rectangle.cpp
#include "framework.h"
#include "pch.h"
rectangle::rectangle(int l, int u, int r, int d) :graph(l, u, r, d)
{
    state = 0;
    fcolor = 0xffffff;

}

void rectangle::onDraw(CDC* pDC)
{
    CBrush b(fcolor);
    pDC->SelectObject(&b);
    CRect r(left, up, right, down);
    pDC->FillRect(&r, &b);
    CPen p(PS_SOLID, 1, bcolor);
    pDC->SelectObject(&p);
    pDC->Rectangle(left, up, right, down);
    pDC->MoveTo(left, up);
}

rectangle::~rectangle()
{
}
rectangle.h
#include "graph.h"
class rectangle :
    public graph
{
public:
    //DECLARE_SERIAL(graph)
    //void Serialize(CArchive& ar);
    rectangle() :graph(50, 50, 100, 100) {}
    rectangle(int l, int u, int r, int d);
    void onDraw(CDC* pDC);
    int getGraphID() { return 2; }
    ~rectangle();
};
然后myfirstmfcDoc.h中添加list
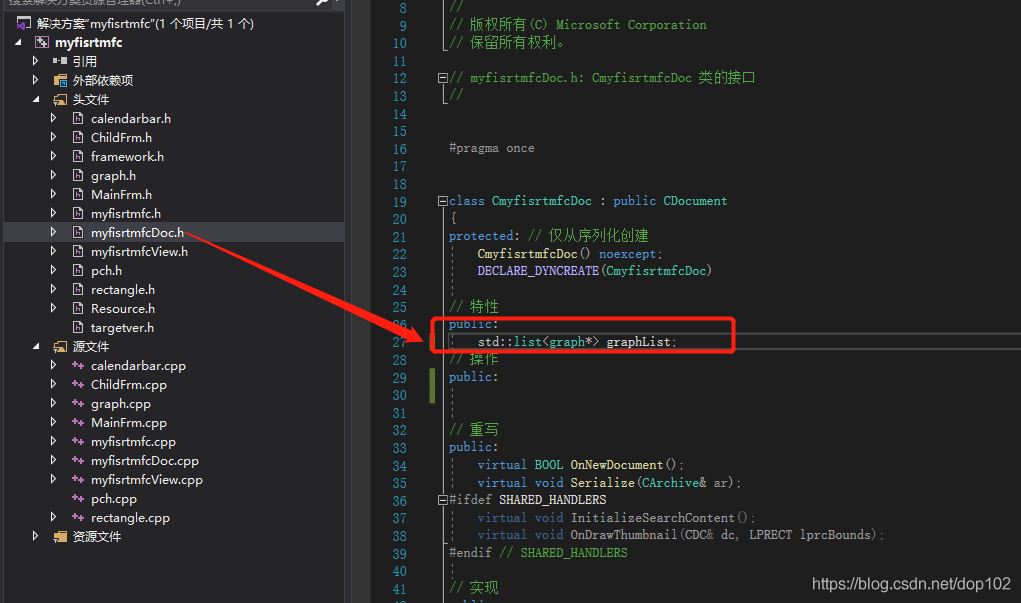
std::list<graph*> graphList;
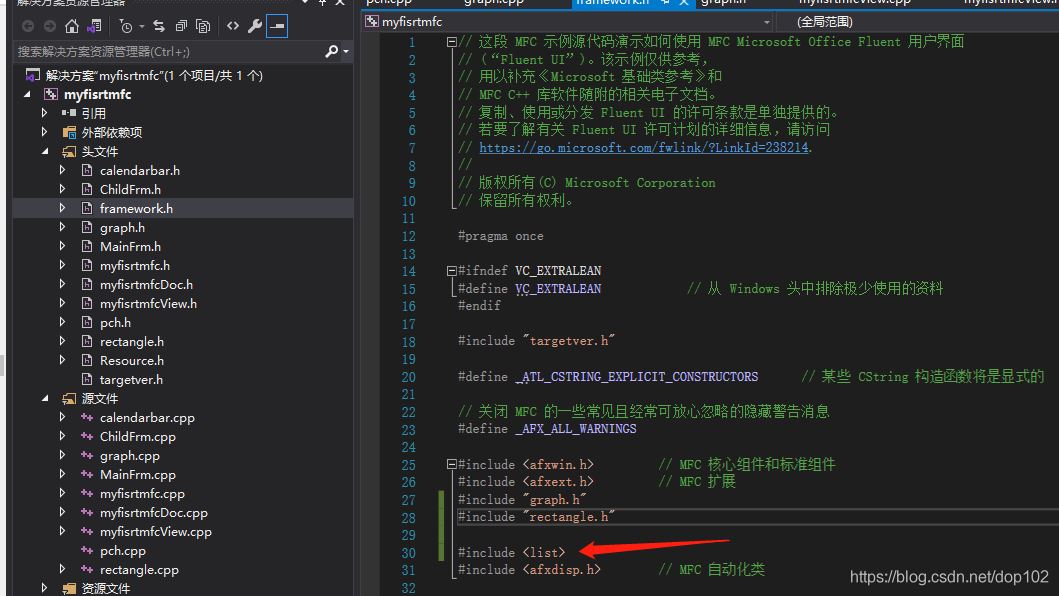
因为调用了list,所以在framework.h中添加
#include <list>
这里要调用用OnRectangle()函数,之前生成的函数,我们现在添加下面的代码:
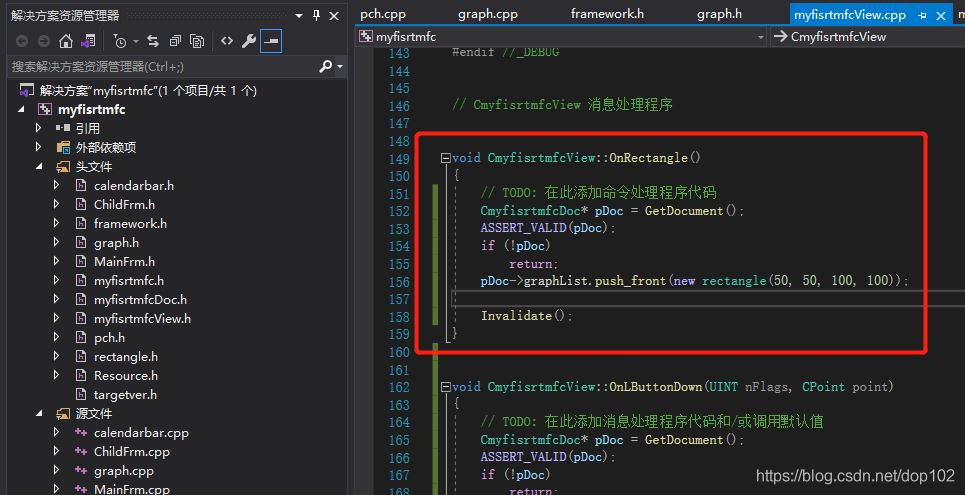
    CmyfisrtmfcDoc* pDoc = GetDocument();
    ASSERT_VALID(pDoc);
    if (!pDoc)
        return;
    pDoc->graphList.push_front(new rectangle(50, 50, 100, 100));

    Invalidate();
修改myfirstmfcView.cpp中的OnDraw函数为如下:
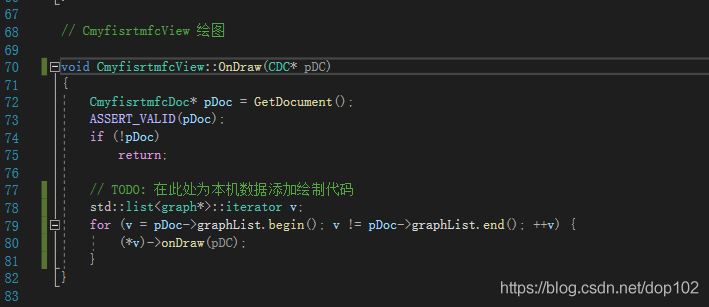
void CmyfisrtmfcView::OnDraw(CDC* pDC)
{
    CmyfisrtmfcDoc* pDoc = GetDocument();
    ASSERT_VALID(pDoc);
    if (!pDoc)
        return;

    // TODO: 在此处为本机数据添加绘制代码
    std::list<graph*>::iterator v;
    for (v = pDoc->graphList.begin(); v != pDoc->graphList.end(); ++v) {
        (*v)->onDraw(pDC);
    }
}
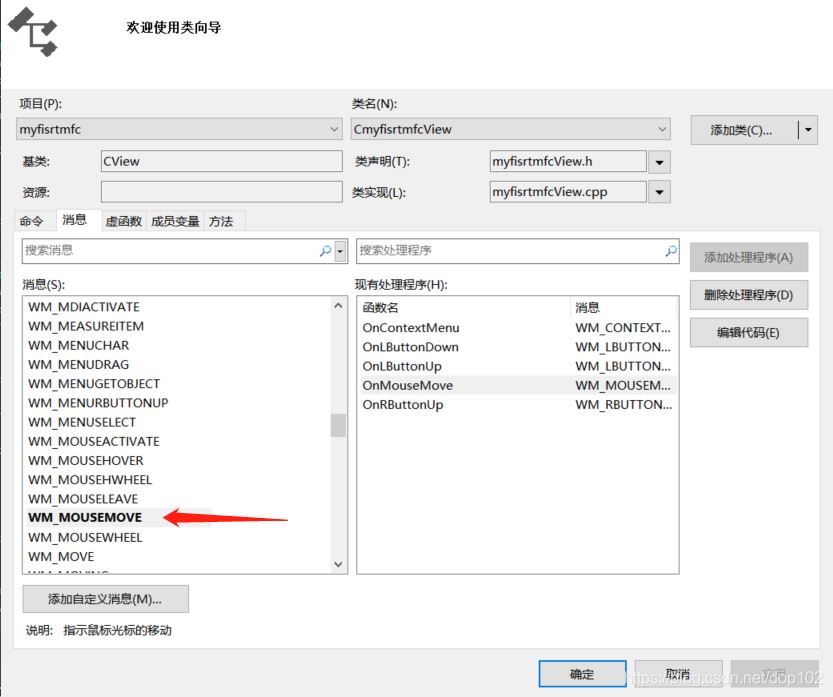
接下来通过类向导添加消息
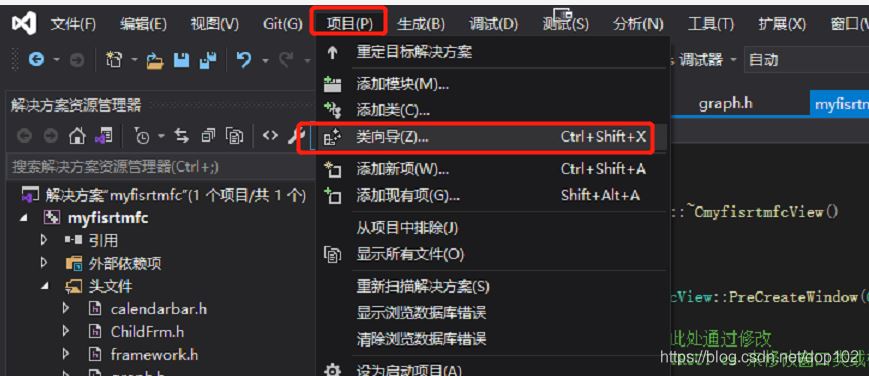
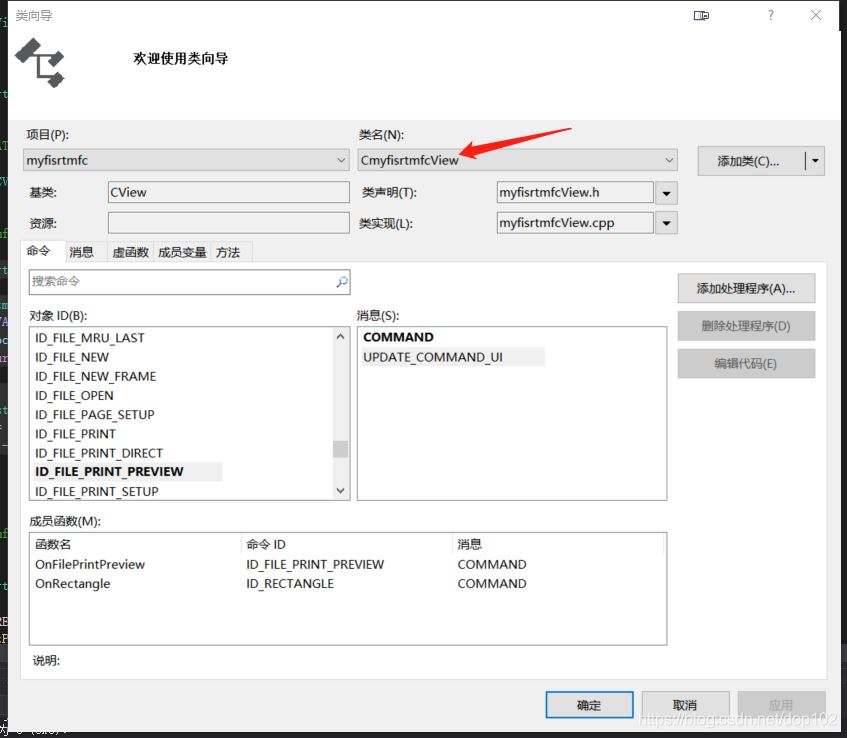
添加鼠标左键按下消息,左键松开消息,鼠标移动消息

在生成的按键按下函数中
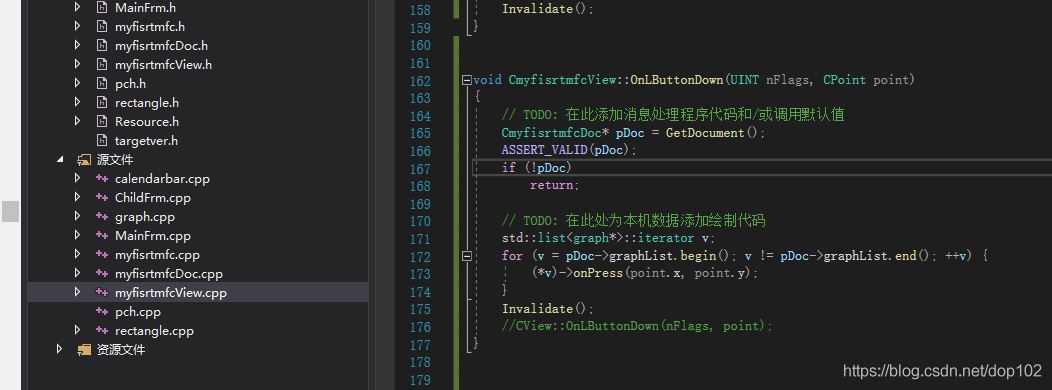
void CmyfisrtmfcView::OnLButtonDown(UINT nFlags, CPoint point)
{
    // TODO: 在此添加消息处理程序代码和/或调用默认值
    CmyfisrtmfcDoc* pDoc = GetDocument();
    ASSERT_VALID(pDoc);
    if (!pDoc)
        return;

    // TODO: 在此处为本机数据添加绘制代码
    std::list<graph*>::iterator v;
    for (v = pDoc->graphList.begin(); v != pDoc->graphList.end(); ++v) {
        (*v)->onPress(point.x, point.y);
    }
    Invalidate();
    //CView::OnLButtonDown(nFlags, point);
}
跟上面一样的方式
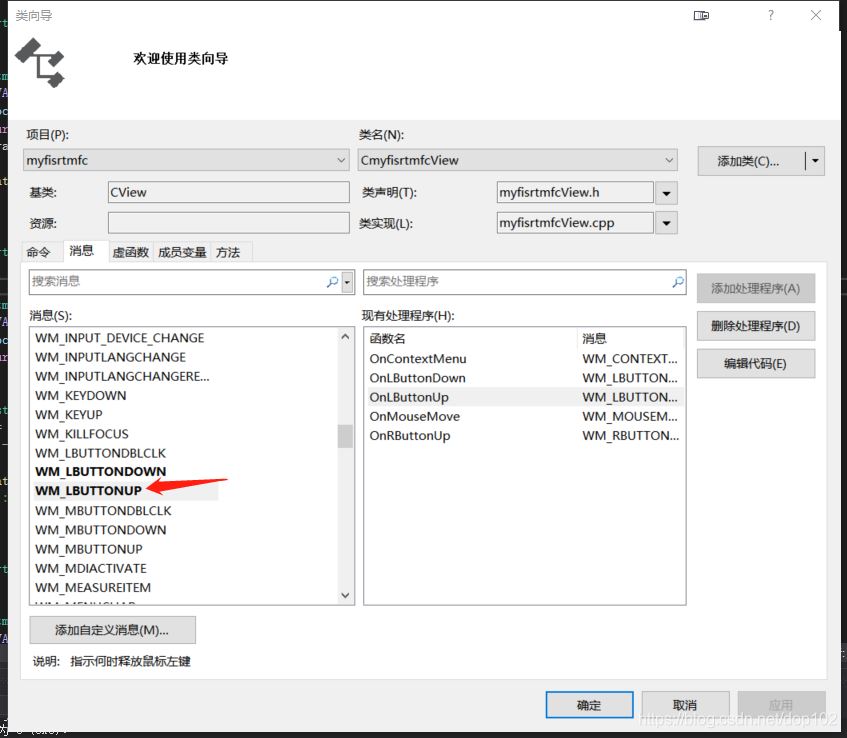
自从生成的代码在myfirstmfcView中如下:
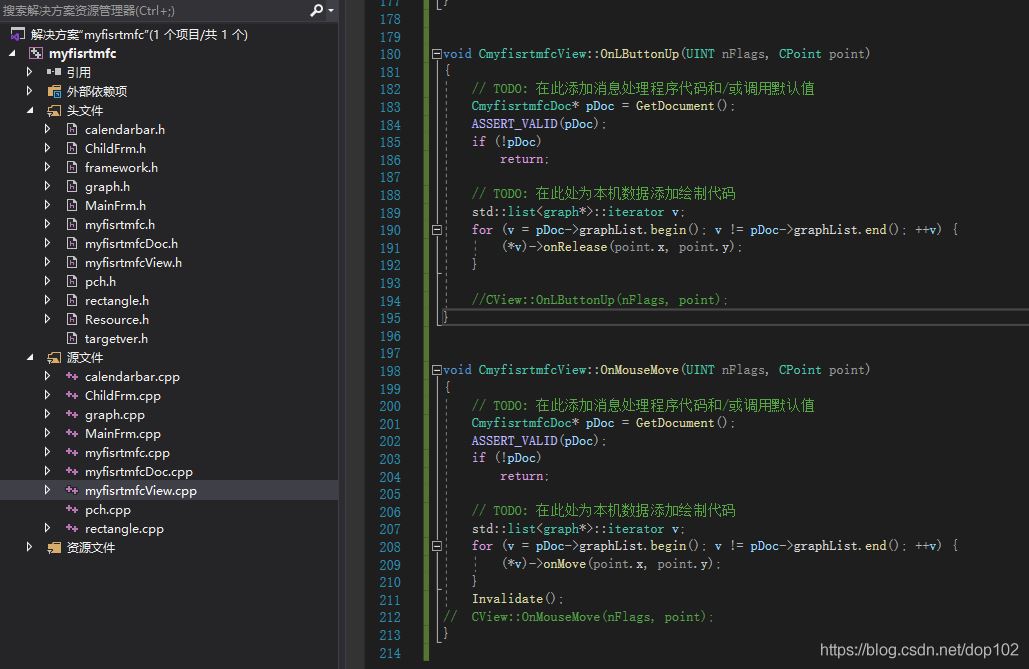
void CmyfisrtmfcView::OnLButtonUp(UINT nFlags, CPoint point)
{
    // TODO: 在此添加消息处理程序代码和/或调用默认值
    CmyfisrtmfcDoc* pDoc = GetDocument();
    ASSERT_VALID(pDoc);
    if (!pDoc)
        return;

    // TODO: 在此处为本机数据添加绘制代码
    std::list<graph*>::iterator v;
    for (v = pDoc->graphList.begin(); v != pDoc->graphList.end(); ++v) {
        (*v)->onRelease(point.x, point.y);
    }

    //CView::OnLButtonUp(nFlags, point);
}


void CmyfisrtmfcView::OnMouseMove(UINT nFlags, CPoint point)
{
    // TODO: 在此添加消息处理程序代码和/或调用默认值
    CmyfisrtmfcDoc* pDoc = GetDocument();
    ASSERT_VALID(pDoc);
    if (!pDoc)
        return;

    // TODO: 在此处为本机数据添加绘制代码
    std::list<graph*>::iterator v;
    for (v = pDoc->graphList.begin(); v != pDoc->graphList.end(); ++v) {
        (*v)->onMove(point.x, point.y);
    }
    Invalidate();
//    CView::OnMouseMove(nFlags, point);
}
到这里就完成了全部工作,可以进行编译了。
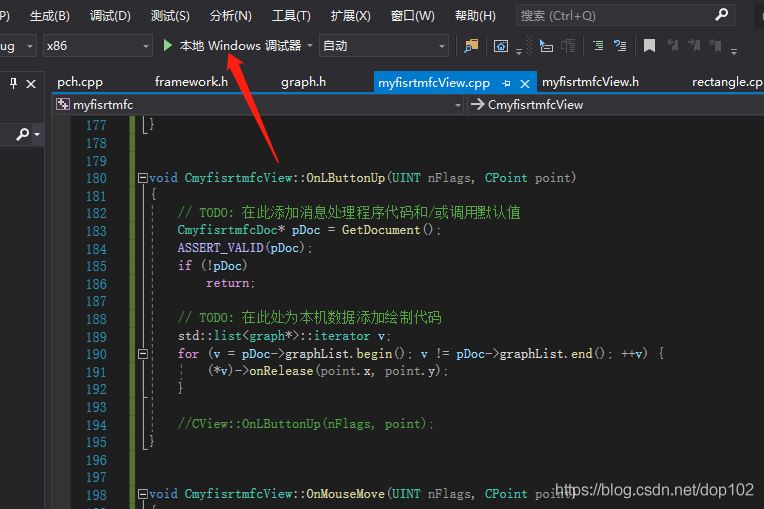
生成下面的图形,矩形可以移动,可拉伸
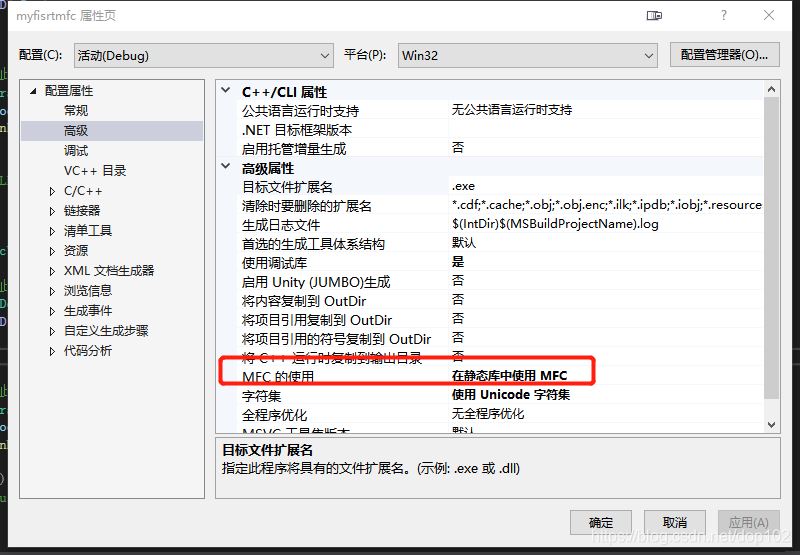
点击项目中的属性,在配置属性中选择高级,MFC使用 静态库,在编译一次,生成.exe可以其他电脑上不依赖动态库也能打开了。

总结:
1.学会了如何添加项目工程
2.学会了添加用户自己的源文件和头文件,并且与项目关联
3.学会了类向导
4.学会了按键控件的生成,和通过消息ID跟函数关联起来
参考文献:
加载全部内容