从零搭建一个SpringCloud项目之Config(五)
女友在高考 人气:0配置中心
一、配置中心服务端
- 新建项目study-config-server
- 引入依赖
<dependency>
            <groupId>org.springframework.cloud</groupId>
            <artifactId>spring-cloud-config-server</artifactId>
<https://img.qb5200.com/download-x/dependency>
- 加配置文件
server:
  port: 9100
spring:
  application:
    name: study-config-server
  cloud:
    config:
      server:
        git:
          uri: https://github.com/mmcLine/cloudconfigTest.git
          username: mmcLine
          password: ********
- 加注解 @EnableConfigServer
@SpringBootApplication
@EnableConfigServer
public class StudyConfigApplication {

    public static void main(String[] args) {
        SpringApplication.run(StudyConfigApplication.class);
    }
}
- 创建一个git项目,并在根目录下新建一个application.yml文件
spring:
  profiles:
    active: test
---
spring:
  profiles: test
  application:
    name: config-test

server:
  port:9101
---
spring:
  profiles: prod
  application:
    name: config-prod

server:
  port:9102
- 访问规则
- 通过application-{profiles}.yml来访问
例:http://localhost:9100/application-test.yml - 通过application/{profiles}/{label}
例:http://localhost:9100/application/test/master - 通过/label/application-{profiles}.yml
例:http://localhost:9100/master/application-test.yml
二、配置中心客户端
- 引入依赖
 <dependency>
            <groupId>org.springframework.cloud</groupId>
            <artifactId>spring-cloud-starter-config</artifactId>
 <https://img.qb5200.com/download-x/dependency>
- 配置文件,新增bootstrap.yml文件
spring:
  application:
    name: study-trade
  cloud:
    config:
      uri: http://localhost:9100
      profile: test
      label: master
注意:git上的配置yml文件名要对应这里配置的spring.application.name
- git配置文件演示

- 测试配置是否生效
@RestController
public class ConfigTestController {


    @Value("${ordernotiry}")
    private Boolean ordernotiry;

    @RequestMapping("/testconfig")
    public String testconfig(){
        return String.valueOf(ordernotiry);
    }
}
到此最简单的配置中心搭建完成!!!
三、升级不重启修改配置文件
整合bus的方案
服务端修改:
- 加依赖
<dependency>
            <groupId>org.springframework.boot</groupId>
            <artifactId>spring-boot-starter-actuator</artifactId>
        <https://img.qb5200.com/download-x/dependency>

        <dependency>
            <groupId>org.springframework.cloud</groupId>
            <artifactId>spring-cloud-starter-bus-amqp</artifactId>
 <https://img.qb5200.com/download-x/dependency>
- 启动一个rabbitmq
- 配置文件
spring:
  cloud:
    bus:
      enabled: true
      trace:
        enabled: true
  rabbitmq:
    host: localhost
    port: 5672
    username: guest
    password: guest

management:
  endpoints:
    web:
      exposure:
        include: "bus-refresh"
客户端:
- 加依赖
<dependency>
            <groupId>org.springframework.boot</groupId>
            <artifactId>spring-boot-starter-actuator</artifactId>
        <https://img.qb5200.com/download-x/dependency>

        <dependency>
            <groupId>org.springframework.cloud</groupId>
            <artifactId>spring-cloud-starter-bus-amqp</artifactId>
 <https://img.qb5200.com/download-x/dependency>
- 加注解
在读取配置的类上加@RefreshScope注解
@RestController
@RefreshScope
public class ConfigTestController {


    @Value("${ordernotiry}")
    private Boolean ordernotiry;

    @RequestMapping("/testconfig")
    public String testconfig(){
        return String.valueOf(ordernotiry);
    }
}
- git上修改配置文件后,post方式调用http://localhost:9100/actuator/bus-refresh即可
四、配置加密
- 下载jce文件
https://www.oracle.com/java/technologies/javase-jce8-downloads.html
- 放入Java\jdk1.8.0_112\jre\lib\security目录下替换掉原有jar包
- 在config-server的bootstrap.yml(application.yml里不行)文件里加配置
encrypt:
  key: trademmc
- 测试
http://localhost:9100/encrypt/status
返回OK代表配置成功
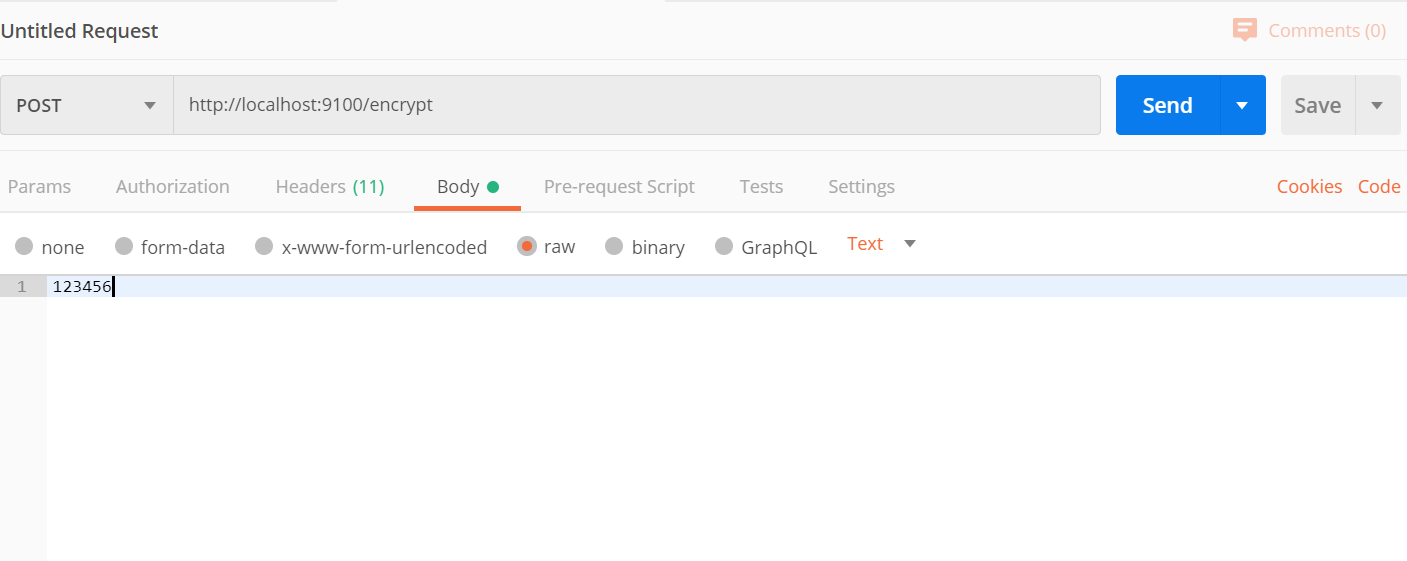
5. 测试加密方法

- 解密方法
http://localhost:9100https://img.qb5200.com/download-x/decrypt
- 在配置文件中就可以写密文了
密文内容前需要写{cipher},并且用单引号括起来
loginpass: '{cipher}941c15446567e8211931cf0d25f81696871f5a5ea74fac46638eed71db24e76b'
- 加上安全配置
避免直接访问配置文件
- 在config-server里加依赖
 <!-- 安全配置 -->
        <dependency>
            <groupId>org.springframework.boot</groupId>
            <artifactId>spring-boot-starter-security</artifactId>
        <https://img.qb5200.com/download-x/dependency>
- bootstrap.yml配置文件里开启
spring:
  security:
    user:
      name: root
      password: 123456
    basic:
      enable: true
- 客户端里也要配置相应的密码
spring:
  cloud:
    config:
      uri: http://localhost:9100
      profile: test
      label: master
      username: root
      password: 123456
git地址:https://github.com/mmcLine/spring-cloud-study
加载全部内容