用SpringBoot Admin监控SpringBoot程序
空夜 人气:0项目源码地址:https://github.com/laolunsi/spring-boot-examples/tree/master/02-spring-boot-admin-demo
一、SpringBoot Admin概要
SpringBoot Admin用于监控SpringBoot程序,一个SpringBoot程序通过向SpringBoot Admin Server注册或使用@DiscoveryClient等微服务方式,可以将自身注册到SpringBoot Admin Server。
SpringBoot Admin UI是一个基于SpringBoot Actuator endpoints上的Vue.js应用。
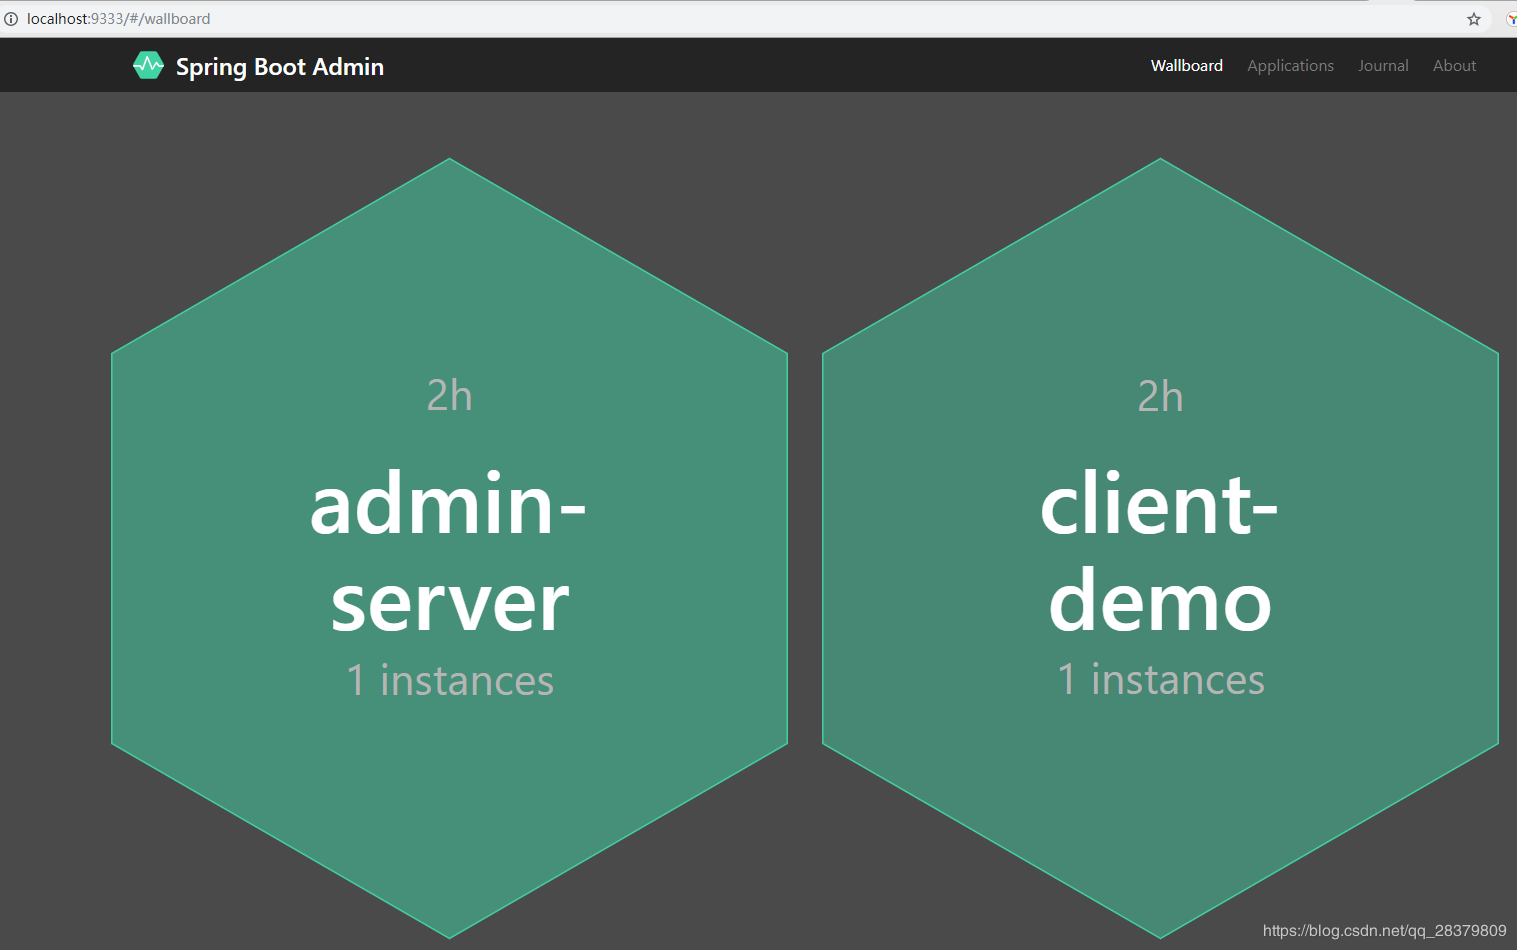
我们可以先预览一下效果图:

下面我们来基于SpringBoot创建监控程序和示例:
二、第一个Spring Boot Admin Server与Client
2.1 创建Admin Server
采用SpringBoot 2.1.8.RELEAE和SpringBoot Admin 2.1.5
   <properties>
    <java.version>1.8</java.version>
    <spring-boot-admin.version>2.1.5</spring-boot-admin.version>
  </properties>

  <dependencies>
    <dependency>
      <groupId>de.codecentric</groupId>
      <artifactId>spring-boot-admin-starter-server</artifactId>
    </dependency>

    <dependency>
      <groupId>de.codecentric</groupId>
      <artifactId>spring-boot-admin-starter-client</artifactId>
    </dependency>
  </dependencies>

  <dependencyManagement>
    <dependencies>
      <dependency>
        <groupId>de.codecentric</groupId>
        <artifactId>spring-boot-admin-dependencies</artifactId>
        <version>${spring-boot-admin.version}</version>
        <type>pom</type>
        <scope>import</scope>
      </dependency>
    </dependencies>
  </dependencyManagement>
application类启用AdminServer:
@SpringBootApplication
@EnableAdminServer
public class AdminServerApplication {

  public static void main(String[] args) {
    SpringApplication.run(AdminServerApplication.class, args);
  }

}
配置:
server:
 port: 9333
spring:
 application:
  name: admin-server
 boot:
  admin:
   client:
     enabled: true
    url: http://localhost:${server.port} # 将自身注册到admin-server
2.2 创建SpringBoot应用并注册到Admin Server
SpringBoot应用注册到Admin Server有两种方式:
- 引入admin-client依赖,启用admin client并配置admin-server的地址即可
- 微服务环境,使用@EnableDiscoveryClient或其他类似注解
这里演示第一种方法:
依赖:
SpringBoot 2.1.8.RELEASE和SpringBoot Admin 2.1.5
  <properties>
    <java.version>1.8</java.version>
    <spring-boot-admin.version>2.1.5</spring-boot-admin.version>
  </properties>

  <dependencies>
    <dependency>
      <groupId>org.springframework.boot</groupId>
      <artifactId>spring-boot-starter-web</artifactId>
    </dependency>

    <dependency>
      <groupId>de.codecentric</groupId>
      <artifactId>spring-boot-admin-starter-client</artifactId>
    </dependency>
  </dependencies>

  <dependencyManagement>
    <dependencies>
      <dependency>
        <groupId>de.codecentric</groupId>
        <artifactId>spring-boot-admin-dependencies</artifactId>
        <version>${spring-boot-admin.version}</version>
        <type>pom</type>
        <scope>import</scope>
      </dependency>
    </dependencies>
  </dependencyManagement>
配置:
server:
 port: 9334
spring:
 application:
  name: client-demo
 boot:
  admin:
   client:
     enabled: true
    url: http://localhost:9333
# 这里加一个暴露所有应用信息的配置
management:
 endpoints:
  web:
   exposure:
    include: '*'
这个应用不需要修改Application类,默认的就行。
2.3 启动和测试SpringBoot Admin
启动这两个应用,打开浏览器,输入admin-server的地址:http://localhost:9333

默认会进入上面的application页面,我们可以看到admin-server和client-demo两个SpringBoot已经注册到admin-server的监控中了。
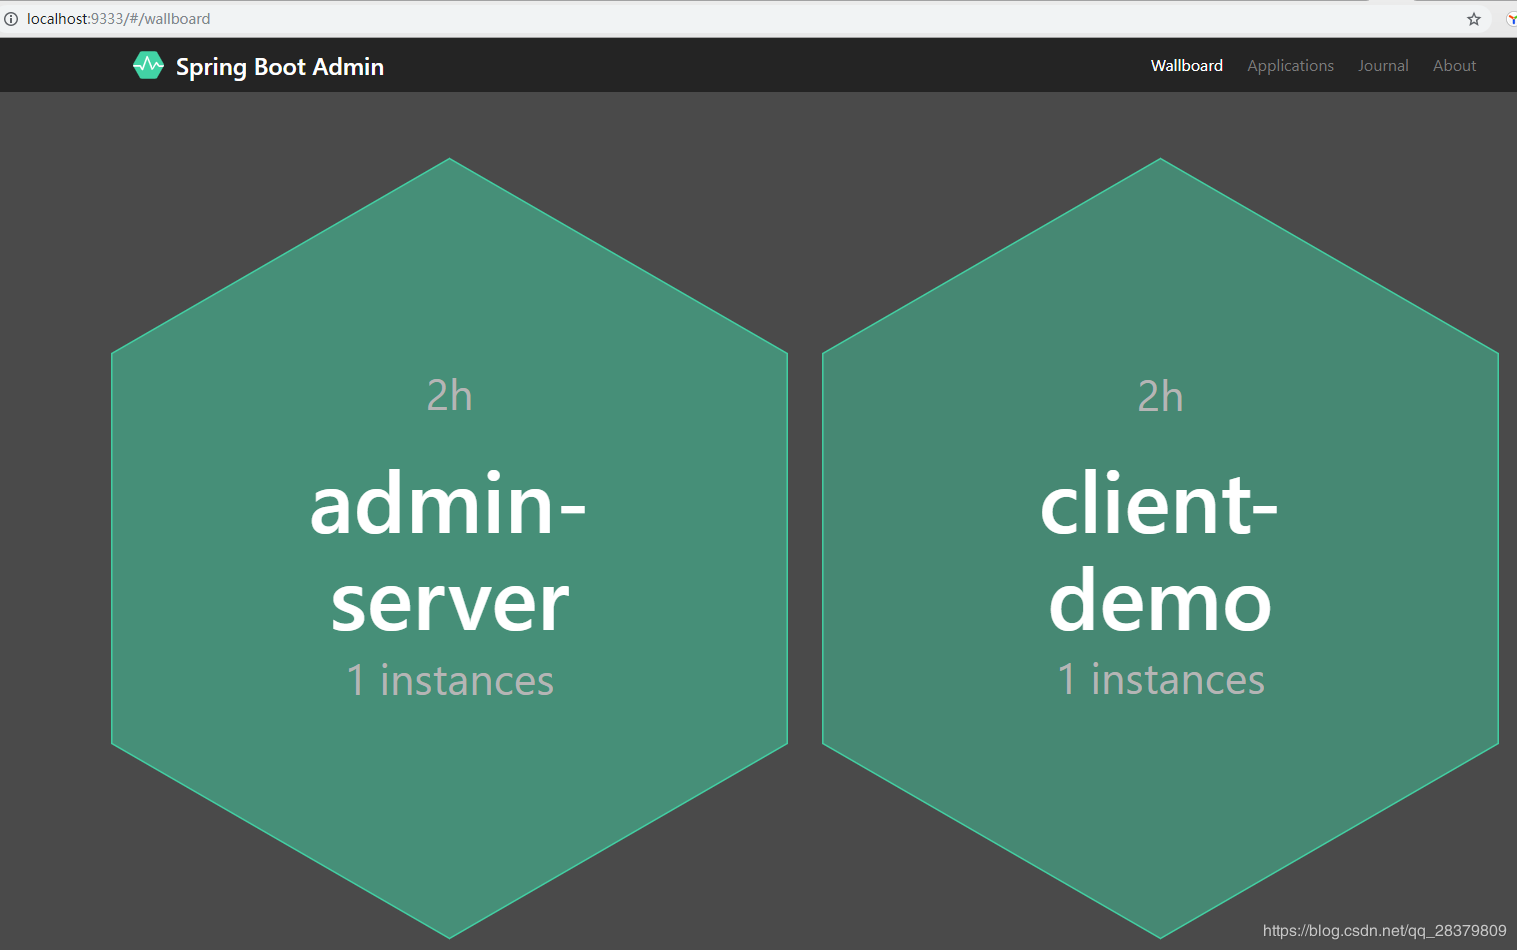
打开wallboard页面:

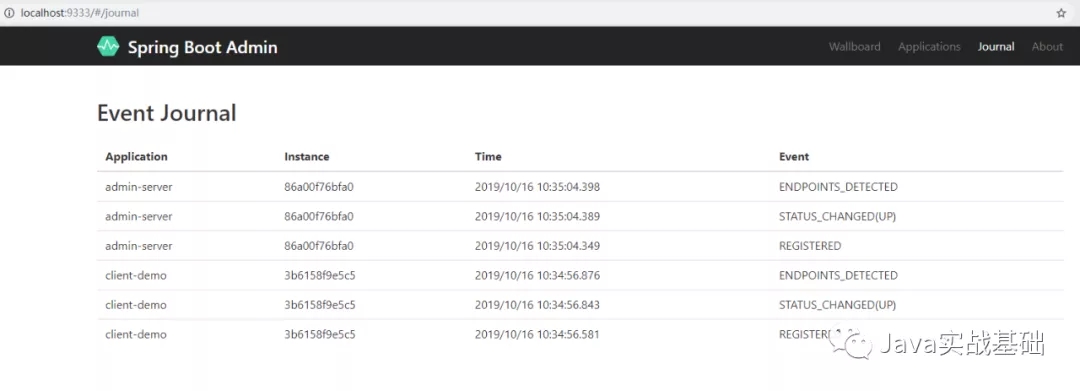
点开journal,可以看到这些应用的记录:

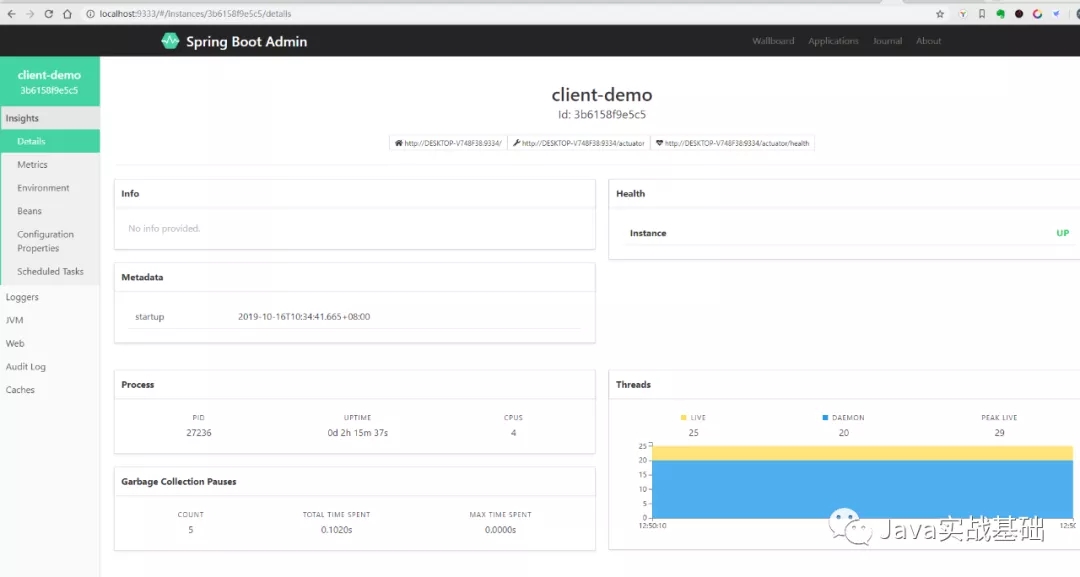
点开application中client-demo应用,可以看到这个应用的面板:

在这里我们可以看到当前服务器、当前应用的详细信息。
到此为止,我们介绍了如何利用SpringBoot Admin来管理SpringBoot应用,下一篇我们将继续了解,如何在SpringCloud的微服务体系中,利用SpringBoot Admin来监控微服务。
加载全部内容