vue-awesome-swiper 基于vue实现h5滑动翻页效果【推荐】
异乡小龟 人气:0说到h5的翻页,很定第一时间想到的是swiper。但是我当时想到的却是,vue里边怎么用swiper?!
vue-awesome-swiper就是其中一个前辈们产出的结晶。就看首尾两个单词,就知道他是vue和swiper的爱情之子了。
vue-awesome-swiper官网是中文文档,妈妈再也不用担心我读api啦。“基于 Swiper4、适用于 Vue 的轮播组件”。在产品催着进度的紧张环境下,在四处搜寻解决方案的情况下,这句话简直发着光啊。
具体怎么用,官方文档写的很清楚,但我还是想记录下来,好再普及一波。
一、天才第一步,这里没有纸尿裤((⊙﹏⊙) 好像暴露了年龄...)
准备一个基于vue-cli的项目(或者你自己的脚手架,whatever),没有准备的请移驾vue-cli教程:

二、在项目目录下,往node_modules里安装插件vue-awesome-swiper(可以在项目目录内,shift+鼠标右键,选择"在此处打开命令窗口"),
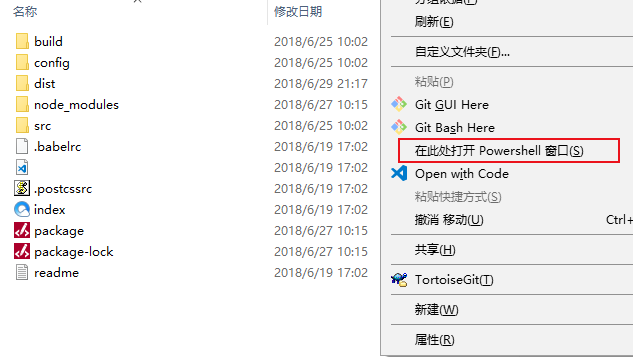
注释:我这里window电脑安装了,所有右键出现的可能和没安装的不一样,实在找不到的看这一篇教程:gulp安装流程、使用方法及CMD常用命令导览
然后输入下边的安装插件命令
npm i --s vue-awesome-swiper

三、第三步我们依旧没有天才牌裤子,所以还是自己一步一步稳稳走。
1.插件安装后就是引用插件了,main.js内部分三步走:
(1) 引用插件:mainjs注册vas

(2) 注册插件
注册后未use控制台就警告了

通过全局方法 Vue.use() 使用插件后可以了

使用后控制台无错了
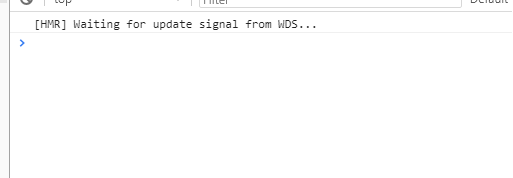
(3) 插件样式(也可以自己写,不用人家的)

2.vue项目中使用:
(1) 准备-template
new a project准备一个空项目
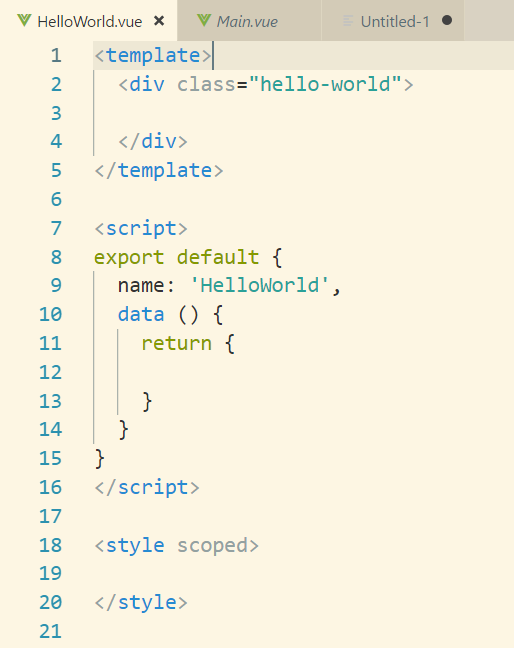
初始化html-空结构

(2) 引入-import

(3) 注册组件-components
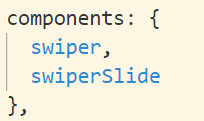
(4) 配置-js(具体配置和swiper的一摸一样,看swiper官网即可。我这里只说下我本次使用的配置的含义)
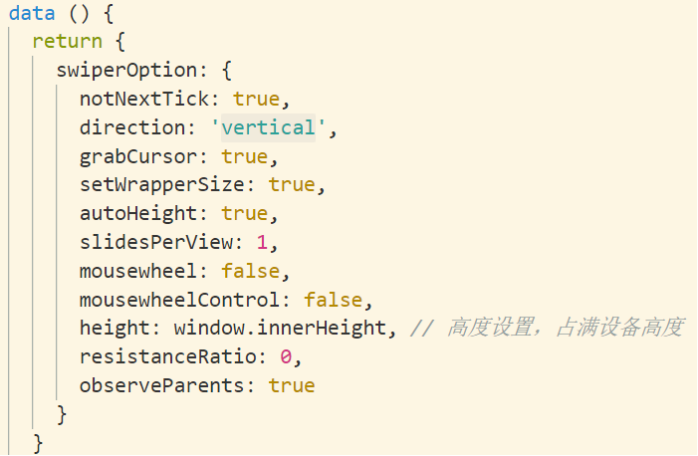
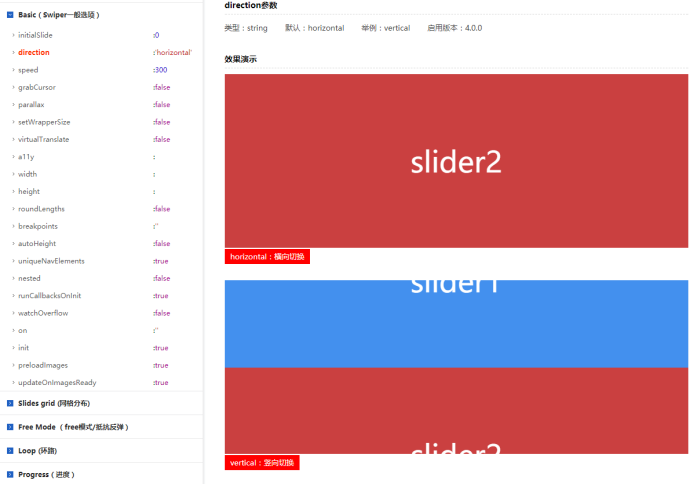
(5)美化- css

wan~
效果:

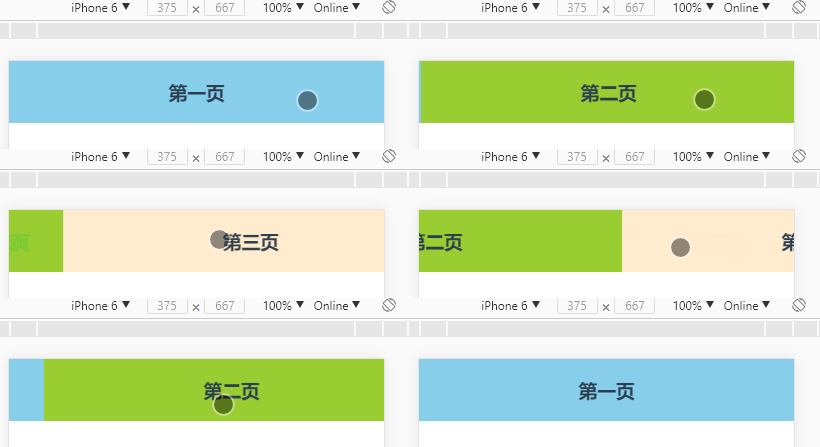

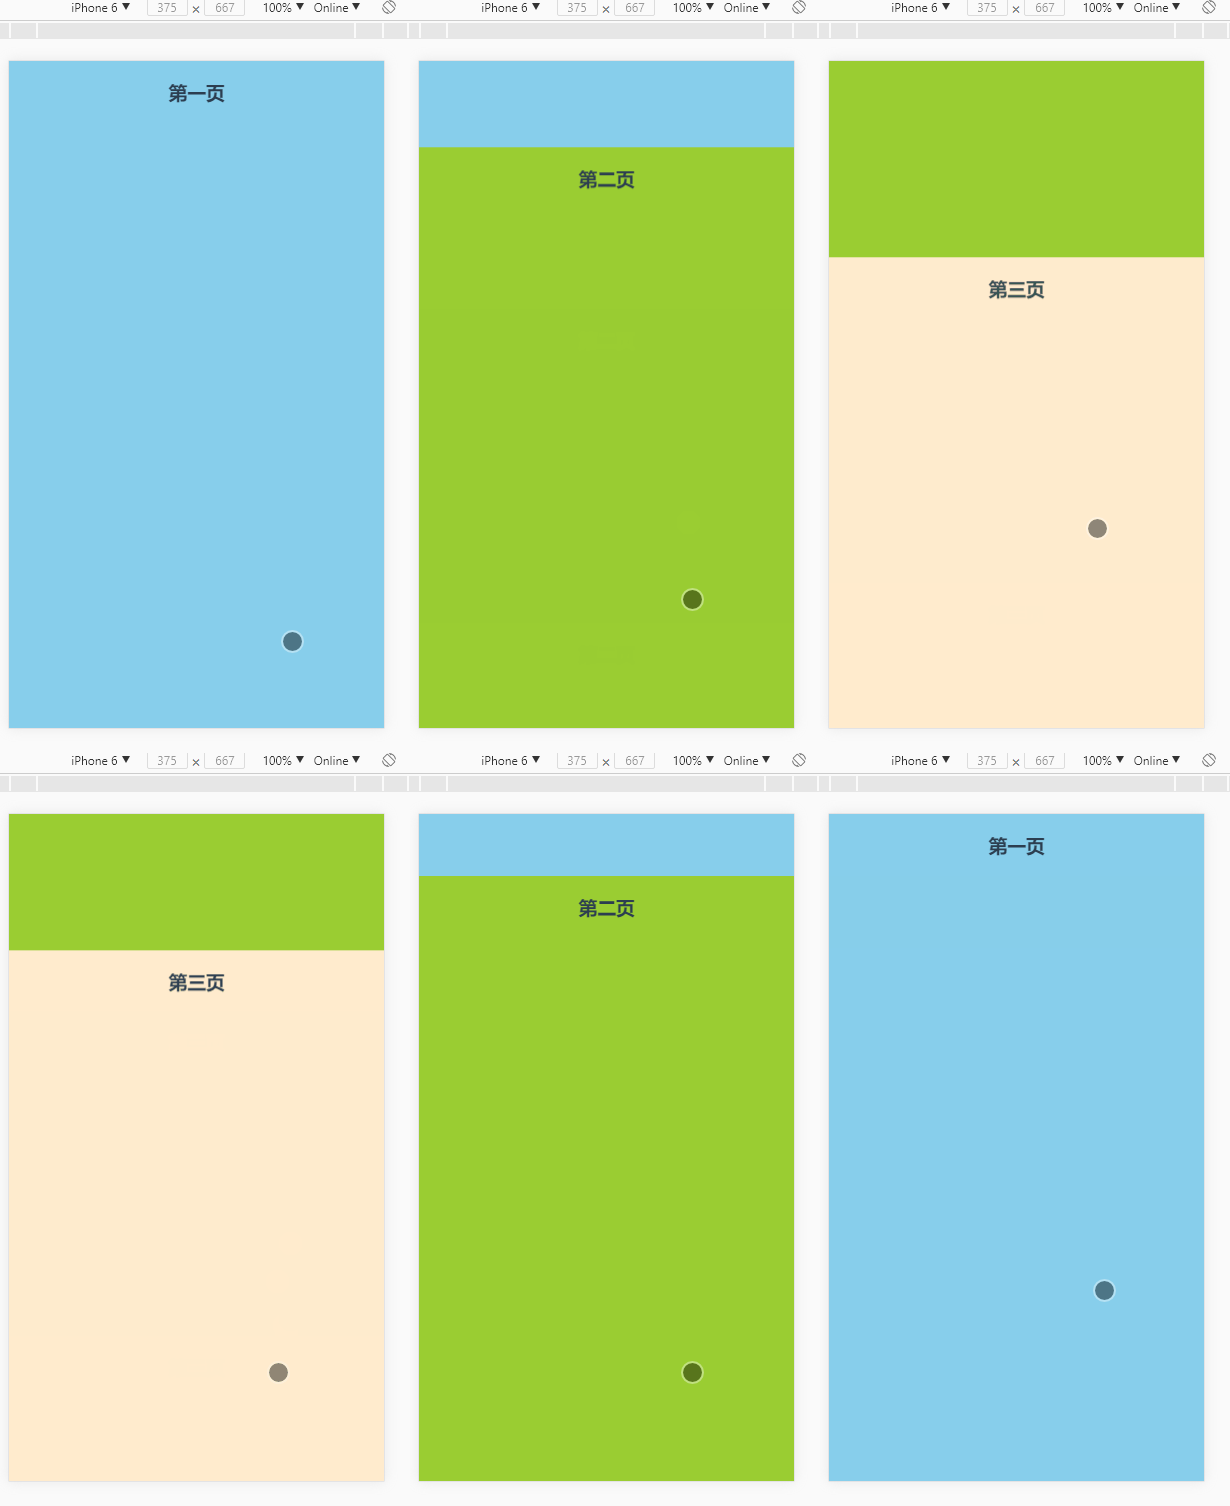
代码:
main.js
import VueAwesomeSwiper from 'vue-awesome-swiper'
import 'swiperhttps://img.qb5200.com/download-x/dist/css/swiper.css'
Vue.use(VueAwesomeSwiper)
zujian.vue
<template>
 <div class="hello-world">
 <!-- <h3>https://github.com/surmon-china/vue-awesome-swiper</h3> -->
 <!-- <h3>http://www.swiper.com.cn/api/index2.html</h3> -->
 <!-- http://www.swiper.com.cn/api/parameters/21.html -->
 <transition name="fade">
 <swiper id="swiperBox" v-bind:options="swiperOption" ref="mySwiper">
 <!-- 第一页 -->
 <swiper-slide class="swiper-slide1">
 <div class="page">
 <h3>第一页</h3>
 </div>
 </swiper-slide>
 <!-- 第二页 -->
 <swiper-slide class="swiper-slide2">
 <div class="page">
 <h3>第二页</h3>
 </div>
 </swiper-slide>
 <!-- 第三页 -->
 <swiper-slide class="swiper-slide3">
 <div class="page">
 <h3>第三页</h3>
 </div>
 </swiper-slide>
 </swiper>
 </transition>
 </div>
</template>
<script>
import { swiper, swiperSlide } from 'vue-awesome-swiper'
export default {
 name: 'HelloWorld',
 components: {
 swiper,
 swiperSlide
 },
 data () {
 return {
 swiperOption: {
 // swiper configs 所有的配置同swiper官方api配置
 notNextTick: true,//notNextTick是一个组件自有属性,如果notNextTick设置为true,组件则不会通过NextTick来实例化swiper,也就意味着你可以在第一时间获取到swiper对象,假如你需要刚加载遍使用获取swiper对象来做什么事,那么这个属性一定要是true
 direction: 'vertical',//水平方向移动
 grabCursor: true,//鼠标覆盖Swiper时指针会变成手掌形状,拖动时指针会变成抓手形状
 setWrapperSize: true,//Swiper使用flexbox布局(display: flex),开启这个设定会在Wrapper上添加等于slides相加的宽或高,在对flexbox布局的支持不是很好的浏览器中可能需要用到。
 autoHeight: true,//自动高度。设置为true时,wrapper和container会随着当前slide的高度而发生变化
 slidesPerView: 1,//设置slider容器能够同时显示的slides数量(carousel模式)。可以设置为数字(可为小数,小数不可loop),或者 'auto'则自动根据slides的宽度来设定数量。loop模式下如果设置为'auto'还需要设置另外一个参数loopedSlides。
 mousewheel: false,//开启鼠标滚轮控制Swiper切换。可设置鼠标选项,默认值false
 mousewheelControl: false,//同上
 height: window.innerHeight, // 高度设置,占满设备高度
 resistanceRatio: 0,//抵抗率。边缘抵抗力的大小比例。值越小抵抗越大越难将slide拖离边缘,0时完全无法拖离。本业务需要
 observeParents: true,//将observe应用于Swiper的父元素。当Swiper的父元素变化时,例如window.resize,Swiper更新
 // 如果自行设计了插件,那么插件的一些配置相关参数,也应该出现在这个对象中,如下debugger
 debugger: true,
 // swiper的各种回调函数也可以出现在这个对象中,和swiper官方一样
 onTransitionStart(swiper){
 console.log(swiper)
 }
 }
 },
 computed: {
 swiper() {
 return this.$refs.mySwiper.swiper
 }
 },
 mounted() {
 // current swiper instance
 // 然后你就可以使用当前上下文内的swiper对象去做你想做的事了
 console.log('this is current swiper instance object', this.swiper)
 this.swiper.slideTo(3, 1000, false)
 }
}
</script>
<style scoped>
 .fade-enter-active, .fade-leave-active {
 transition: opacity .5s
 }
 .fade-enter, .fade-leave-to{
 opacity: 0
 }
 .swiper-wrapper{
 height: 100px;
 }
 .swiper-slide1{
 background: skyblue;
 }
 .swiper-slide2{
 background: yellowgreen;
 }
 .swiper-slide3{
 background: blanchedalmond;
 }
</style>
总结
以上所述是小编给大家介绍的vue-awesome-swiper 基于vue实现h5滑动翻页效果【推荐】,希望对大家有所帮助,如果大家有任何疑问请给我留言,小编会及时回复大家的。在此也非常感谢大家对网站的支持!
加载全部内容