photoshop教程:校正灰暗偏色照片
kkfifgk 人气:0
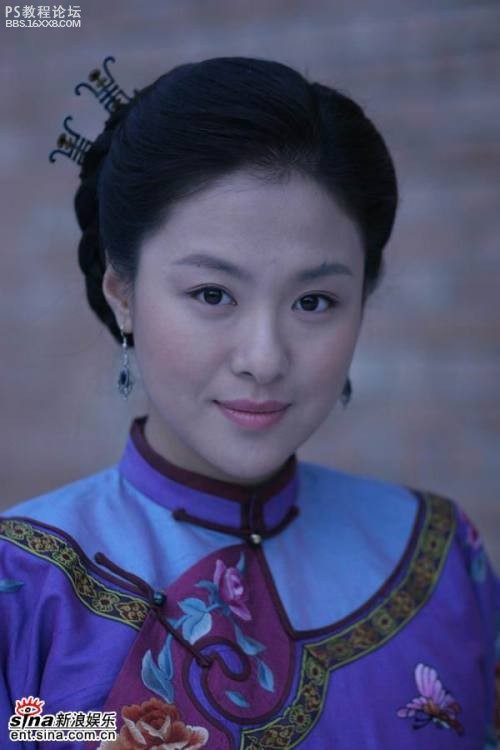
原图
效果图

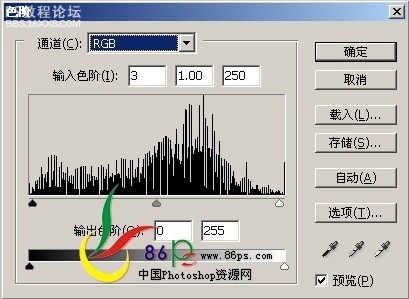
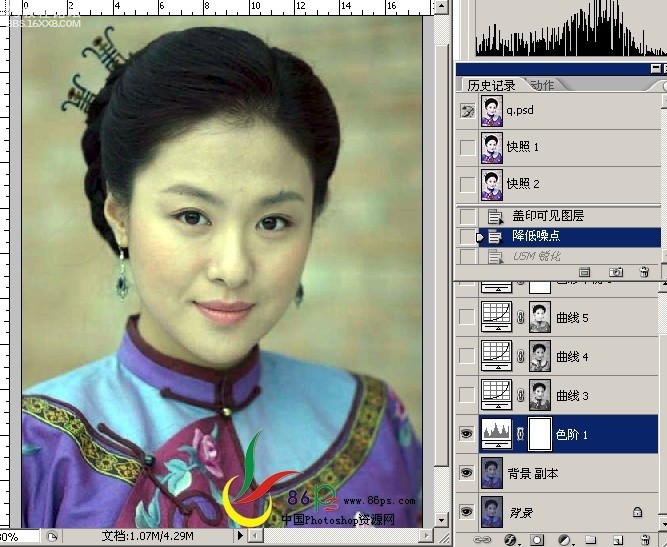
,1、用photoshop打开原图,复制一层,建色阶调整层。

2、调整色阶如下:RGB通道:
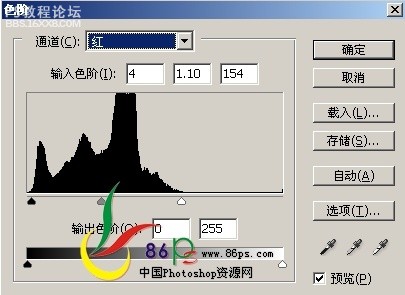
红通道:
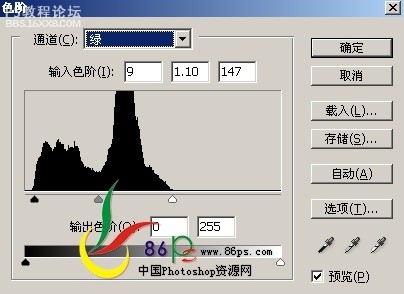
绿通道:
蓝通道:

调完后效果如下:
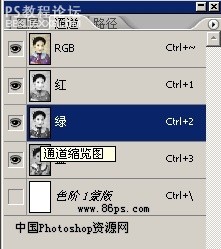
,3、转到通道面板,按住Ctrl键点击绿通道的缩略图载入选区。
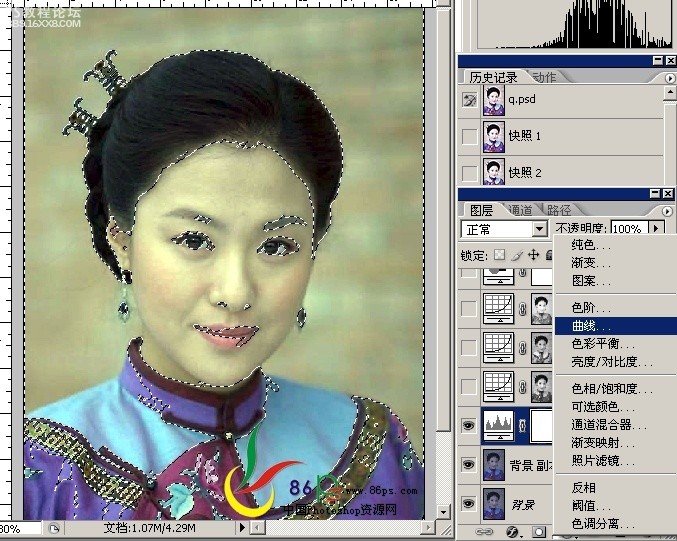
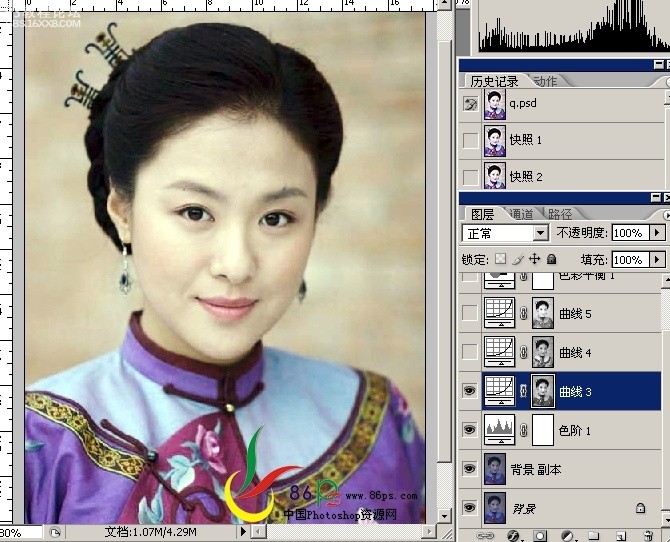
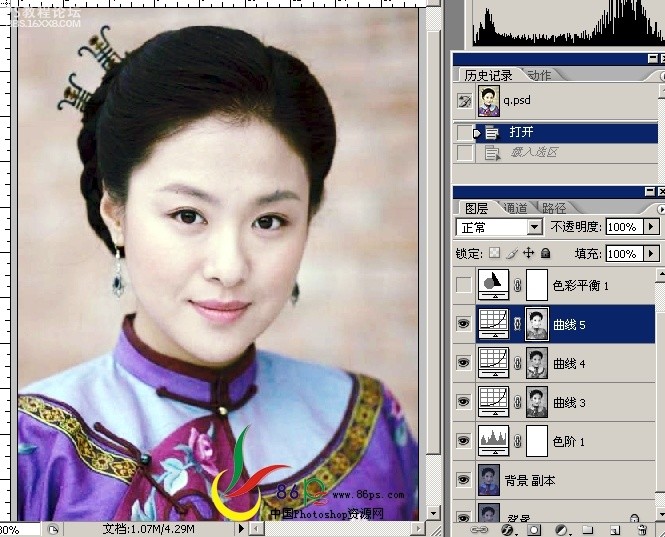
4、回到图层面板,建曲线调整层。
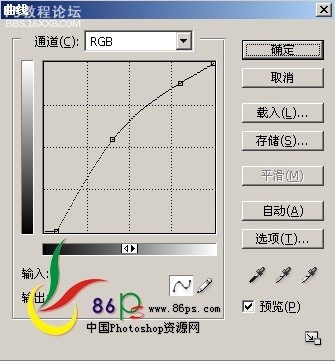
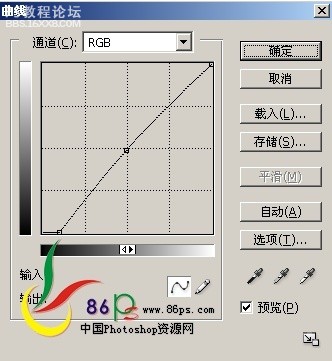
调整曲线如下:RGB通道:
红通道:
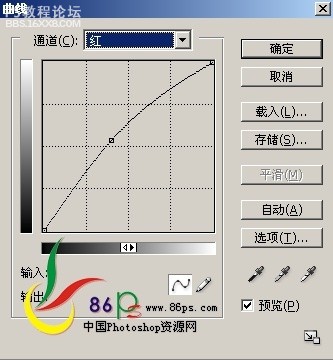
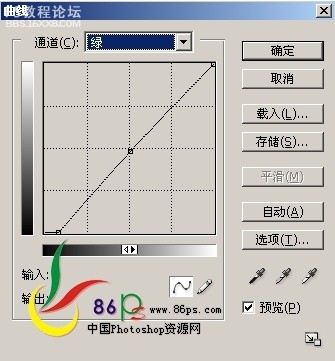
绿通道:
蓝通道:

绿通道调完,效果如下:
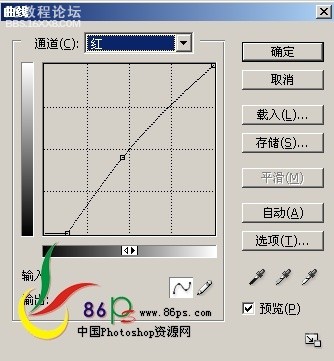
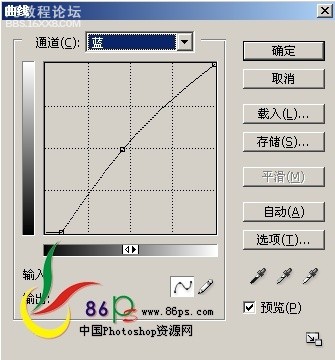
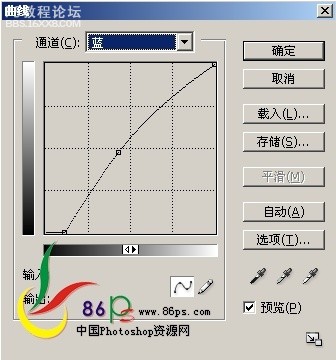
,5、同前面一样,转到通道面板,载入蓝通道的选区,回到图层面板建曲线调整层,调整如下:RGB通道:
红通道:
绿通道:

蓝通道:
蓝通道调完,效果如下:
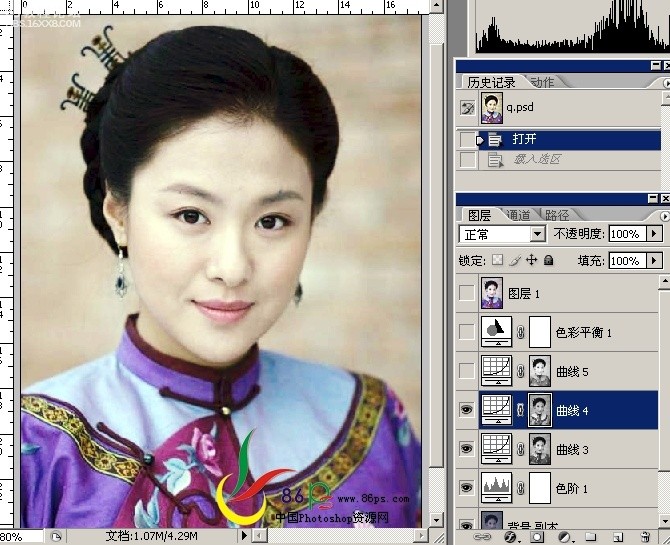
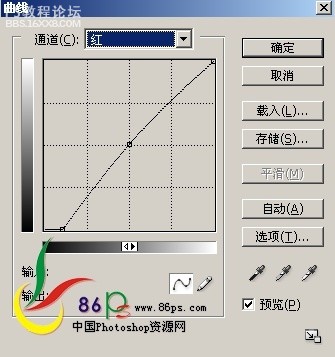
,6、同前面一样,转到通道面板,载入红通道的选区,回到图层面板建曲线调整层,调整如下:红通道:
蓝通道:
红通道调完,效果如下:
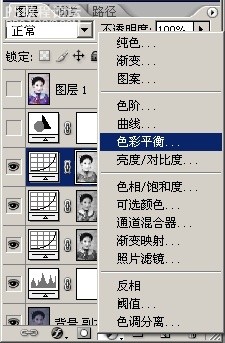
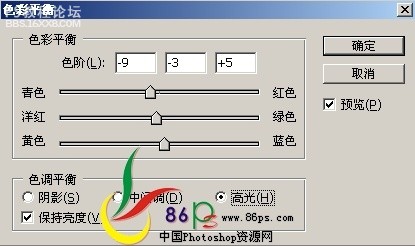
7、建一个色彩平衡调整层。
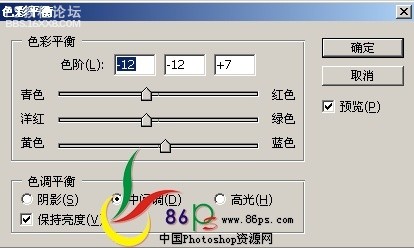
调整如下:
中间调:
阴影:
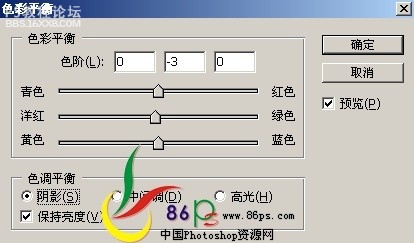
高光:
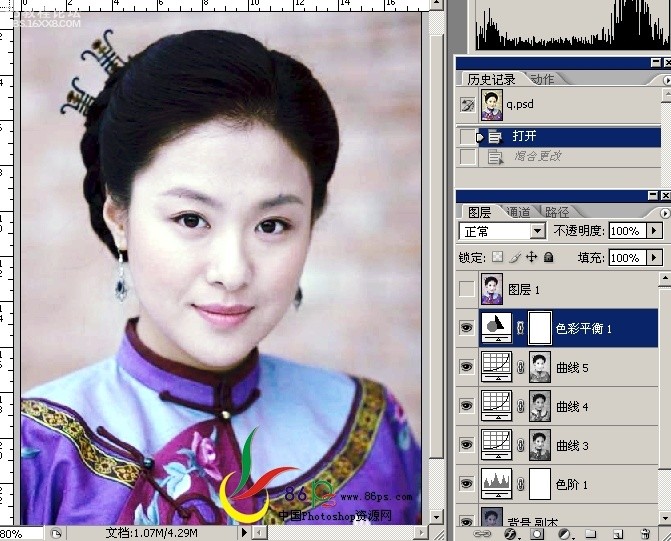
得到效果如下:
8、按Ctrl+Alt+Shift+E盖印可见图层,给图片降噪锐化,我这里用Neat Image降低噪点滤镜,没有的去这里下载:
Neat Image降低噪点滤镜下载地址可以去百度或者是google搜索一下
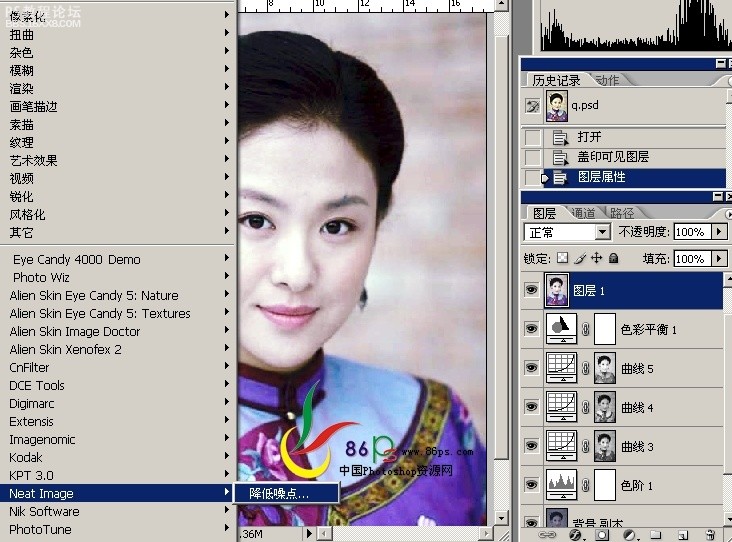
设置参数如下:
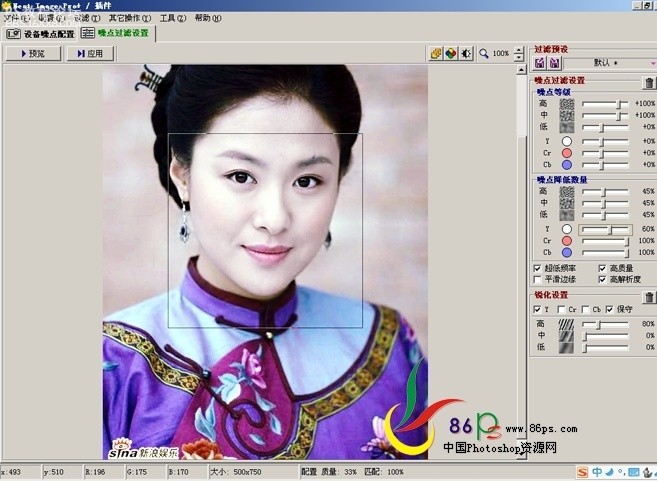
完成最终效果!
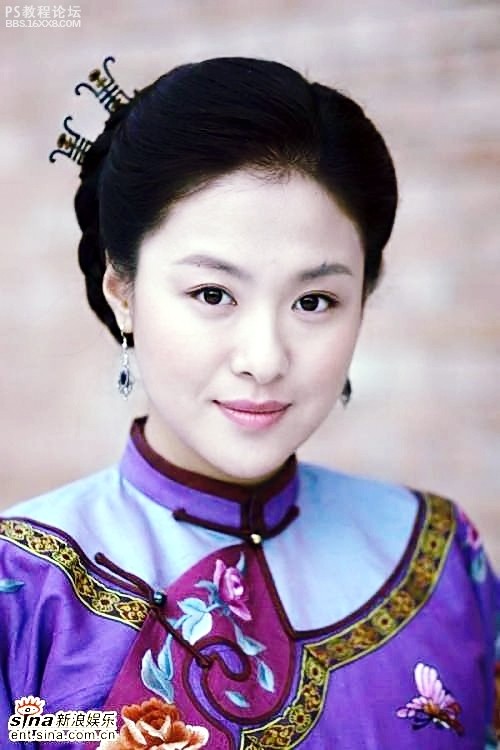
效果图
,1、用photoshop打开原图,复制一层,建色阶调整层。
2、调整色阶如下:RGB通道:
红通道:
绿通道:
蓝通道:
调完后效果如下:
,3、转到通道面板,按住Ctrl键点击绿通道的缩略图载入选区。
4、回到图层面板,建曲线调整层。
调整曲线如下:RGB通道:
红通道:
绿通道:
蓝通道:
绿通道调完,效果如下:
,5、同前面一样,转到通道面板,载入蓝通道的选区,回到图层面板建曲线调整层,调整如下:RGB通道:
红通道:
绿通道:
蓝通道:
蓝通道调完,效果如下:
,6、同前面一样,转到通道面板,载入红通道的选区,回到图层面板建曲线调整层,调整如下:红通道:
蓝通道:
红通道调完,效果如下:
7、建一个色彩平衡调整层。
调整如下:
中间调:
阴影:
高光:
得到效果如下:
8、按Ctrl+Alt+Shift+E盖印可见图层,给图片降噪锐化,我这里用Neat Image降低噪点滤镜,没有的去这里下载:
Neat Image降低噪点滤镜下载地址可以去百度或者是google搜索一下
设置参数如下:
完成最终效果!
加载全部内容