windows下vscode环境c++利用matplotlibcpp绘图
yuniversi 人气:01. 下载matplotlibcpp
https://github.com/lava/matplotlib-cpp
2. matplotlibcpp测试代码
#include "matplotlibcpp.h"
namespace plt = matplotlibcpp;
int main() {
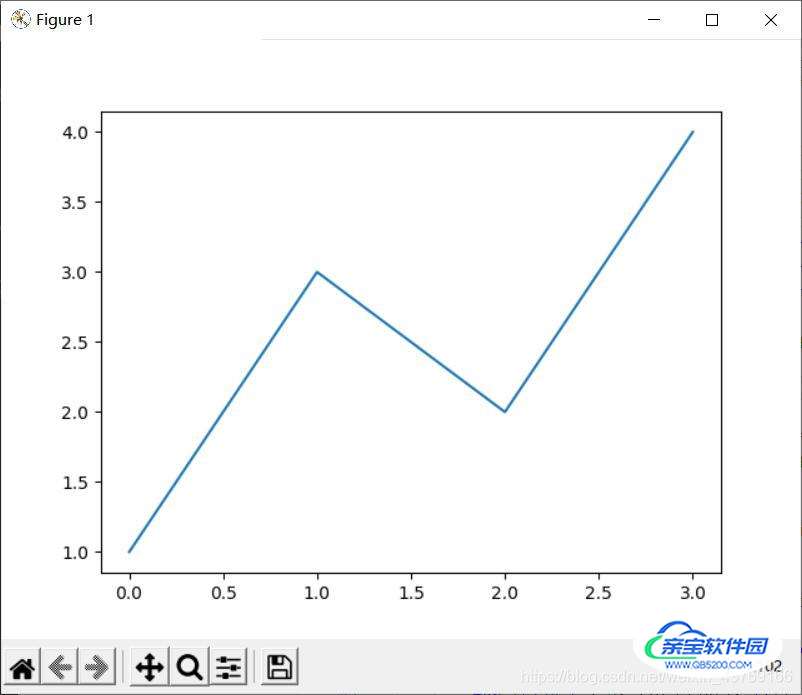
    plt::plot({1,3,2,4});
    plt::show();
}
3. 配置.vscode
3.1 配置tasks.json
在args里面添加如下路径,根据自己的实际路径进行配置。
// matplotlibcpp
"-I", "F:\\c++_libraries\\matplotlibcpp",  // matplotlibcpp.h路径
"-I", "F:\\python3.7.8\\include",  // Python.h路径
"-I", "F:\\python3.7.8\\Lib\\site-packages\\numpy\\core\\include",  // numpy/arrayobject.h路径
"-L", "F:\\python3.7.8",  // python37.dll的所在目录
"-l", "python37"  // python37.dll动态库
3.2 配置c_cpp_properties.json
在includePath中添加如下路径,根据自己的实际路径进行配置。
// matplotlibcpp
"F:\\c++_libraries\\matplotlibcpp",  // matplotlibcpp.h路径
"F:\\python3.7.8\\include",  // Python.h路径
"F:\\python3.7.8\\Lib\\site-packages\\numpy\\core\\include"  // numpy/arrayobject.h路径
4. 注释掉matplotlibcpp.h中两行代码
配置完以后,如果直接运行,会报错matplotlibcpp.h中有两行重复定义,注释即可。官方代码也给出了提示。
// Sanity checks; comment them out or change the numpy type below if you're compiling on
// a platform where they don't apply
static_assert(sizeof(long long) == 8);
// template <> struct select_npy_type<long long> { const static NPY_TYPES type = NPY_INT64; };
static_assert(sizeof(unsigned long long) == 8);
// template <> struct select_npy_type<unsigned long long> { const static NPY_TYPES type = NPY_UINT64; };
5. 运行
最后运行即可,得到如下效果。

到此这篇关于windows下vscode环境c++利用matplotlibcpp绘图的文章就介绍到这了,更多相关vscode环境c++ matplotlibcpp绘图内容请搜索以前的文章或继续浏览下面的相关文章希望大家以后多多支持!
加载全部内容
 爱之家商城
爱之家商城 氢松练
氢松练 Face甜美相机
 花汇通
花汇通 走路宝正式版
 天天运动有宝
 深圳plus
 热门免费小说