Python添加水印
chenXin@Euler 人气:2python数据分析得到的图片,并对照片添加水印pillow
PIL包含在pillow中,所以如果要从PIL导入相关库需要安装pillow
# install
pip install pillow
安装完之后就可以下面的头文件来操作了
from PIL import Image, ImageDraw
采用函数式编程:
#!/usr/bin/python
from PIL import Image, ImageDraw
from matplotlib import pyplot as plt, font_manager


# 保存通过数据分析得到的图片
def save_img():
    # mac系统下查询包含中文字体的方式是命令fc-list :lang=zh
    my_font = font_manager.FontProperties(        fname="/System/Library/Assets/com_apple_MobileAsset_Font5/b2d7b382c0fbaa5777103242eb048983c40fb807.asset/AssetData/Kaiti.ttc")

    x = [i for i in range(11, 31)]
    y_1 = [1, 0, 1, 1, 2, 4, 3, 2, 3, 4, 4, 5, 6, 5, 4, 3, 3, 1, 1, 1]
    y_2 = [0, 0, 0, 1, 2, 4, 3, 2, 3, 4, 2, 2, 1, 1, 1, 1, 1, 1, 1, 1]

    # 做出两个图,分别包括的是自己和同桌的每个年龄点交的女朋友数量
    plt.plot(x, y_1, label="自己", color="cyan", linestyle="--")
    plt.plot(x, y_2, label="同桌", color="r")

    _xtick_labels = ["{}岁".format(i) for i in x]
    plt.title("每年交的女朋友的数量走势图", fontproperties=my_font)
    # 给x轴添加刻度
    plt.xticks(x, _xtick_labels, fontproperties=my_font, rotation=45)
    # 给y轴添加刻度
    plt.yticks(range(min(y_1), max(y_1) + 1))
    # 给xy轴添加说明
    plt.xlabel("年龄", fontproperties=my_font)
    plt.ylabel("数量", fontproperties=my_font)

    # 做出网格更加直观看出坐标点值
    plt.grid(alpha=0.4, linestyle=":")
    # 添加图例
    plt.legend(prop=my_font)
    plt.savefig("./girl.png")
    plt.show()


# 对保存的图片进行添加
def add_watermark(a):
    im = Image.open(a)
    draw = ImageDraw.Draw(im)

    # 这里的hello world是添加的水印
    # 数组(50,50)表示的是水印要添加的位置
    draw.text((50, 50), 'hello world'.encode('utf-8'), fill=(1, 0, 0))
    im.show()


if __name__ == '__main__':
    save_img()
    add_watermark("girl.png")
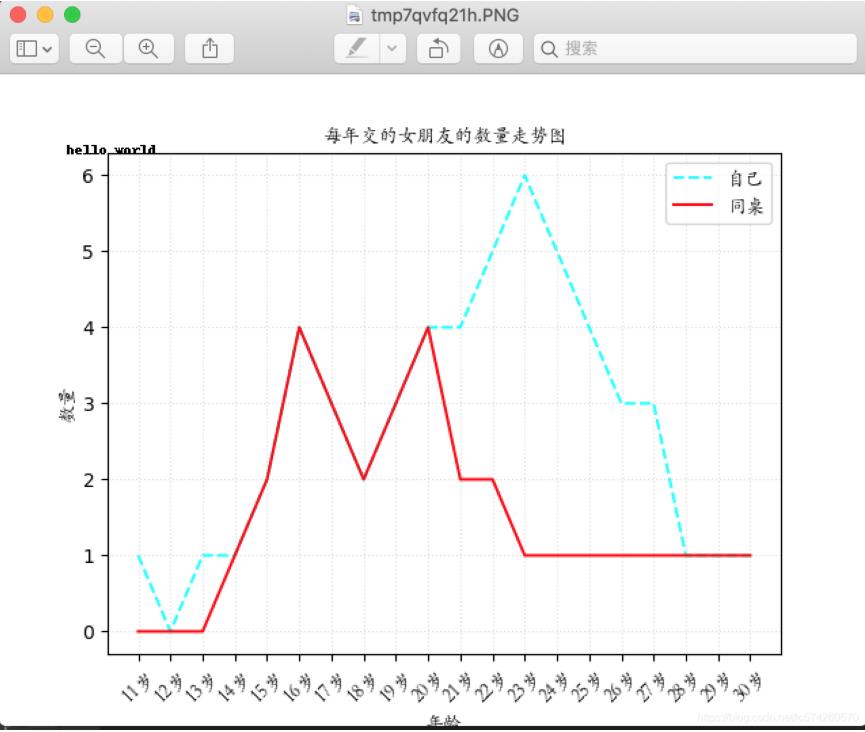
代码输出的结果:
注意hello world 就是添加的水印

加载全部内容