uniapp uni-popup弹出层
~疆 人气:5官方示例:uni-popup 弹出层 - DCloud 插件市场
弹出层组件用于弹出一个覆盖到页面上的内容,使用场景如:底部弹出分享弹窗、页面插屏广告等
一、基本用法
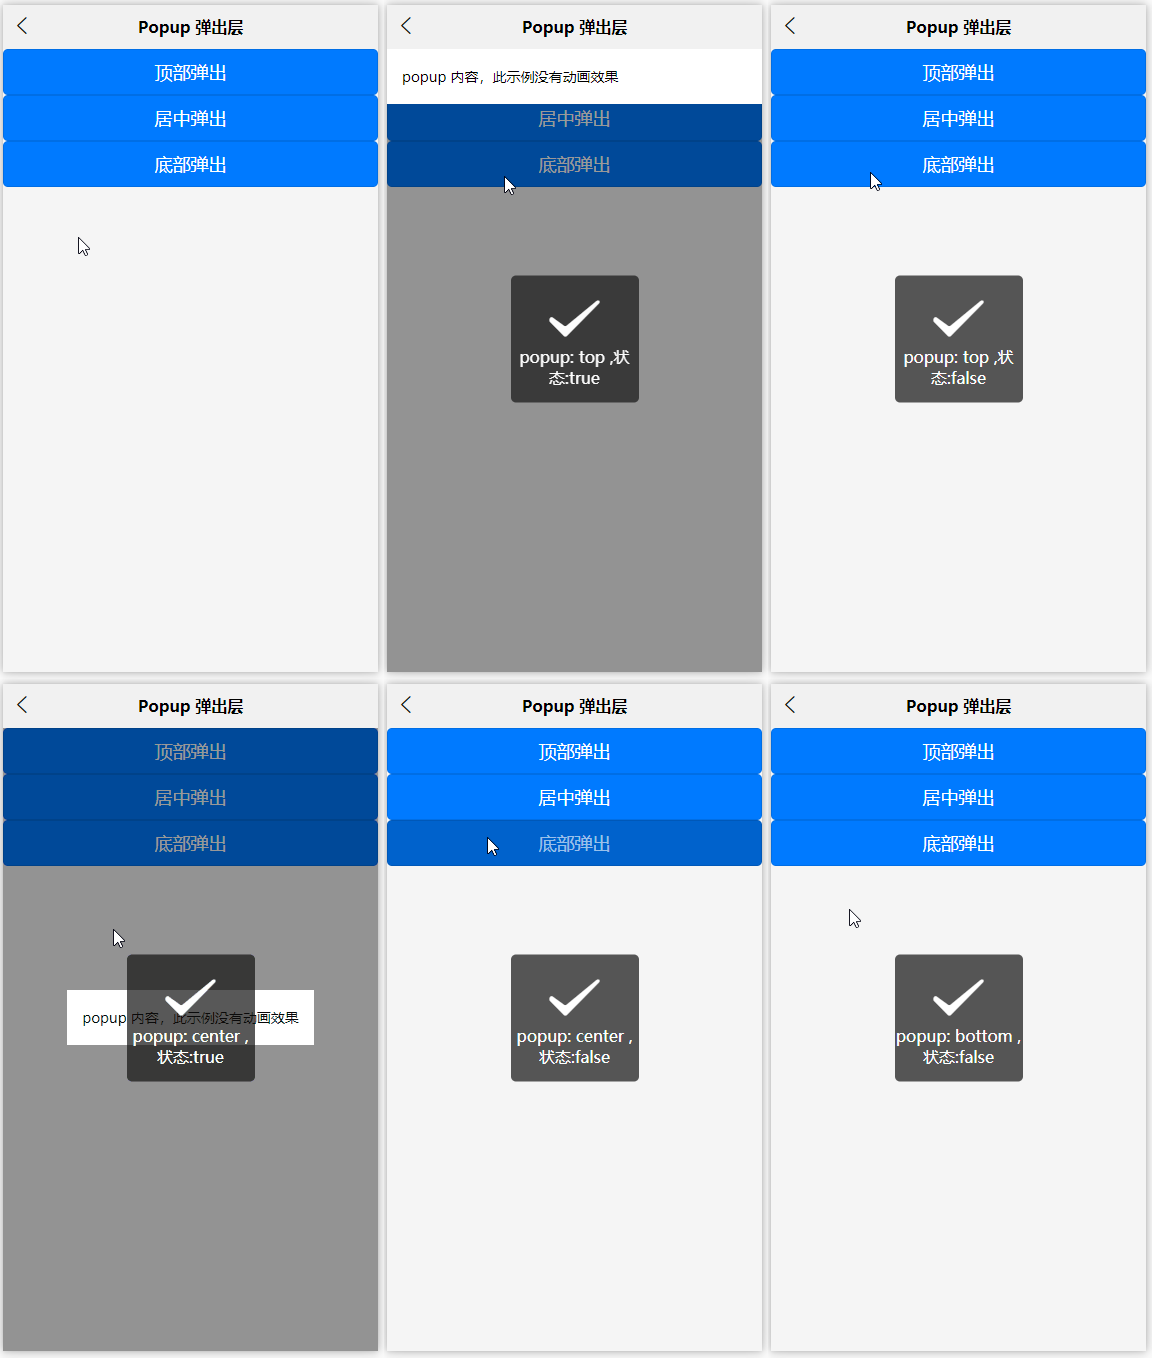
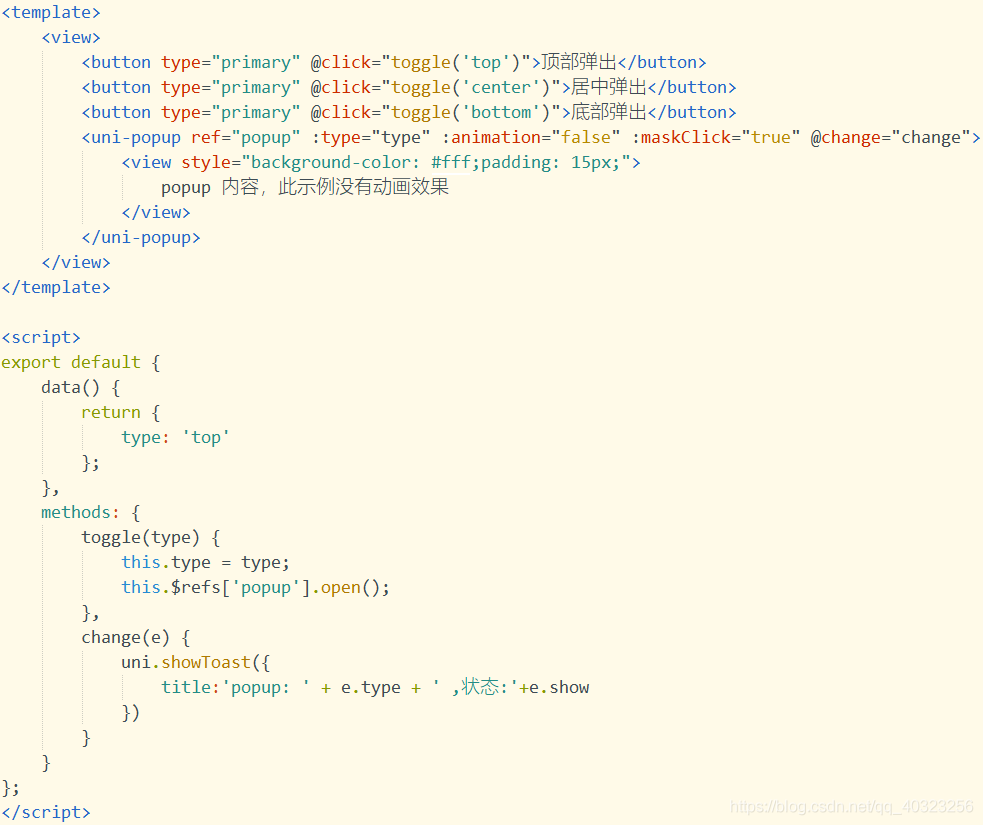
<template>
	<view>
		<button type="primary" @click="toggle('top')">顶部弹出</button>
		<button type="primary" @click="toggle('center')">居中弹出</button>
		<button type="primary" @click="toggle('bottom')">底部弹出</button>
		<uni-popup ref="popup" :type="type" :animation="false" :maskClick="true" @change="change">
			<view style="background-color: #fff;padding: 15px;">
				popup 内容,此示例没有动画效果
			</view>
		</uni-popup>
	</view>
</template>

<script>
export default {
	data() {
		return {
			type: 'top'
		};
	},
	methods: {
		toggle(type) {
			this.type = type;
			this.$refs['popup'].open();
		},
		change(e) {
			uni.showToast({
				title:'popup: ' + e.type + ' ,状态:'+e.show
			})
		}
	}
};
</script>
二、自定义弹出层(dialog + message) 示例
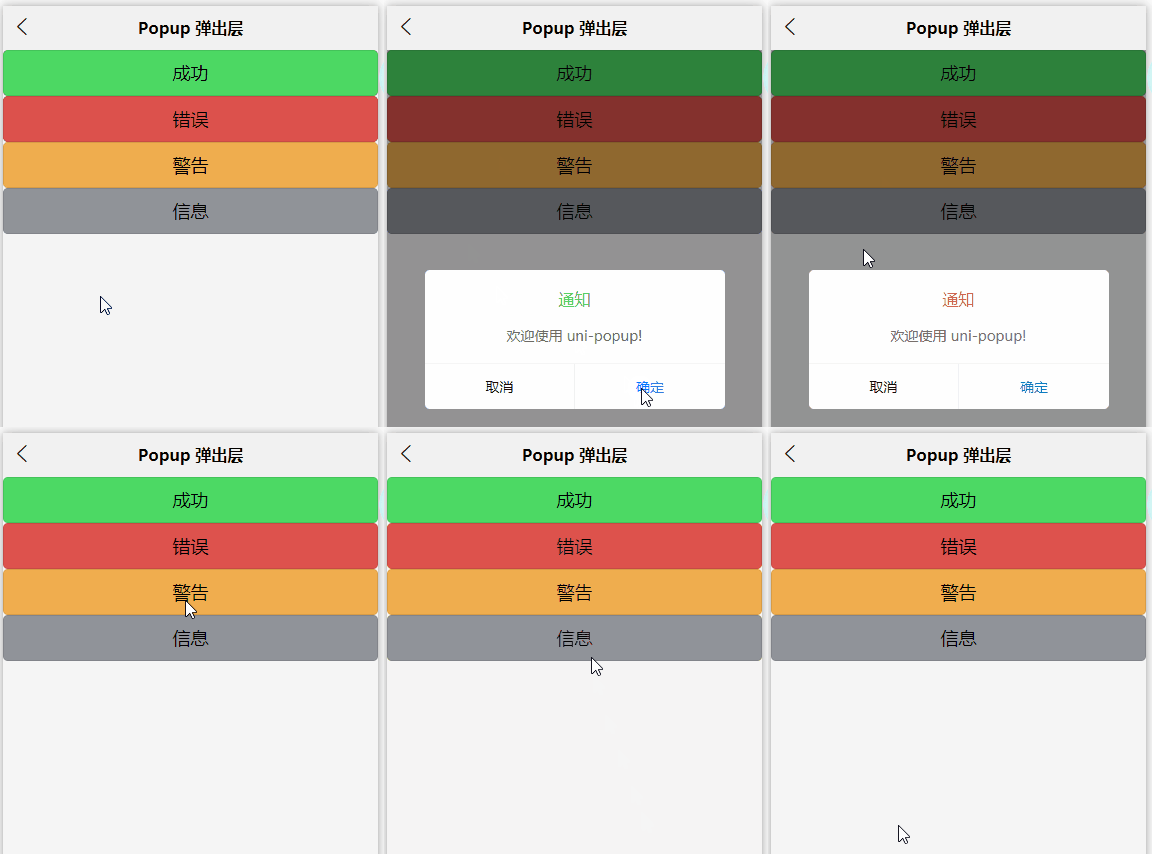
<template>
	<view>
		<button style="background-color: #4cd964;" @click="toggleMessage('success')">成功</button>
		<button style="background-color: #dd524d;" @click="toggleMessage('error')">错误</button>
		<button style="background-color: #f0ad4e;" @click="toggleMessage('warn')">警告</button>
		<button style="background-color: #909399;" @click="toggleMessage('info')">信息</button>
		<!-- 消息提示 -->
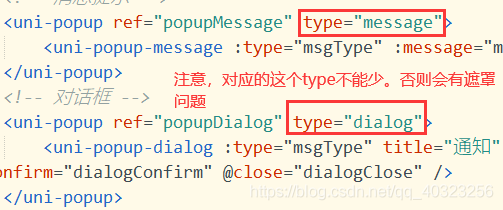
		<uni-popup ref="popupMessage" type="message">
			<uni-popup-message :type="msgType" :message="message" :duration="700" />
		</uni-popup>
		<!-- 对话框 -->
		<uni-popup ref="popupDialog" type="dialog">
			<uni-popup-dialog :type="msgType" title="通知" content="欢迎使用 uni-popup!" :before-close="true" @confirm="dialogConfirm" @close="dialogClose" />
		</uni-popup>
	</view>
</template>

<script>
export default {
	data() {
		return {
			msgType: 'success',
			message: '这是一条成功消息提示'
		};
	},
	methods: {
		toggleMessage(type) {
			this.msgType = type;
			switch (type) {
				case 'success':
					this.message = '这是一条成功消息提示';
					break;
				case 'warn':
					this.message = '这是一条警告消息提示';
					break;
				case 'info':
					this.message = '这是一条消息提示';
					break;
				case 'error':
					this.message = '这是一条错误消息提示';
					break;
			}
			this.$refs['popupDialog'].open();
		},
		dialogConfirm() {
			this.$refs.popupMessage.open();

			this.$refs['popupDialog'].close();
		},
		dialogClose() {
			this.msgType = 'info';
			this.message = '点击了对话框的取消按钮';
			this.$refs.popupMessage.open();

			this.$refs.popupDialog.close();
		}
	}
};
</script>
三、提交信息 (input + 延迟关闭)
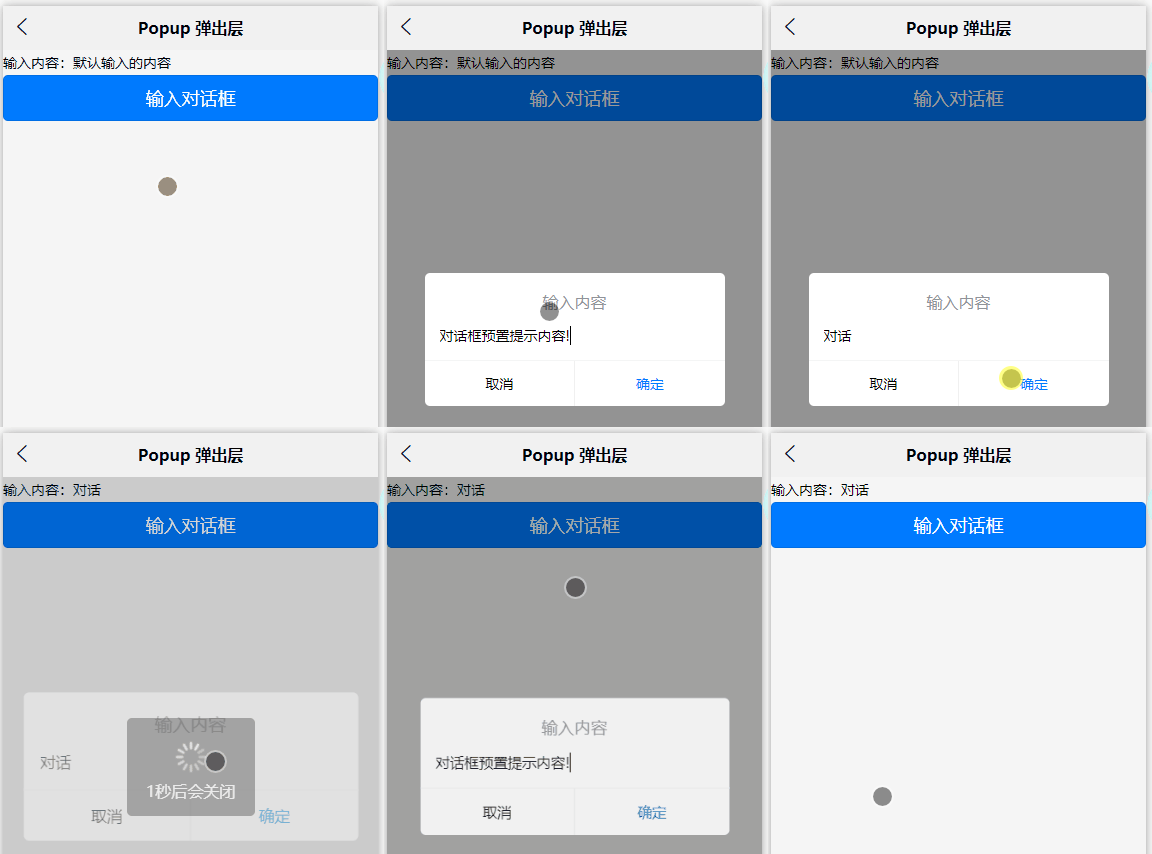
<template>
	<view>
		输入内容:{{value}}
		<button type="primary" @click="confirmDialog">输入对话框</button>
		<uni-popup ref="dialogInput" type="dialog">
			<uni-popup-dialog mode="input" title="输入内容" value="对话框预置提示内容!" placeholder="请输入内容" @confirm="dialogInputConfirm"/>
		</uni-popup>
	</view>
</template>

<script>
	export default {
		data() {
			return {
				msgType: 'success',
				value: '默认输入的内容'
			}
		},
		methods: {
			confirmDialog() {
				this.$refs['dialogInput'].open()
			},
			dialogConfirm(done) {
				this.$refs['popupMessage'].open()
			},
			dialogInputConfirm( val) {
				uni.showLoading({
					title: '1秒后会关闭'
				})
				this.value = val
				setTimeout(() => {
					uni.hideLoading()
				}, 1000)
			}
		},
	}
</script>
四、底部分享示例
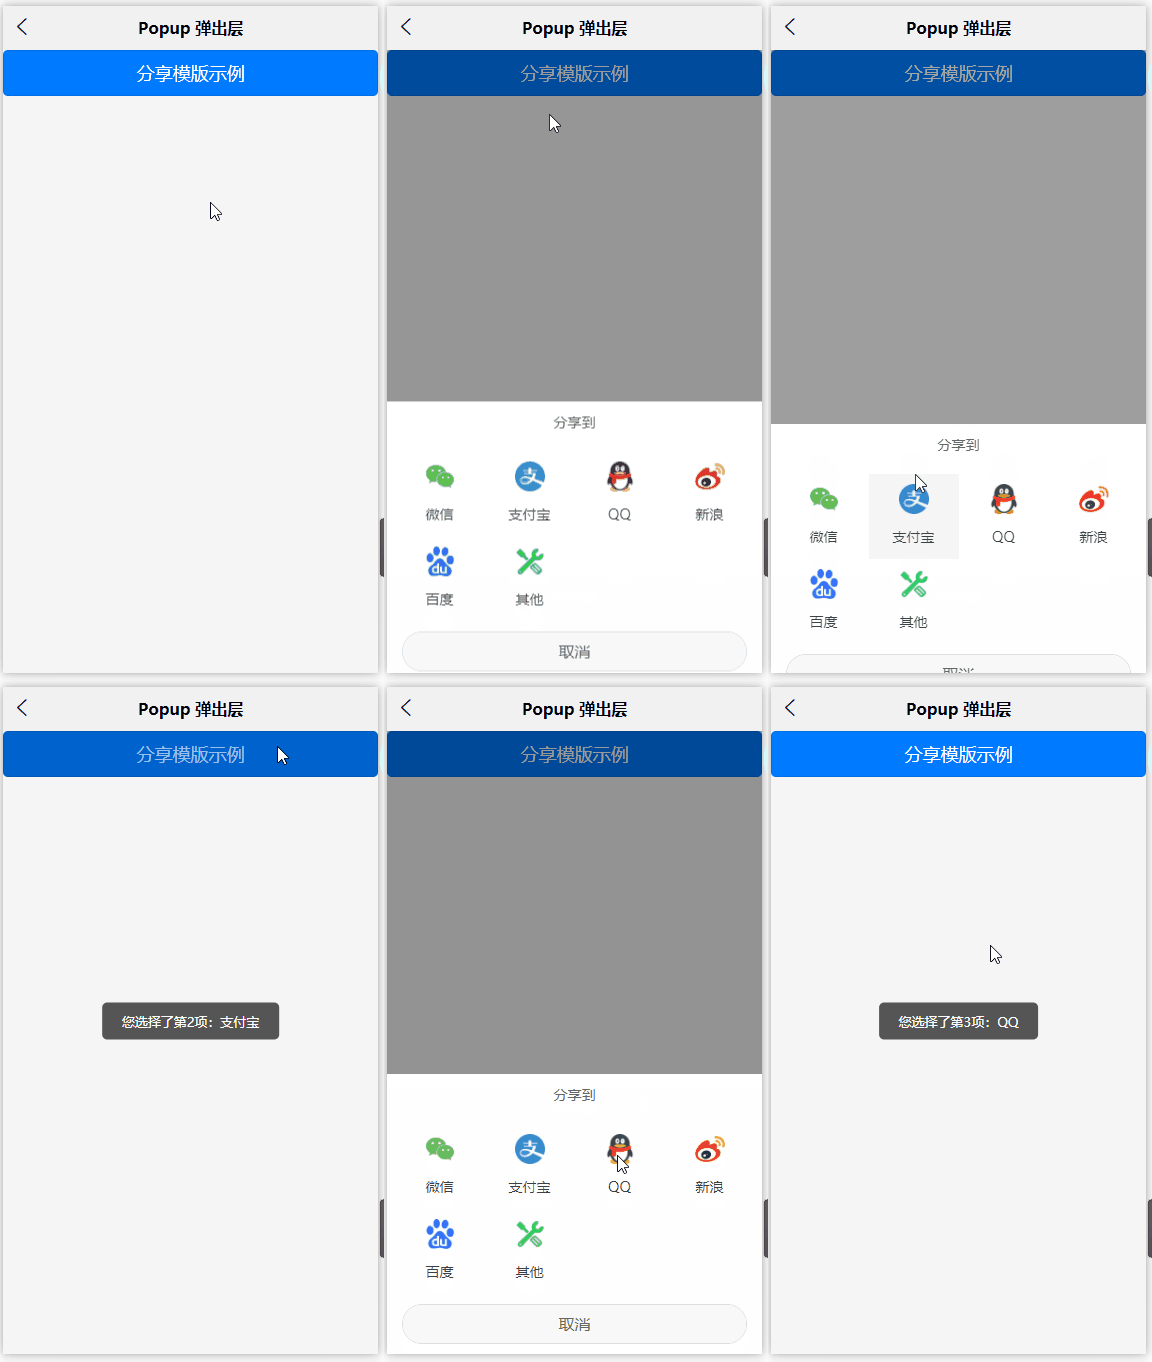
<template>
	<view>
		<button type="primary" @click="confirmShare">分享模版示例</button>
		<uni-popup ref="popupShare" type="share">
			<uni-popup-share title="分享到" @select="select"></uni-popup-share>
		</uni-popup>
	</view>
</template>

<script>
	export default {
		data() {
			return {
			}
		},
		methods: {
			confirmShare() {
				this.$refs.popupShare.open()
			},
			select(e) {
				uni.showToast({
					title: `您选择了第${e.index+1}项:${e.item.text}`,
					icon: 'none'
				})
			}
		},
	}
</script>
到此这篇关于uniapp组件uni-popup弹出层的使用的文章就介绍到这了,更多相关uniapp uni-popup弹出层内容请搜索以前的文章或继续浏览下面的相关文章希望大家以后多多支持!
加载全部内容