harbor可视化私有镜像仓库环境部署
Tiamon_ 人气:0harbor 简介
在实际生产运维中,往往需要把镜像发布到几十、上百或更多的节点上。这时单台 Docker 主机上镜像已无法满足,项目越来越多,镜像越来越多,都放到一台 Docker 主机上是不行的,我们需要一个镜像Git仓库一样系统来统一管理镜像。这里介绍的是一个企业级镜像仓库Harbor,将作为我们容器云平台的镜像仓库中心。
Harbor 是有 VMware 工资开源的容器镜像仓库。事实上,Harbor 是在Docker Rgestry 上进行了相应的企业扩展,从而获得了更加广泛的应用,这些新的企业级特性包括:管理用户界面,基于角色的访问控制,AD/LDAP 集成以及审计日志等,足以满足基本企业需求。
Harbor 和 Registry 的比较
Harbor 和 Registry 都是 Docker 的镜像仓库,但是 Harbor 作为更多企业的选择,是因为相比较于 Registry 来说,它具有很多的优势。
- 提供分层传输机制,优化网络传输
Docker 镜像是分层的,而如果每次传输都使用全量文件(所以用FTP的方式不适合),显然不经济。必须提供识别分层传输的机制,以UUID 为标识,确定传输的对象。
- 提供 WEB 界面,优化用户体验
只用镜像的名字来进行上传下载显然很不方便,需要有一个用户界面可以支持登录、搜索功能,包括区分公有、私有镜像
- 支持水平扩展集群
当前用户对镜像的上传下载操作集中在某服务器,需要对相应的访问压力作分解。
- 良好的安全机制
企业中的开发团队有很多不同的职位,对于不同的职位人员,分配不同的权限,具有更好的安全性
Harbor 提供了基于角色的访问控制机制,并通过项目来对镜像进行组织和访问权限的控制。kubernetes 中通过 namespace 来对资源进行隔离,在企业级应用场景中,通过将两者进行结合可以有效将 kubernetes 使用的镜像资源进行管理和访问控制,增强镜像使用的安全性。尤其在多租户场景下,可以通过租户、namespace 和项目相结合的方式来实现对租户镜像资源的管理。
harbor 案例演示
环境准备
准备两台服务器,且均已部署 docker 服务
| 主机名 | 服务 | IP |
|---|---|---|
| harbor-client | 客户端(用于上传镜像) | 192.168.117.130 |
| harbor-server | 服务端(用于存储镜像) | 192.168.117.131 |
服务部署
harbor-server 部署
#下载 epel-release 源
	[root@harbor-server ~]# yum install -y epel-release
#下载 python 软件包管理系统
	[root@harbor-server ~]# yum install -y python-pip
#更新 pip 安装包
	[root@harbor-server ~]# pip install --upgrade pip
#安装 docker-compose (docker 的编排工具)
	[root@harbor-server ~]# pip install docker-compose
#下载 harbor 安装包并解压(github 上下载)
	[root@harbor-server ~]# yum install -y wget
	[root@harbor-server ~]# wget https://github.com/goharbor/harbor/releases/download/v2.1.1/harbor-offline-installer-v2.1.1.tgz
	[root@harbor-server ~]# tar xf harbor-offline-installer-v2.1.1.tgz
#修改 harbor 的配置文件
	[root@harbor-server ~]# mv harbor/harbor.yml.tmpl /harbor/harbor.yml
	[root@harbor-server ~]# vim harbor/harbor.yml
	hostname: 192.168.117.131 #本机 IP
	#注释掉以下内容
	# https related config
	# https:
	  # # https port for harbor, default is 443
	  # port: 443
	  # # The path of cert and key files for nginx
	  # certificate: /your/certificate/path
	  # private_key: /your/private/key/path
#执行 harbor 安装脚本
	[root@localhost harbor]# ./harbor/install.sh
	……略……
	✔ ----Harbor has been installed and started successfully.----
#查看 harbor 的用户和密码
	[root@localhost ~]# cat harbor/harbor.yml | grep admin
	# The IP address or hostname to access admin UI and registry service.
	# The initial password of Harbor admin
	# Remember Change the admin password from UI after launching Harbor.
	harbor_admin_password: Harbor12345
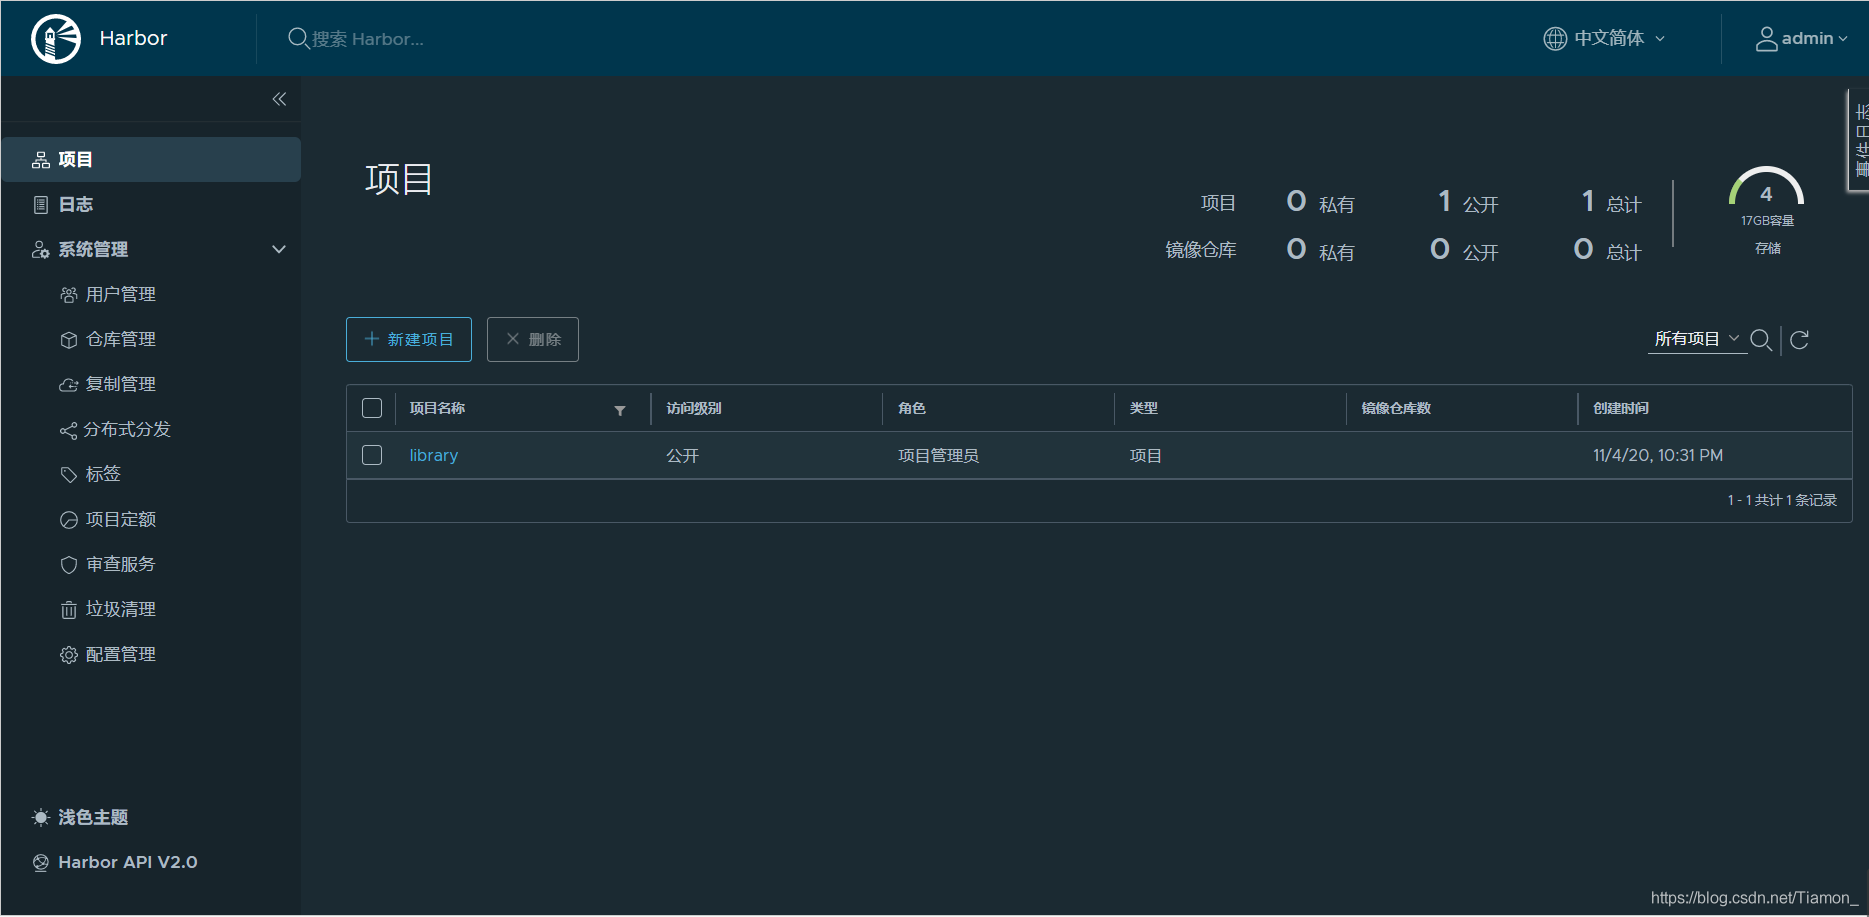
浏览器访问 http://192.168.117.131:80 并登录 harbor

上传本地镜像至harbor
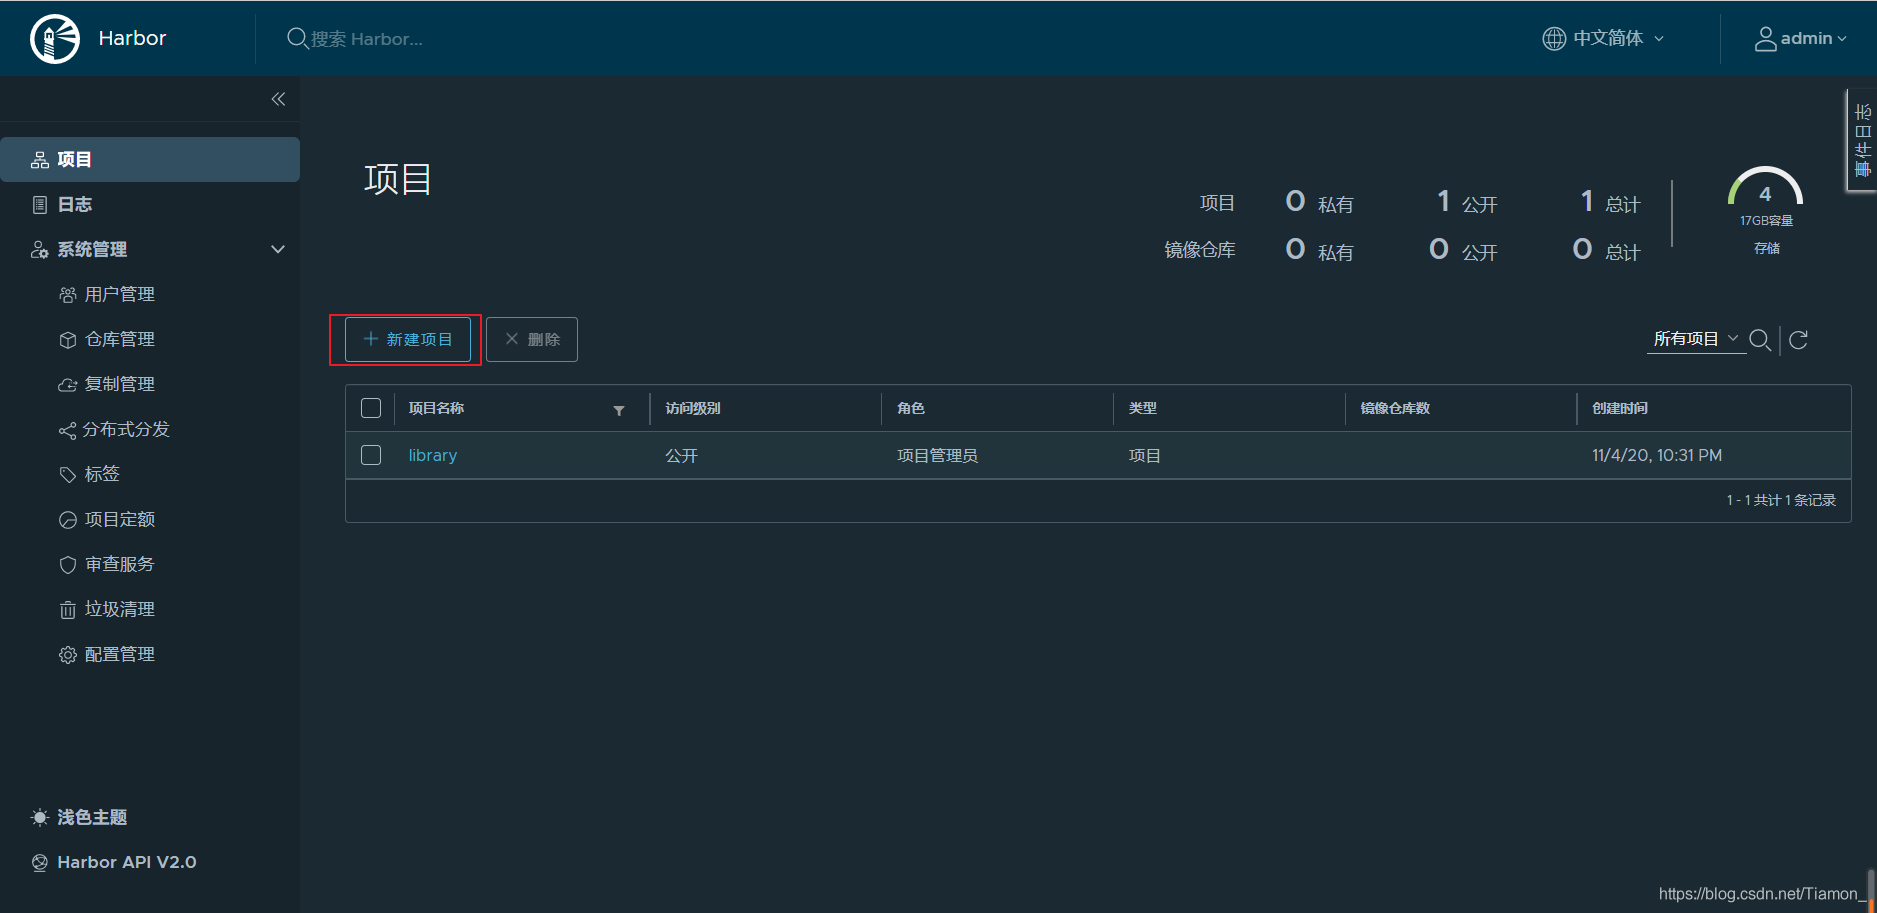
新建项目

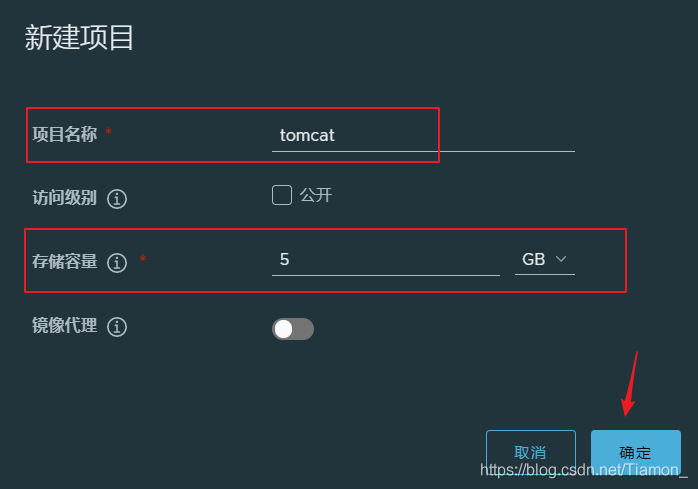
填写项目名称、分配存储容量,该项目访问级别如果没有公开,在上传镜像时需要先登录 harbor


harbor-client 上传镜像到 harbor
#修改 daemon.json 配置文件
	[root@harbor-client ~]# vim /etc/docker/daemon.json
	{
	  "registry-mirrors": ["https://3290299n.mirror.aliyuncs.com"],
	  #注:上下两行用 “,” 分割
	  #添加下面的参数即可,docker-server 端IP和端口
	  "insecure-registries":["192.168.117.131:80"]
	}
#重启 docker 服务
	[root@harbor-client ~]# systemctl restart docker
#修改 tomcat 镜像名称:项目名称/镜像名称:标签
	[root@harbor-client ~]# docker tag tomcat 192.168.117.131:80/tomcat/tomcat:harbor
#项目 tomcat 没有公开所以先登录 harbor,在上传镜像
	[root@harbor-client ~]# docker login 192.168.117.131:80
	Username: admin
	Password: Harbor12345
	[root@harbor-client ~]# docker push 192.168.117.131:80/tomcat/tomcat:harbor
浏览器访问 harbor,查看 tomcat 项目下是否有刚刚上传的镜像

拉去 harbor 上的 tomcat 镜像至本地
浏览器访问 harbor,点击 tomcat 项目、tomcat镜像,复制拉去命令在本地执行即可

#项目 tomcat 没有公开所以先登录 harbor,在拉取镜像
	[root@harbor-client ~]# docker login 192.168.117.131:80
	Username: admin
	Password: Harbor12345
#镜像拉去成功
	[root@harbor-client ~]# docker pull 192.168.117.131:80/tomcat/tomcat@sha256:d9097a2878b148ddbdd69346dd902b55be74cf4271e1ac45a3bfb5273f93c181
	sha256:d9097a2878b148ddbdd69346dd902b55be74cf4271e1ac45a3bfb5273f93c181: Pulling from tomcat/tomcat
	Digest: sha256:d9097a2878b148ddbdd69346dd902b55be74cf4271e1ac45a3bfb5273f93c181
	Status: Downloaded newer image for 192.168.117.131:80/tomcat/tomcat@sha256:d9097a2878b148ddbdd69346dd902b55be74cf4271e1ac45a3bfb5273f93c181
	192.168.117.131:80/tomcat/tomcat@sha256:d9097a2878b148ddbdd69346dd902b55be74cf4271e1ac45a3bfb5273f93c181
#查看镜像
	[root@harbor-client ~]# docker images
	REPOSITORY                         TAG                 IMAGE ID            CREATED             SIZE
	tomcat                             latest              6fa48e047721        10 months ago       507MB
	192.168.117.131:80/tomcat/tomcat   <none>              6fa48e047721        10 months ago       507MB
加载全部内容