python特效之字符成像
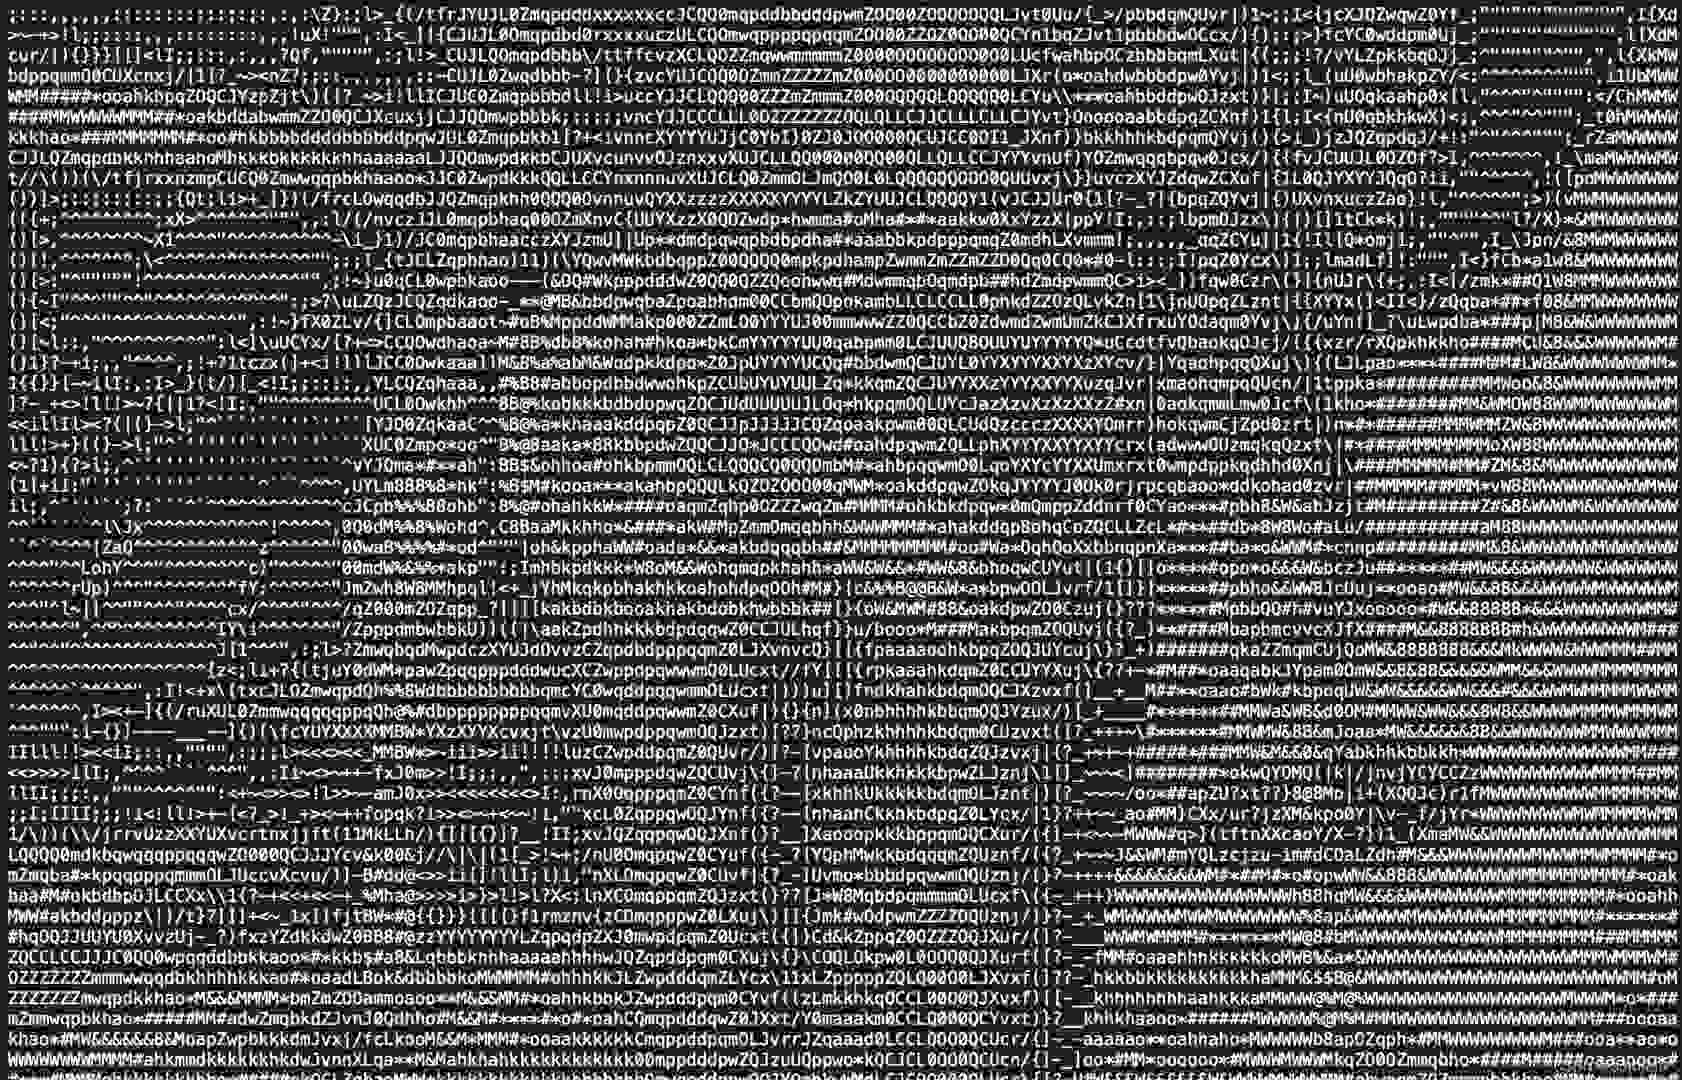
autofelix 人气:0一、特效预览

处理前

处理后
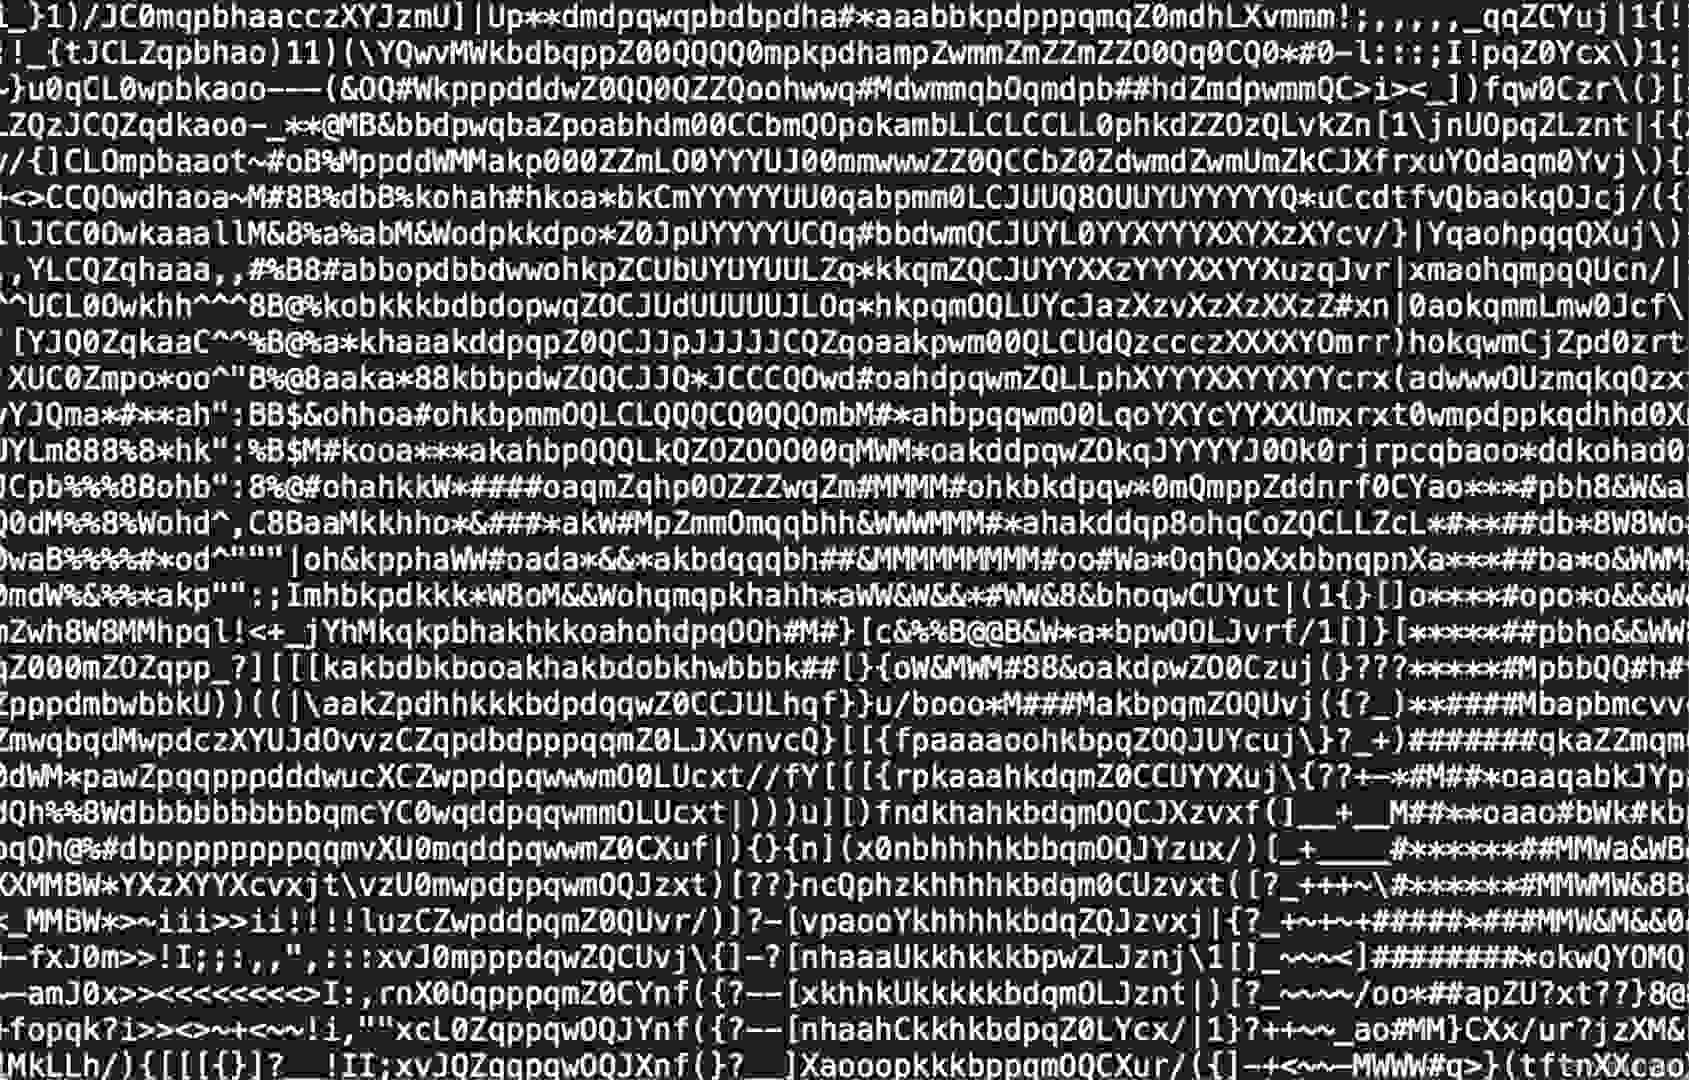
细节放大后
二、程序原理
- 将图片所在的 256 的灰度映射到相应的字符上面
- 也就是 RGB 值转成相应的字符
- 然后再将字符其写入文件即可

你听懂了吗
三、程序源码
#!/usr/bin/env python
# encoding: utf-8
from PIL import Image
class charsetPicture:
    '''
     This is a main Class, the file contains all documents.
     One document contains paragraphs that have several sentences
     It loads the original file and converts the original file to new content
     Then the new content will be saved by this class
    '''
    def __init__(self):
        self.char = list("$@B%8&WM#*oahkbdpqwmZO0QLCJUYXzcvunxrjft/\|()1{}[]?-_+~<>i!lI;:,\"^`'. ")
        self.width = 160
        self.height = 60
    def hello(self):
        '''
        This is a welcome speech
        :return: self
        '''
        print('*' * 50)
        print(' ' * 18 + '图片转换为字符图片')
        print(' ' * 5 + 'Author: autofelix  Date: 2022-01-07 13:14')
        print('*' * 50)
        return self
    def get_char(self, r, g, b, alpha=256):
        '''
        将256灰度映射到70个字符上,也就是RGB值转字符的函数
        :alpha: 透明度
        :return: self
        '''
        if alpha == 0:
            return ' '
        length = len(self.char)
        gray = int(0.2126 * r + 0.7152 * g + 0.0722 * b)
        unit = (256.0 + 1) / length
        return self.char[int(gray / unit)]
    def run(self):
        '''
        The program entry
        '''
        im = Image.open('assets/aaa.jpeg')
        im = im.resize((self.width, self.height), Image.NEAREST)
        txt = ''
        for i in range(self.height):
            for j in range(self.width):
                txt += self.get_char(*im.getpixel((j, i)))
            txt += '\n'
        print(txt)
        with open('handler.txt', 'w') as f:
            f.write(txt)
if __name__ == '__main__':
    charsetPicture().hello().run()
总结
本篇文章就到这里了,希望能够给你带来帮助,也希望您能够多多关注的更多内容!
加载全部内容
