python 围棋定位棋盘位置 python识别围棋定位棋盘位置
翟羽嚄 人气:0想了解python识别围棋定位棋盘位置的相关内容吗,翟羽嚄在本文为您仔细讲解python 围棋定位棋盘位置的相关知识和一些Code实例,欢迎阅读和指正,我们先划重点:python,围棋定位棋盘位置,python,围棋定位,下面大家一起来学习吧。
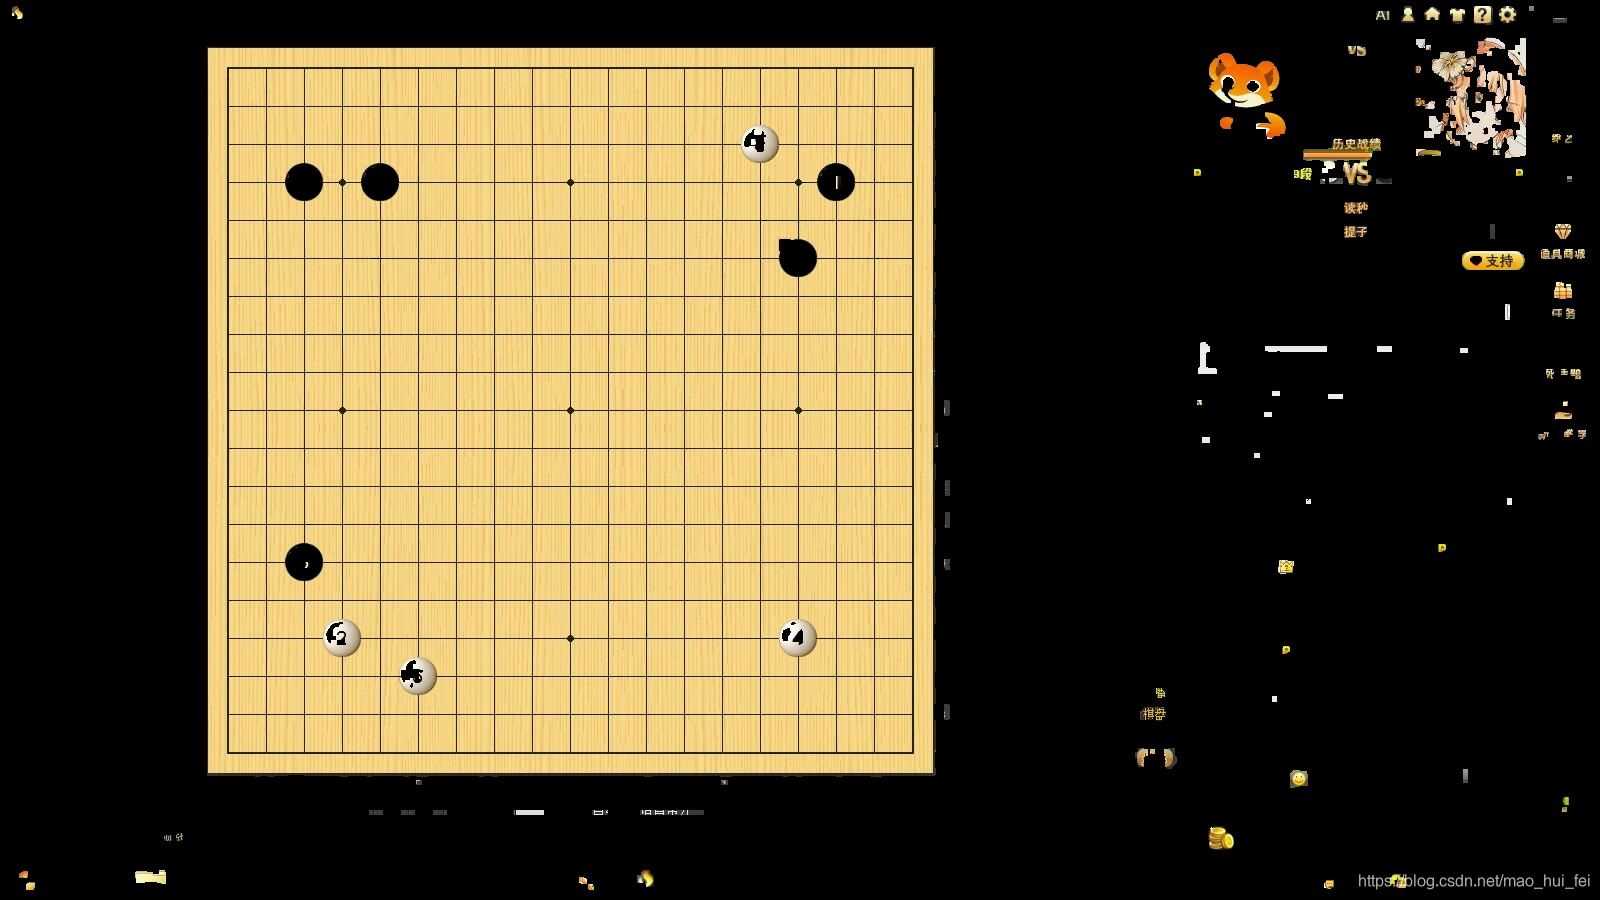
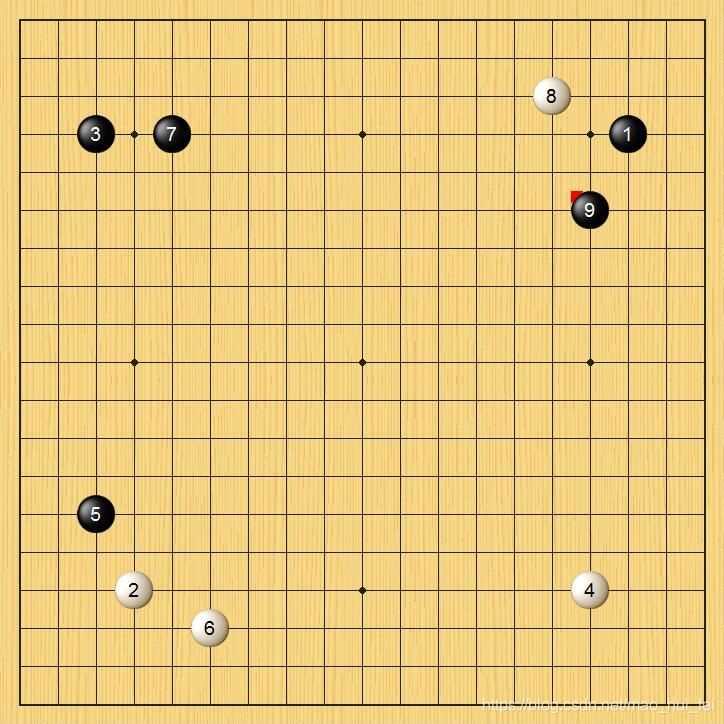
最近需要做一个围棋识别的项目,首先要将棋盘位置定位出来,效果图如下:
效果图
原图

中间处理效果

最终结果

思路分析
我们利用python opencv的相关函数进行操作实现,根据棋盘颜色的特征,寻找到相关特征,将棋盘区域抠出来。最好从原始图像中将棋盘位置截取出来。
源码:定位棋盘位置
from PIL import ImageGrab
import numpy as np
import cv2
from glob import glob

imglist = sorted(glob("screen/*.jpg"))
for i in imglist:
# while 1:
    img = cv2.imread(i)
    image = img.copy()
    w,h,c = img.shape
    img2 =  np.zeros((w,h,c), np.uint8)
    img3 =  np.zeros((w,h,c), np.uint8)
    # img = ImageGrab.grab() #bbox specifies specific region (bbox= x,y,width,height *starts top-left)


    hsv=cv2.cvtColor(img,cv2.COLOR_BGR2HSV)
    lower = np.array([10,0,0])
    upper = np.array([40,255,255])
    mask = cv2.inRange(hsv,lower,upper)
    erodeim = cv2.erode(mask,None,iterations=2)  # 腐蚀
    dilateim = cv2.dilate(erodeim,None,iterations=2)

    img = cv2.bitwise_and(img,img,mask=dilateim)
    frame = cv2.cvtColor(img, cv2.COLOR_BGR2GRAY)
    ret, dst = cv2.threshold(frame, 100, 255, cv2.THRESH_BINARY)
    contours,hierarchy = cv2.findContours(dst, cv2.RETR_LIST, cv2.CHAIN_APPROX_SIMPLE)


    cv2.imshow("0",img)
    i = 0
    maxarea = 0
    nextarea = 0
    maxint = 0
    for c in contours:
        if cv2.contourArea(c)>maxarea:
            maxarea = cv2.contourArea(c)
            maxint = i
        i+=1

    #多边形拟合
    epsilon = 0.02*cv2.arcLength(contours[maxint],True)
    if epsilon<1:
        continue

    #多边形拟合
    approx = cv2.approxPolyDP(contours[maxint],epsilon,True)
    [[x1,y1]] = approx[0]
    [[x2,y2]] = approx[2]

    checkerboard = image[y1:y2,x1:x2]
    cv2.imshow("1",checkerboard)
    cv2.waitKey(1000)

cv2.destroyAllWindows()
带保存图像
from PIL import ImageGrab
import numpy as np
import cv2
from glob import glob
import os

imglist = sorted(glob("screen/*.jpg"))
a=0
for i in imglist:
# while 1:
    a=a+1
    img = cv2.imread(i)
    image = img.copy()
    w,h,c = img.shape
    img2 =  np.zeros((w,h,c), np.uint8)
    img3 =  np.zeros((w,h,c), np.uint8)
    # img = ImageGrab.grab() #bbox specifies specific region (bbox= x,y,width,height *starts top-left)


    hsv=cv2.cvtColor(img,cv2.COLOR_BGR2HSV)
    lower = np.array([10,0,0])
    upper = np.array([40,255,255])
    mask = cv2.inRange(hsv,lower,upper)
    erodeim = cv2.erode(mask,None,iterations=2)  # 腐蚀
    dilateim = cv2.dilate(erodeim,None,iterations=2)

    img = cv2.bitwise_and(img,img,mask=dilateim)
    frame = cv2.cvtColor(img, cv2.COLOR_BGR2GRAY)
    ret, dst = cv2.threshold(frame, 100, 255, cv2.THRESH_BINARY)
    contours,hierarchy = cv2.findContours(dst, cv2.RETR_LIST, cv2.CHAIN_APPROX_SIMPLE)

    # 保存图片的地址
    img_file_1 = "./temp"
    # 确认上述地址是否存在
    if not os.path.exists(img_file_1):
        os.mkdir(img_file_1)

    cv2.imshow("0",img)
    cv2.imwrite(img_file_1 + "/" + 'temp_%d.jpg'%a, img)
    i = 0
    maxarea = 0
    nextarea = 0
    maxint = 0
    for c in contours:
        if cv2.contourArea(c)>maxarea:
            maxarea = cv2.contourArea(c)
            maxint = i
        i+=1

    #多边形拟合
    epsilon = 0.02*cv2.arcLength(contours[maxint],True)
    if epsilon<1:
        continue

    #多边形拟合
    approx = cv2.approxPolyDP(contours[maxint],epsilon,True)
    [[x1,y1]] = approx[0]
    [[x2,y2]] = approx[2]

    checkerboard = image[y1:y2,x1:x2]
    cv2.imshow("1",checkerboard)
    cv2.waitKey(1000)
    # 保存图片的地址
    img_file_2 = "./checkerboard"
    # 确认上述地址是否存在
    if not os.path.exists(img_file_2):
        os.mkdir(img_file_2)
    cv2.imwrite(img_file_2 + "/" + 'checkerboard_%d.jpg'%a, checkerboard)
cv2.destroyAllWindows()
加载全部内容