python制作朋友圈九宫格图片
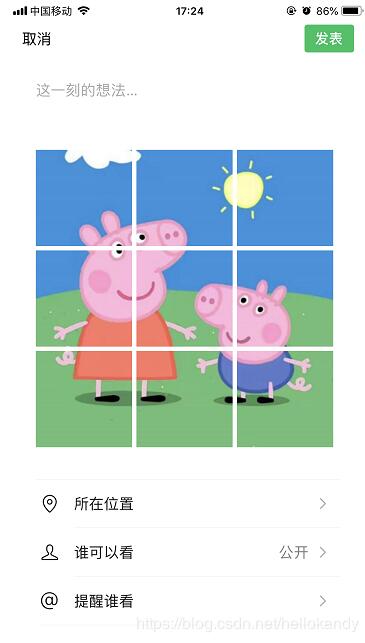
人气:0将一张图片,切分成九宫格的样式:
原图:

# -*- coding: UTF-8 -*-
from PIL import Image
import sys
import os

__author__ = 'kandy'

#当前文件所在文件夹
DIR_NAME = os.path.dirname( os.path.abspath(__file__) )

#填充新的image
def fill_image(image):
 width, height = image.size
 print('width:{%d}, height:{%d}' % (width, height))

 _length = width
 if height > width:
  _length = height

 new_image = Image.new(image.mode, (_length, _length), color='white')

 if width > height:
  new_image.paste(image, (0, int((_length - height) / 2)))
 else:
  new_image.paste(image, (int((_length - width) / 2), 0))
 return new_image

#裁剪image
def cut_image(image):
 width, height = image.size
 _width = int(width / 3)
 print('_width:{%d}' % _width)

 box_list = []

 # (left, top, right, bottom)
 for i in range(0, 3):
  for j in range(0, 3):
   print('i:{%d}, j:{%d}' % (i, j))
   box = (j*_width, i*_width, (j+1)*_width, (i+1)*_width)
   box_list.append(box)
   image_list = [image.crop(box) for box in box_list]
 return image_list

#将image列表的里面的图片保存
def save_images(image_list):
 index = 1
 #创建result文件夹
 res_dir = os.path.join(DIR_NAME, 'result')
 if not os.path.exists(res_dir):
  os.mkdir(res_dir)

 for image in image_list:
  new_name = os.path.join(res_dir, str(index) + '.png')
  image.save(new_name, 'PNG')
  index += 1
 print('图片保存完毕!')


if __name__ == '__main__':
 file_path = os.path.join(DIR_NAME, '123.jpg')
 image = Image.open(file_path)
 #image.show()
 image = fill_image(image)
 #
 image_list = cut_image(image)
 #
 save_images(image_list)
 print('程序结束!')
切图后,拿去发朋友圈吧:

以上就是本文的全部内容,希望对大家的学习有所帮助,也希望大家多多支持。
您可能感兴趣的文章:
加载全部内容