UIScrollerView tableView Android程序开发之UIScrollerView里有两个tableView
Livia.Chen 人气:0想了解Android程序开发之UIScrollerView里有两个tableView的相关内容吗,Livia.Chen在本文为您仔细讲解 UIScrollerView tableView 的相关知识和一些Code实例,欢迎阅读和指正,我们先划重点:UIScrollerView_tableView,下面大家一起来学习吧。
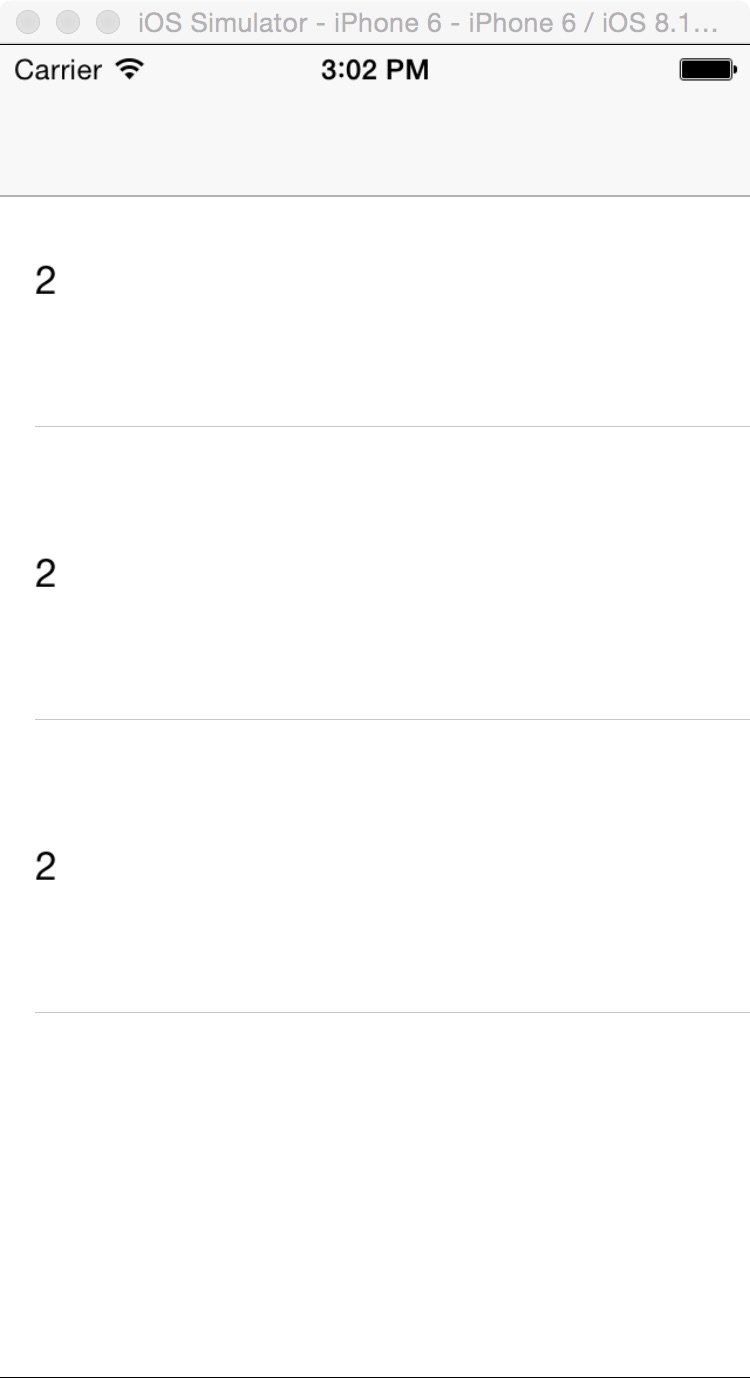
一,效果图。


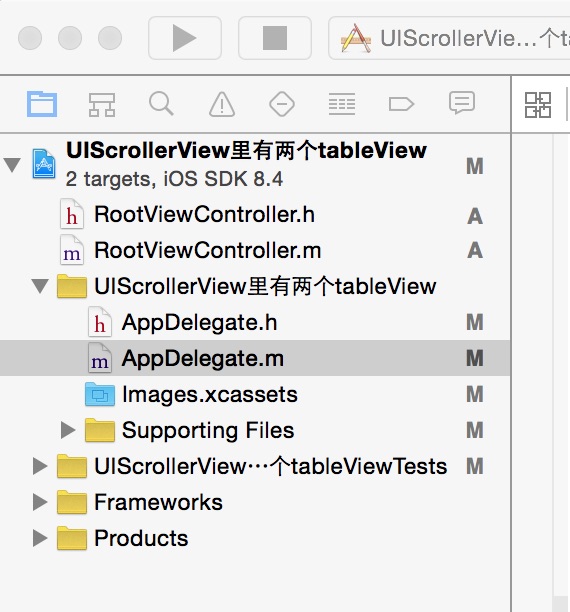
二,工程图。

三,代码。
RootViewController.h
#import <UIKit/UIKit.h>
@interface RootViewController : UIViewController
<UIScrollViewDelegate,UITableViewDelegate,UITableViewDataSource>
{
  UIScrollView *_scrolView;
  UITableView *_tableView;
  UITableView *_tableView2;
  UITableViewCell *_cell;
}
@end
RootViewConroller.m
 #import "RootViewController.h"
@interface RootViewController ()
@end
@implementation RootViewController
- (id)initWithNibName:(NSString *)nibNameOrNil bundle:(NSBundle *)nibBundleOrNil
{
  self = [super initWithNibName:nibNameOrNil bundle:nibBundleOrNil];
  if (self) {
    // Custom initialization
  }
  return self;
}
- (void)viewDidLoad
{
  [super viewDidLoad];
  // Do any additional setup after loading the view.
  [self initBackGroundView];
}
#pragma -mark -functions
-(void)initBackGroundView
{
  //tableView后的滚动条
  _scrolView=[[UIScrollView alloc]initWithFrame:CGRectMake(0,19, 320, 460)];
  _scrolView.contentSize=CGSizeMake(320*2, 460);
  _scrolView.delegate=self;
  _scrolView.pagingEnabled=YES;
  _scrolView.showsVerticalScrollIndicator=NO;
  _scrolView.bounces=NO;
  [self.view addSubview:_scrolView];
  //tableView1
  _tableView =[[UITableView alloc]initWithFrame:CGRectMake(0, 19, 320, 460)];
  _tableView.tag=1;
  _tableView.delegate=self;
  _tableView.dataSource=self;
  _tableView.scrollEnabled=NO;
  [_scrolView addSubview:_tableView];
  //tableView2
  _tableView2=[[UITableView alloc]initWithFrame:CGRectMake(320, 19, 320, 460)];
  _tableView2.tag=2;
  _tableView2.delegate=self;
  _tableView2.dataSource=self;
  _tableView2.scrollEnabled=NO;
  [_scrolView addSubview:_tableView2];
}
#pragma -mark -UITableViewDelegate
-(NSInteger)tableView:(UITableView *)tableView numberOfRowsInSection:(NSInteger)section
{
  return 3;
}
-(CGFloat)tableView:(UITableView *)tableView heightForRowAtIndexPath:(NSIndexPath *)indexPath
{
  return 125;
}
-(UITableViewCell *)tableView:(UITableView *)tableView cellForRowAtIndexPath:(NSIndexPath *)indexPath
{
  _cell=[tableView dequeueReusableCellWithIdentifier:@"ID"];
  if (_cell==nil) {
    _cell=[[UITableViewCell alloc]initWithStyle:UITableViewCellStyleDefault reuseIdentifier:@"ID"];
  }
  _cell.selectionStyle=UITableViewCellSelectionStyleNone;
  if (tableView.tag==1){
   _cell.textLabel.text=@"1";
   }else if(tableView.tag==2){
     _cell.textLabel.text=@"2";
  }
  return _cell;
}
以上内容是小编给大家介绍的Android程序开发之UIScrollerView里有两个tableView 的详细介绍,希望对大家有所帮助!
加载全部内容