.NET微服务从0到1:服务注册与发现(Consul)
江浙沪柯蓝 人气:0
[toc]
# Consul搭建
## 基于Docker搭建Consul
*以下为单机环境构建脚本,用于本机测试,生产环境中应当进行集群搭建*
```yml
version: '3'
services:
consul:
image: consul:1.7.1
container_name: consul
volumes:
- /chttps://img.qb5200.com/download-x/docker/consulhttps://img.qb5200.com/download-x/data:/consulhttps://img.qb5200.com/download-x/data
- /chttps://img.qb5200.com/download-x/docker/consul:/consul/config
ports:
- 8300:8300
- 8301:8301
- 8301:8301/udp
- 8302:8302
- 8302:8302/udp
- 8400:8400
- 8500:8500
- 53:53/udp
command: agent -server -bind=0.0.0.0 -client=0.0.0.0 -node=consul_Server1 -bootstrap-expect=1 -ui
```
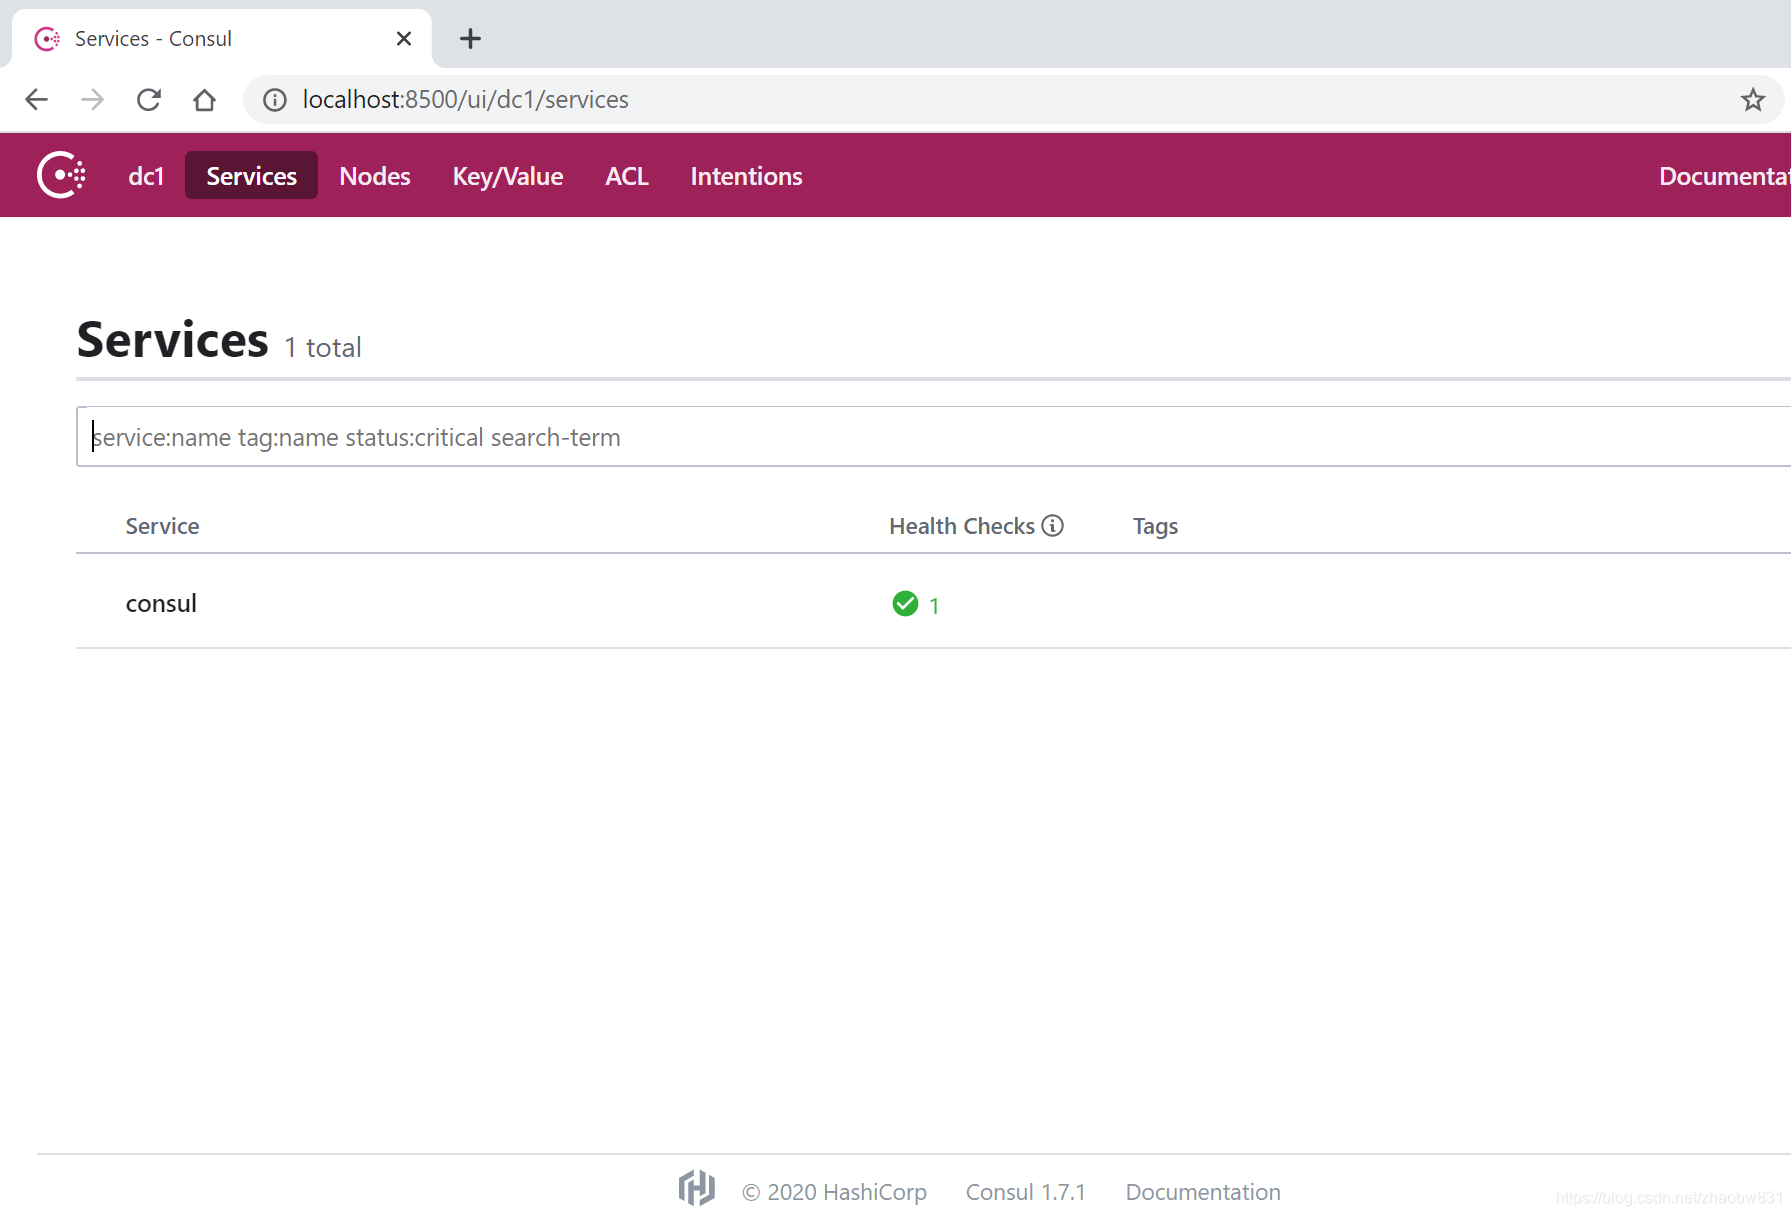
成功搭建后,访问8500端口,你可以看到如下界面

## 基于Windows搭建Consul
[点击](https://releases.hashicorp.com/consul/1.7.1/consul_1.7.1_windows_amd64.zip)下载Consul
执行以下命令运行consul
```cmd
consul agent -dev
```
# ServiceA集成Consul做服务注册
*配置前一篇文章中的ServiceA*
> Install-Package Consul -Version 0.7.2.6
- Consul配置模型
```csharp
public class ServiceDisvoveryOptions
{
public string ServiceName { get; set; }
public ConsulOptions Consul { get; set; }
}
public class ConsulOptions
{
public string HttpEndpoint { get; set; }
public DnsEndpoint DnsEndpoint { get; set; }
}
public class DnsEndpoint
{
public string Address { get; set; }
public int Port { get; set; }
public IPEndPoint ToIPEndPoint()
{
return new IPEndPoint(IPAddress.Parse(Address), Port);
}
}
```
- 添加appsetting.json
```json
"ServiceDiscovery": {
"ServiceName": "ServiceA",
"Consul": {
"HttpEndpoint": "http://127.0.0.1:8500",
"DnsEndpoint": {
"Address": "127.0.0.1",
"Port": 8600
}
}
}
```
- Consul服务注册实现
```csharp
private void ConfigureConsul(IApplicationBuilder app, IOptions
加载全部内容