JS实现灯泡开关特效
Chaz Chaim 人气:0JS实现灯泡开关特效的具体代码,供大家参考,具体内容如下
并且显示时间,文字
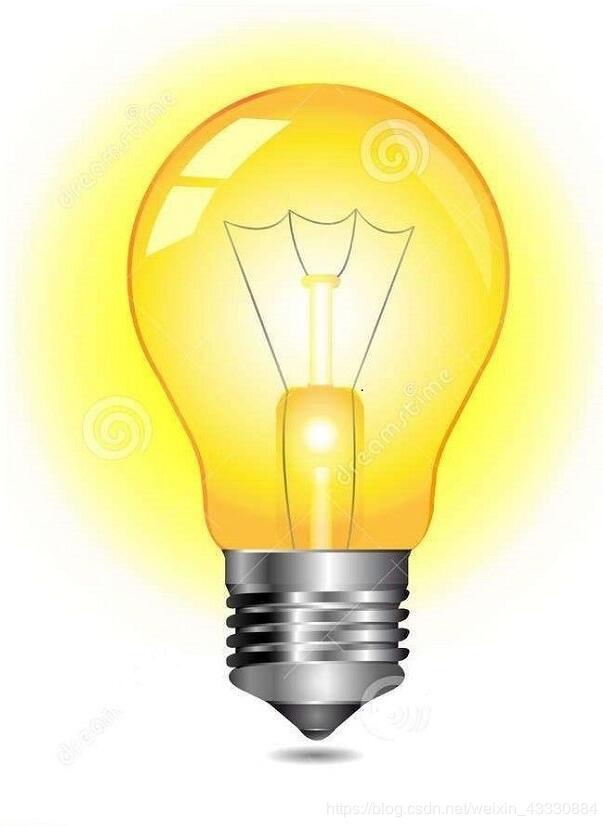
首先准备两张图片:开灯ON.jpg:关灯OFF.jpg
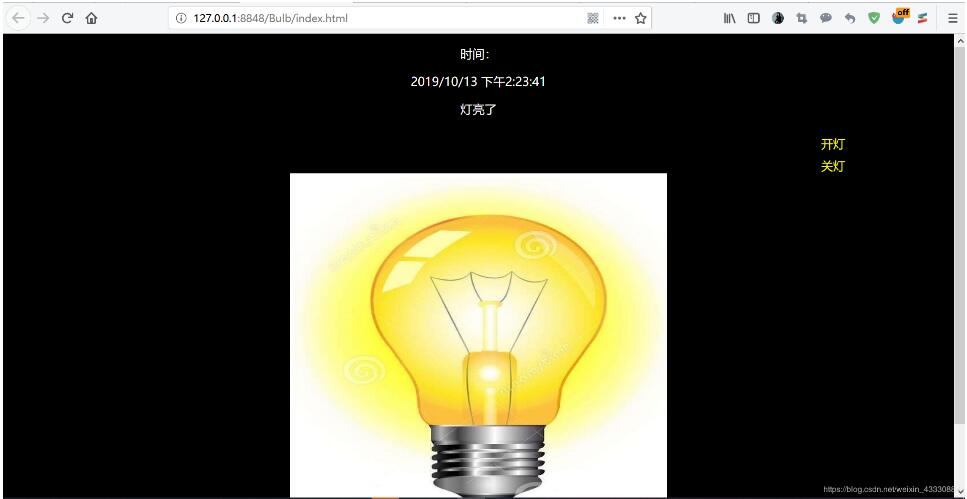
效果图:


下面是具体实现代码:
HTML:
<!DOCTYPE html>
<html>
 <head>
 <meta charset="utf-8" />
 <title>开关灯特效</title>
 <link href="css/bulb.css" rel="stylesheet" type="text/css" />
 <script src="js/bulb.js"></script>
 </head>
 <body>
 <div align="center">
 <p>时间:</p>
 <p id="show"></p>
 <p id="def">默认关灯</p>
 </div>
 <div align="center">
 <ul>
 <li>
 <a href="img/ON.jpg" style="width: 500px;height: 500px;" title="灯亮了" onclick="showBulb(this); return false;">开灯</a>
 </li>
 <li>
 <a href="img/OFF.jpg" style="width: 500px;height: 500px;" title="灯灭了" onclick="showBulb(this); return false;">关灯</a>
 </li>
 </ul>
 <img id="imgBulb" src="img/OFF.jpg" width="500px" height="500px" />
 </div>
 </body>
</html>
CSS:
body {
 color: #333;
 background-color: #000;
 margin: 16px 10%;
}

p {
 color: #fff;
}

a {
 color: #FFFF00;
 text-decoration: none;
}

ul {
 padding: 0px;
}

li {
 float: left;
 padding-top: 9px;
 padding-left: 960px;
 list-style: none;
}
JS:
function showBulb(assign) {
 var aimg = assign.getAttribute("href"); //通过getAttribute获取href
 var imgBulb = document.getElementById("imgBulb"); //获取<img/>里面ID
 imgBulb.setAttribute("src", aimg); //将src路径图片修改为目标路径:var aimg
 showTime(); //时间
 var text = assign.getAttribute("title"); //通过getAttribute获取title
 var def = document.getElementById("def");
 def.firstChild.nodeValue = text; //返回当前节点的第一个子节点文本节点

}

function showTime() {
 var show = document.getElementById("show");
 var newDate = new Date();
 show.innerHTML = newDate.toLocaleString(); //根据本地时间格式把Date对象转换为字符串显示出来
}
这里我给大家准备了两张图,大家可以拿去用


加载全部内容