原生JS实现的简单轮播图功能【适合新手】
不会唱歌的演员不是好程序猿 人气:0本文实例讲述了原生JS实现的简单轮播图功能。分享给大家供大家参考,具体如下:
经过几天的努力,终于攻克了这一难题,于是迫不及待的想要分享给大家,编写之前,我也看了不少其他博主的博客,大多是用偏移量写的,对新手来说,还是有些难以理解,虽然可能实现的需求不一样,但我想先从简入手,所以自己查阅资料,修改bug,终于完成。话不多说,上代码:
<!DOCTYPE html>
<html lang="en">
<head>
<meta charset="UTF-8">
<meta name="viewport" content="width=device-width, initial-scale=1.0">
<meta http-equiv="X-UA-Compatible" content="ie=edge">
<title>www.qb5200.com JS轮播图</title>
<script src="jquery.js"></script>
<style>
*{
margin: 0px;
padding:0px;
list-style: none;
text-decoration: none;
}
#flash{ /*根据图片的大小来设置外层div的大小*/
width: 520px;
height: 280px;
margin: 0 auto;
position: relative; /*设置div定位,方便之后图片及圆点位置的设定*/
border:1px solid black;
}
#flash img{
width: 100%;
height: 100%;
position: absolute; /*设置所有图片重叠*/
left: 0px;
top: 0px;
display: none; /*设置所有图片隐藏,通过改变第一个图片的行间样式来使第一个图片显示*/
}
#flash ul{
width: 150px;
height: 25px;
border-radius: 20px;
background-color:rgba(255,255,255,0.5);
position: absolute;
left: 35%;
bottom: 10%;
}
#flash ul li{
width: 12px;
height: 12px;
margin-top:5px;
background-color: #fff;
border-radius: 50%;
margin-left: 15px;
float: left;
}
#flash ul .li_1{
background-color: #f40; /*设置第一个圆点背景色为红色*/
}
#flash .span-r{
width: 50px;
height: 50px;
border-radius: 50%;
position: absolute;
right: 2%;
top: 45%;
background-color: rgba(255,255,255,0.5);
}
#flash .span-r span{
width: 100%;
height:100%;
color:rgba(0,0,0,0.5);
font-size: xx-large;
font-weight: 700;
line-height: 50px;
margin-left: 15px;
cursor: pointer;
}
#flash .span-l{
width: 50px;
height: 50px;
border-radius: 50%;
position: absolute;
left: 2%;
top: 45%;
background-color: rgba(255,255,255,0.5);
}
#flash .span-l span{
width: 100%;
height:100%;
color:rgba(0,0,0,0.5);
font-size: xx-large;
font-weight: 700;
line-height: 50px;
margin-left: 15px;
cursor: pointer;
}
</style>
</head>
<div id="flash">
<img src="http:/https://img.qb5200.com/download-x/demo.jb51.net/js/2018/html5-css3-3d-img-flash-codes/images/Guardians-of-the-Galaxy-Poster-High-Res.jpg" alt="" style="display: block">
<img src="http:/https://img.qb5200.com/download-x/demo.jb51.net/js/2018/html5-css3-3d-img-flash-codes/images/Blade-Runner-poster-art-Harrison-Ford.jpg" alt="">
<img src="http:/https://img.qb5200.com/download-x/demo.jb51.net/js/2018/html5-css3-3d-img-flash-codes/images/2017_alien_covenant_4k-5120x2880-1920x1080.jpg" alt="">
<img src="http:/https://img.qb5200.com/download-x/demo.jb51.net/js/2018/html5-css3-3d-img-flash-codes/images/robocop-1987-wallpaper-2.jpg" alt="">
<img src="http:/https://img.qb5200.com/download-x/demo.jb51.net/js/2018/html5-css3-3d-img-flash-codes/images/sJALsDXak4EehSg2F2y92rt5hPe.jpg" alt="">
<ul>
<li class="li_1"></li>
<li></li>
<li></li>
<li></li>
<li></li>
</ul>
<div class="span-r">
<span>></span>
</div>
<div class="span-l">
<span><</span>
</div>
</div>
<body>
<script>
var div = document.getElementById('flash');
var img = div.getElementsByTagName('img'); /*选中div下所有的图片*/
var ul = document.getElementsByTagName('ul')[0];
var li = ul.getElementsByTagName('li');
var div_r = document.getElementsByTagName('div')[1];
// var span_r = div_r.getElementsByTagName('span');
var div_l = document.getElementsByTagName('div')[2];
// var sapn_l = div_l.getElementsByTagName('span');
var len = img.length;
var count = 0; /*设置count来显示当前图片的序号*/
function run(){ /*将定时器里的函数提取到外部*/
count++;
count = count==5?0:count; /*当图片加载到最后一张时,使其归零*/
for(var i=0;i<len;i++){
img[i].style.display = 'none'; /*利用for循环使除当前count位其他图片隐藏*/
}
img[count].style.display = 'block'; /*显示当前count的值所代表的图片*/
for(var i=0;i<li.length;i++){
li[i].style.backgroundColor = "#fff"; /*原理同上*/
}
li[count].style.backgroundColor = "#f40";
}
var timer = setInterval(run,1000); /*定义定时器,使图片每隔1s更换一次*/
div.onmouseover = function(){
clearInterval(timer);
}
div.onmouseleave = function(){ /*定义鼠标移出事件,当鼠标移出div区域,轮播继续*/
timer = setInterval(run,1000);
}
for(var i=0;i<len;i++){
li[i].index = i; /*定义index记录当前鼠标在li的位置*/
li[i].onmouseenter = function(){ /*定义鼠标经过事件*/
for(var i=0;i<len;i++){ /*通过for循环将所有图片隐藏,圆点背景设为白色*/
li[i].style.background = '#fff';
img[i].style.display = 'none';
}
this.style.background = '#f40'; /*设置当前所指圆点的背景色*/
img[this.index].style.display = 'block'; /*使圆点对应的图片显示*/
}
}
div_r.onclick = function(){ /*因为span没有设置宽高,直接把事件添加到他的父级*/
run(); /*直接调用现成的run函数*/
}
function reverse(){
count--;
count = count==-1?4:count;
for(var i=0;i<len;i++){
img[i].style.display = 'none'; /*利用for循环使除当前count位其他图片隐藏*/
}
img[count].style.display = 'block'; /*显示当前count的值所代表的图片*/
for(var i=0;i<li.length;i++){
li[i].style.backgroundColor = "#fff"; /*原理同上*/
}
li[count].style.backgroundColor = "#f40";
}
div_l.onclick = function(){
reverse(); /*重新设置函数*/
}
</script>
</body>
</html>
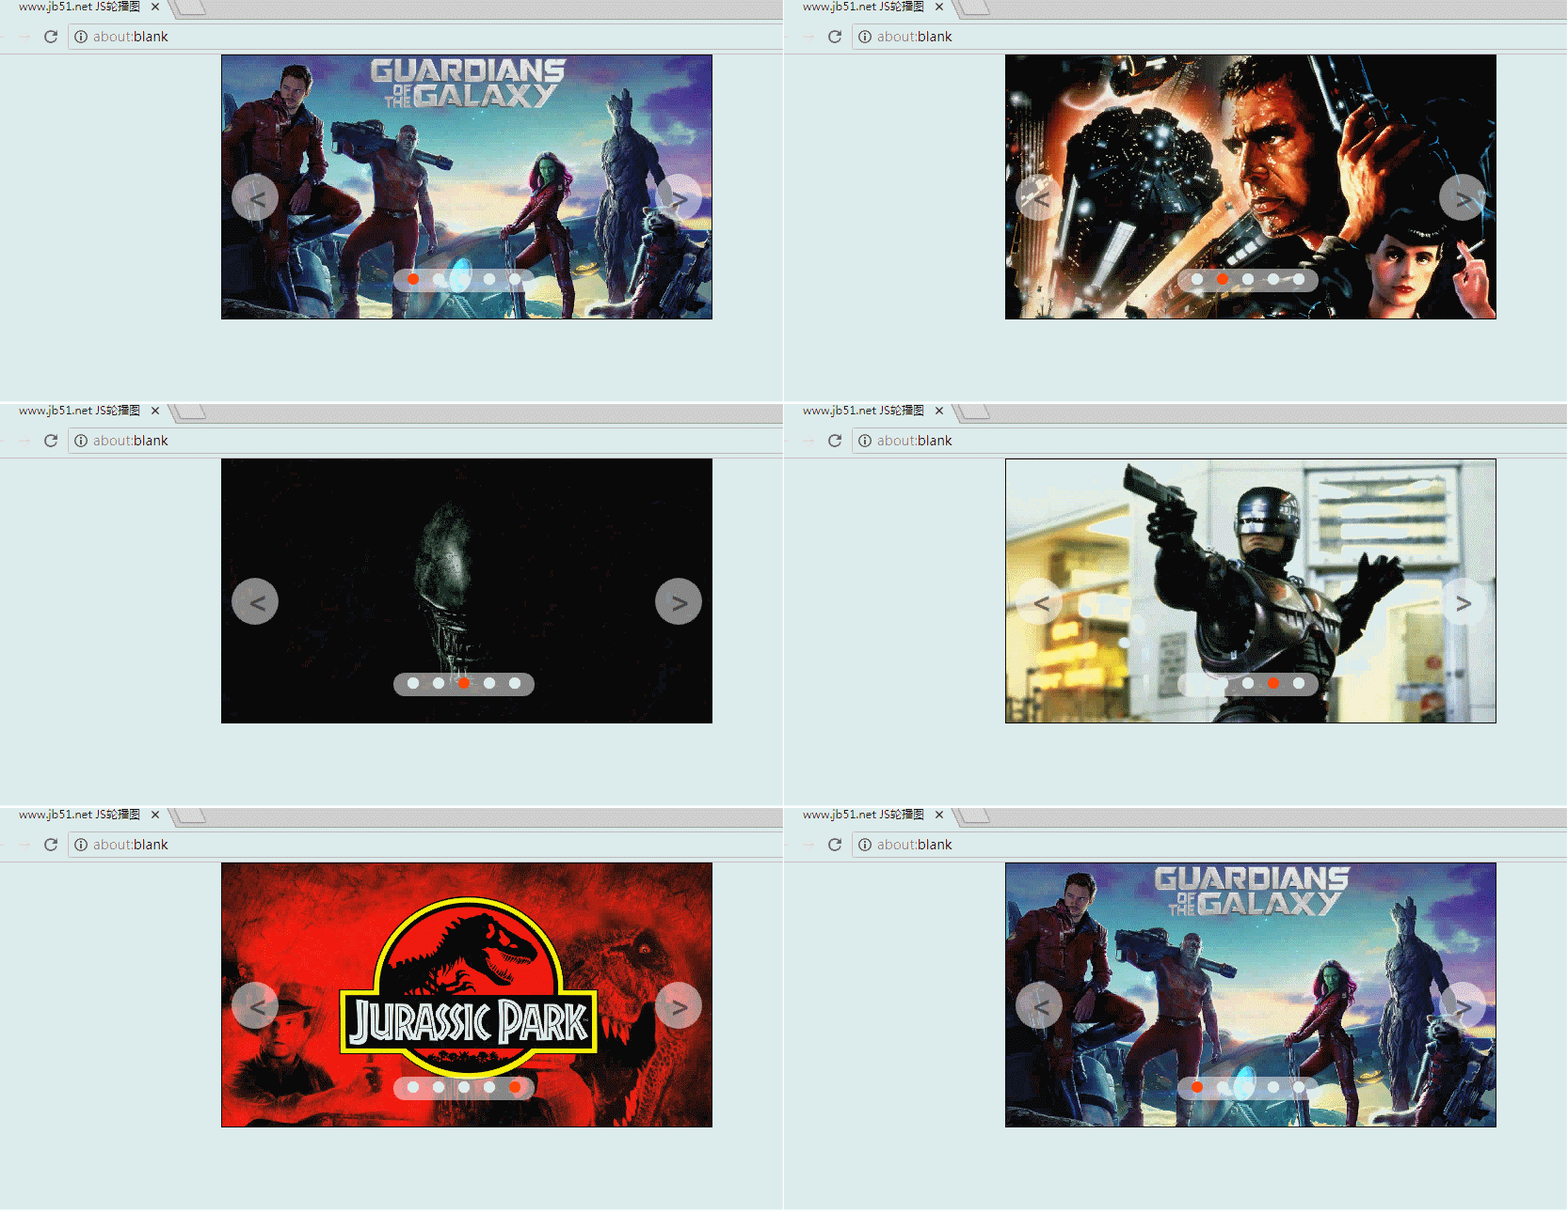
这里使用在线HTML/CSS/JavaScript代码运行工具:http://tools.softyun.net/code/HtmlJsRun,测试运行效果如下:

感兴趣的朋友可以自己动手测试一下。
希望本文所述对大家JavaScript程序设计有所帮助。
加载全部内容