React BootStrap用户体验框架快速上手
学习笔记666 人气:0官方文档http://react-bootstrap.github.io/getting-started.html
安装
在终端cd到你的项目目录下执行:$ npm install react-bootstrap
然后需要我们手动引用css
<!-- Latest compiled and minified CSS -->
<link rel="stylesheet" href="https://maxcdn.bootstrapcdn.com/bootstrap/latest/css/bootstrap.min.css">
<!-- Optional theme -->
<link rel="stylesheet" href="https://maxcdn.bootstrapcdn.com/bootstrap/latest/css/bootstrap-theme.min.css">
但是我们在学习的时候使用外部的URL,太慢了。因此我们索引把bootstrap安装到本地。
$ npm install bootstrap
然后你会发现在你的node_modules目录下多了bootstrap。
这样页面上就可以引用本地的css了
<link rel="stylesheet" type="text/css" href="node_modules/bootstraphttps://img.qb5200.com/download-x/dist/css/bootstrap.min.css" rel="external nofollow" rel="external nofollow" >
好,我们动手来使用一下React-BootStrap框架吧
http://react-bootstrap.github.io/components.html
我们这里演示使用它的导航条组件
在index.js里:
const React = require("react");
const ReactDOM = require("react-dom");
import {Navbar} from "react-bootstrap";
const navbarInstance = (
  <Navbar>
    <Navbar.Header>
      <Navbar.Brand>
        <a href="#" rel="external nofollow" >react-bootstrap</a>
      </Navbar.Brand>
    </Navbar.Header>
  </Navbar>
);
// 然后我们渲染到body里
ReactDOM.render(navbarInstance,document.body);
html页面上:
<!DOCTYPE html>
<html>
<head>
  <title>es2105的写法</title>
  <meta charset="utf-8">
  <link rel="stylesheet" type="text/css" href="node_modules/bootstraphttps://img.qb5200.com/download-x/dist/css/bootstrap.min.css" rel="external nofollow" rel="external nofollow" >
</head>
<body>
<div id="abc"></div>
</body>
  <script src="webpack-dev-server.js"></script>
  <script src="index-webpack.js"></script>
</html>
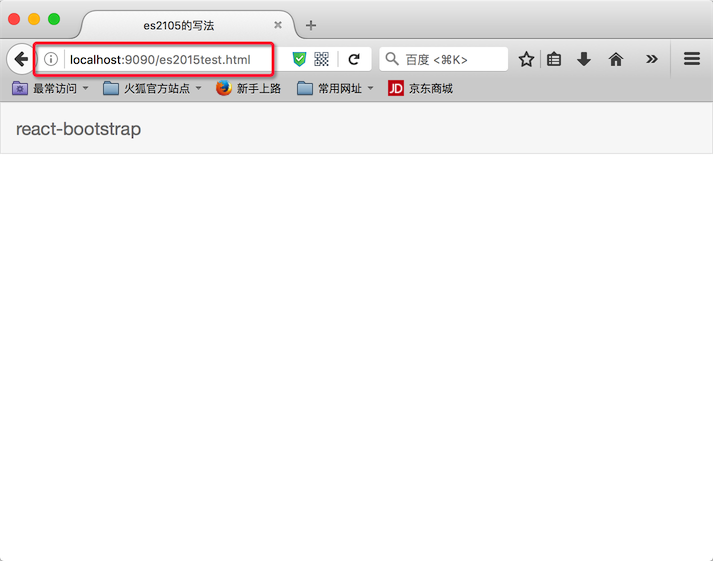
效果如下:

主要看浏览器地址,这是我们前面配置的”热启动”。
执行命令 $ npm start 就开启了服务
总结
以上所述是小编给大家介绍的React BootStrap用户体验框架快速上手,希望对大家有所帮助,如果大家有任何疑问请给我留言,小编会及时回复大家的。在此也非常感谢大家对网站的支持!
加载全部内容