Flutter Widget之NavigationBar使用详解
程序员界的小学生 人气:0正文
这是一个和时间一样古老的故事。您的应用程序有三到五个主要内容区域,您的用户应该能够在任何屏幕之间切换。
那么,在这种情况下,请查看NavigationBar。
现在,您可能会想,“底部们有导航栏吗?,这个新的导航栏小部件有什么特别之处?“
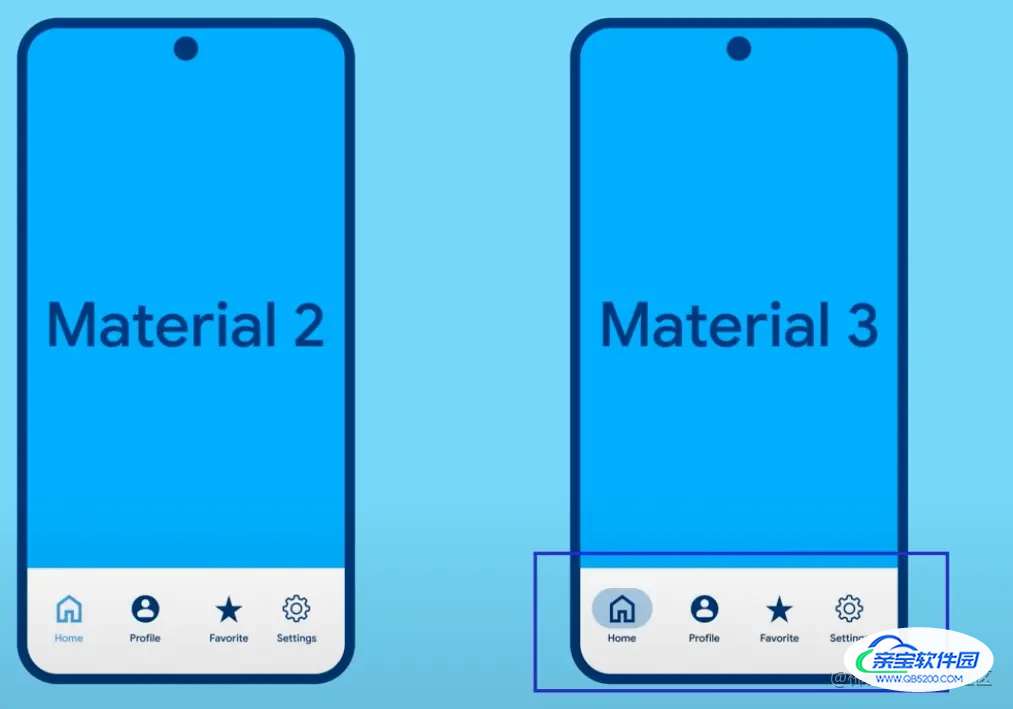
不同之处在于BoottomNavigationBar使用Material 2设计系统,而NavigationBar具有新的Material 3外观和感觉。

例如,药丸形状,它以对比色指示活动的目的地。

要启动并运行,为NavigationBar提供destination列表,当前所选的索引以及每当选择destination时出发的回调而已。
NavigationBar(
    destinations: [
        NavigationDestination(
            icon: Icon(Icons.home),
            label: 'Home',
        ),
        NavigationDestination(
            icon: Icon(Icons.explore),
            label: 'Explore',
        ),
        NavigationDestination(
            icon: Icon(Icons.person),
            label: 'Profile',
        ),
        NavigationDesstination(
            icon: Icon(Icons.settings_rounded,
            label: 'Settings',
        ),
    ],
    selectedIndex: currentPageIndex,
    onDestinationSelected: (int index) {
        setState(() {
            currentPageIndex = index;
        });
    }
)
现在您的应用程序可以使用选定的索引来决定要承铉哪个视图。
Scaffold(
    bottomNavigationBar: NavigationBar(...),
    body: [Widget1, Widget2, Widget3, Widget4][currentPageIndex]
)
您可以使用它并配置诸如labelBehavior
NavigationBar(
    destinations: [...].
    selectedIndex: currentPageIndex,
    onDestinationSelected: (int index) {...},
    labelBehavior: onlyShowSelected,
)

background
NavigationBar(
    destinations: [...],
    selectedIndex: currentPageIndex,
    onDestinationSelected: (int index) {...},
    backgroundColor: Colors.grey,
)

和animationDuration之类的东西,以便当destination在选中和未选中之间更改状态时。
NavigationBar(
    destinations: [...],
    selectedIndex: currentPageIndex,
    onDestinationSelected: (int index) {...},
    animationDuration: Duration(ms: 1000),
)

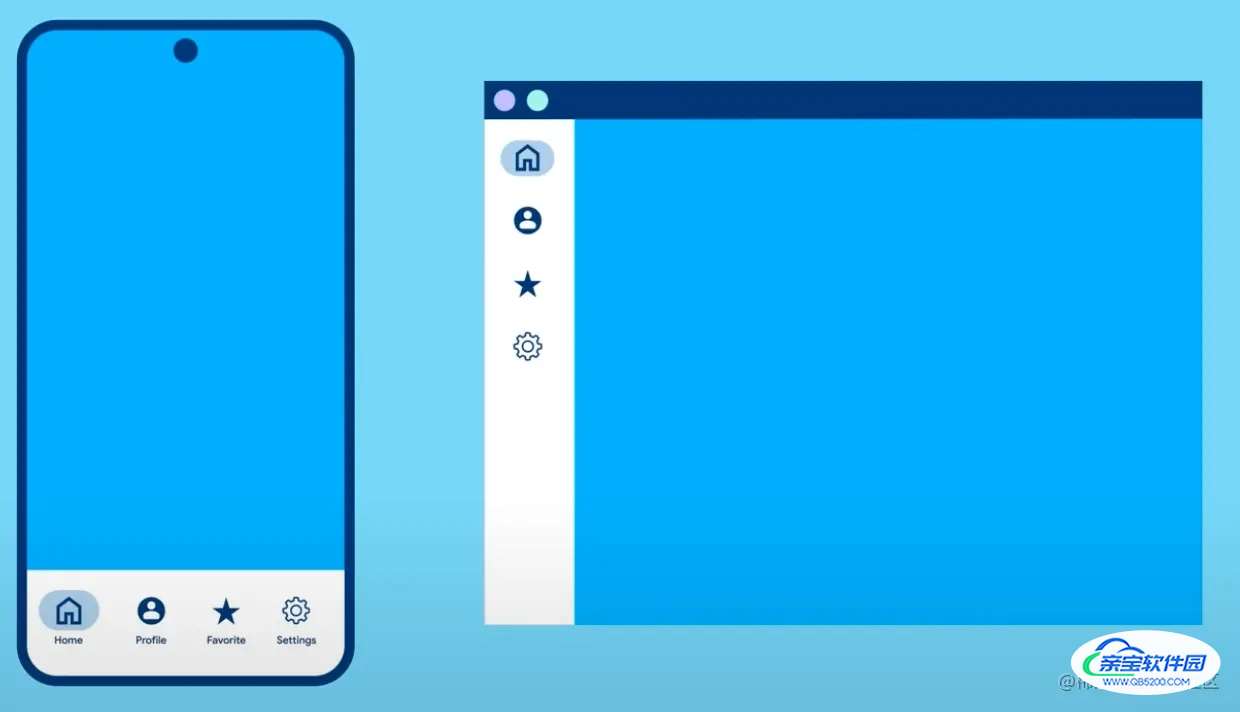
准备好在大屏幕访问您的应用程序了吗?将NavigationBar与NaviigationRail栏配对,您将立即拥有一个完全相应的导航系统。

如果想了解有关NavigationBar的内容,或者关于Flutter的其他功能,请访问 flutter.dev
加载全部内容