SpringCloud Alibaba Nacos整合SpringBoot Admin
yueF_L 人气:01. Spring Boot Admin 是什么
Spring Boot Admin 是由 codecentric 组织开发的开源项目,使用 Spring Boot Admin 可以管理和监控你的 Spring Boot 项目。
它分为客户端和服务端两部分,客户端添加到你的 Spring Boot 应用增加暴漏相关信息的 HTTP 接口,然后注册到 Spring Boot Admin 服务端,这一步骤可以直接向服务端注册,也可以通过 Eureka 或者 Consul 进行注册。
而 Spring Boot Admin Server 通过 Vue.js 程序监控信息进行可视化呈现。并且支持多种事件通知操作。
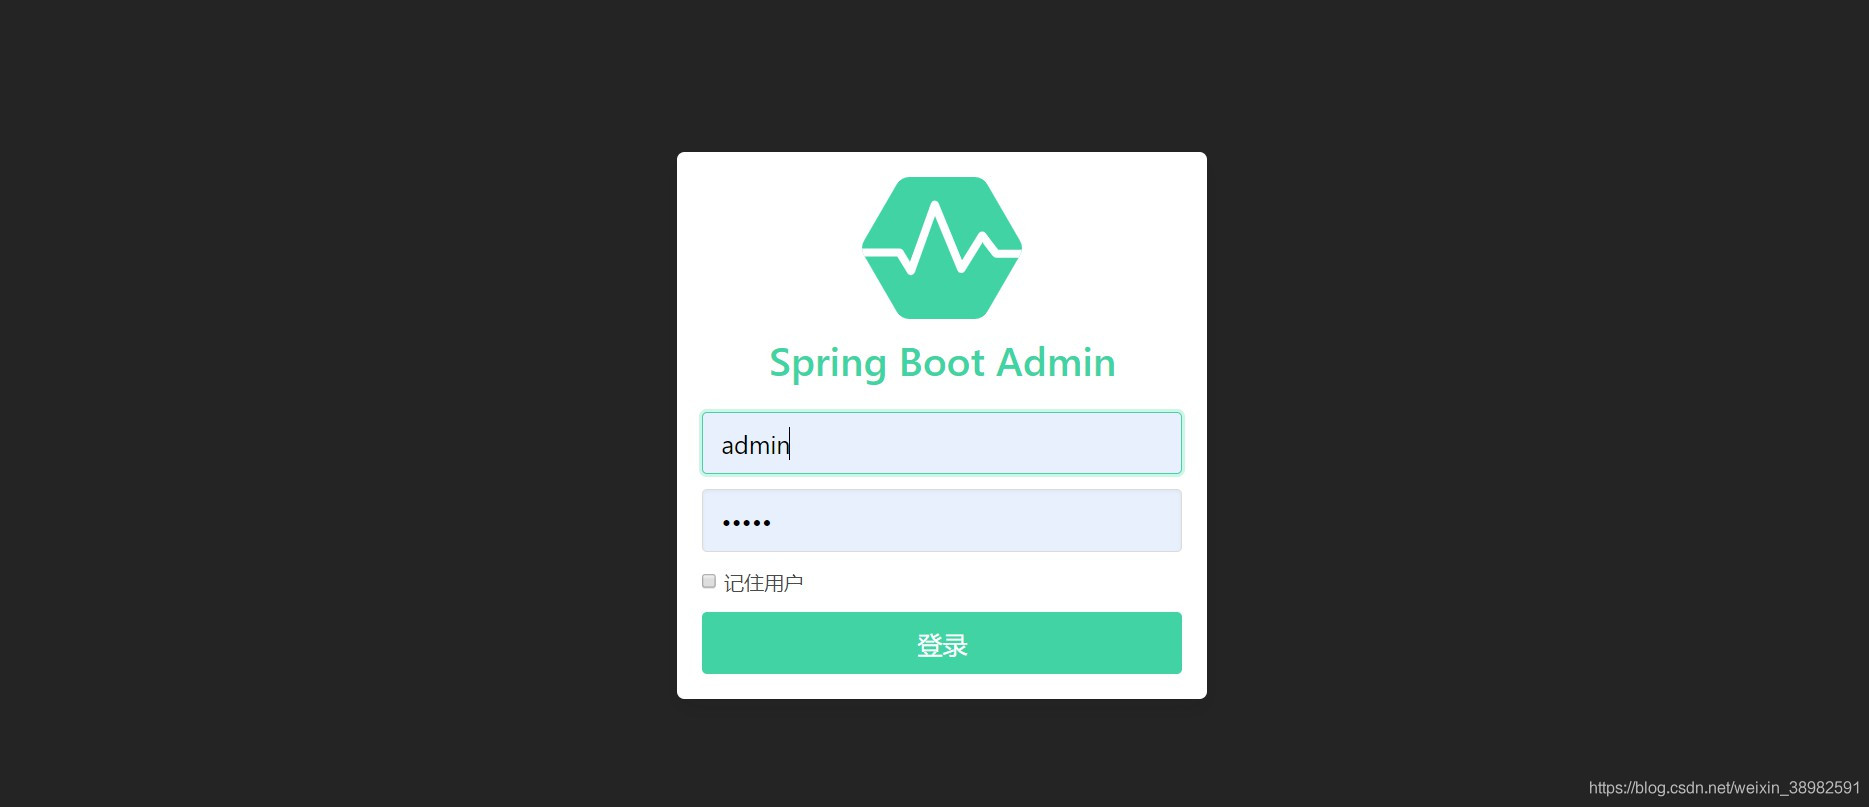
2. Spring Boot Admin 服务端
Spring Boot Admin 服务端是基于 Spring Boot 项目的,如何创建一个 Spring Boot 项目这里不提,你可以参考之前文章或者从 https://start.spring.io/ 直接获得一个 Spring Boot 项目。
2.1. 添加依赖(服务端)
只需要添加 web 依赖和 Spring-boot-admin-starter-server 依赖。
       <dependency>
            <groupId>de.codecentric</groupId>
            <artifactId>spring-boot-admin-starter-server</artifactId>
            <version>2.2.2</version>
        </dependency>

         <dependency>
            <groupId>org.springframework.boot</groupId>
            <artifactId>spring-boot-starter-web</artifactId>
        </dependency>
        <dependency>
            <groupId>org.springframework.boot</groupId>
            <artifactId>spring-boot-starter-actuator</artifactId>
        </dependency>
        <!--安全认证框架-->
        <dependency>
            <groupId>org.springframework.boot</groupId>
            <artifactId>spring-boot-starter-security</artifactId>
        </dependency>
2.2. 配置 application.yml
server:
  port: 8000

####服务监控server端
spring:
  application:
    name: wireless-admin-server
  cloud:
    nacos:
      discovery:
        server-addr: localhost:8848
  security:
    user:
      name: admin
      password: admin
2.3启动类:AdminServerMain
package com.gpdi.wireless;
import de.codecentric.boot.admin.server.config.EnableAdminServer;
import org.springframework.boot.SpringApplication;
import org.springframework.boot.autoconfigure.SpringBootApplication;
import org.springframework.cloud.client.discovery.EnableDiscoveryClient;

/**
 * @Author Lxq
 * @Date 2020/5/7 17:45
 * @Version 1.0
 */
@EnableAdminServer
@SpringBootApplication
@EnableDiscoveryClient
public class AdminServerMain {
    public static void main(String[] args) {
        SpringApplication.run(AdminServerMain.class, args);
    }
}
2.4配置类 :SecuritySecureConfig (直接cp官方文档)
package com.gpdi.wireless.config;
import de.codecentric.boot.admin.server.config.AdminServerProperties;
import org.springframework.context.annotation.Configuration;
import org.springframework.security.config.annotation.authentication.builders.AuthenticationManagerBuilder;
import org.springframework.security.config.annotation.web.builders.HttpSecurity;
import org.springframework.security.config.annotation.web.configuration.WebSecurityConfigurerAdapter;
import org.springframework.security.web.authentication.SavedRequestAwareAuthenticationSuccessHandler;
import org.springframework.security.web.csrf.CookieCsrfTokenRepository;

/**
 * @Author Lxq
 * @Date 2020/5/7 22:15
 * @Version 1.0
 *
 */
@Configuration
public class SecuritySecureConfig extends WebSecurityConfigurerAdapter {
    private final String adminContextPath;
    public SecuritySecureConfig(AdminServerProperties adminServerProperties) {
        this.adminContextPath = adminServerProperties.getContextPath();
    }

    @Override
    protected void configure(HttpSecurity http) throws Exception {
        // @formatter:off
        SavedRequestAwareAuthenticationSuccessHandler successHandler = new SavedRequestAwareAuthenticationSuccessHandler();
        successHandler.setTargetUrlParameter("redirectTo");
        successHandler.setDefaultTargetUrl(adminContextPath + "/");

        http.authorizeRequests()
                //授予对所有静态资产和登录页面的公共访问权限
                .antMatchers(adminContextPath + "/assets/**").permitAll()
                .antMatchers(adminContextPath + "/login").permitAll()
                //必须对每个其他请求进行身份验证
                .anyRequest().authenticated()
                .and()
                //配置登录和注销
                .formLogin().loginPage(adminContextPath + "/login").successHandler(successHandler).and()
                .logout().logoutUrl(adminContextPath + "/logout").and()
                //启用HTTP-Basic支持。这是Spring Boot Admin Client注册所必需的
                .httpBasic().and()
                .csrf()
                .csrfTokenRepository(CookieCsrfTokenRepository.withHttpOnlyFalse())
                .ignoringAntMatchers(
                        //	禁用CRSF保护Spring引导管理客户端用来注册的端点。
                        adminContextPath + "/instances",
                        // 禁用执行器端点的CRSF保护
                        adminContextPath + "/actuator/**"
                );
    }
}

3. Spring Boot Admin 客户端
创建 Spring Boot 项目依旧不提,这里只需要添加 Spring Boot Admin 客户端需要的依赖,在项目启动时就会增加相关的获取信息的 API 接口。然后在 Spring Boot 配置文件中配置 Spring Boot Admin 服务端,就可以进行监控了。
3.1 客户端依赖
<      !--服务监控客户端-->
        <dependency>
            <groupId>de.codecentric</groupId>
            <artifactId>spring-boot-admin-starter-client</artifactId>
            <version>2.2.2</version>
        </dependency>
        <!--alibaba-nacos-discovery 注册中心-->
        <dependency>
            <groupId>com.alibaba.cloud</groupId>
            <artifactId>spring-cloud-starter-alibaba-nacos-discovery</artifactId>
        </dependency>
3.2 客户端配置
客户端配置主要为了让客户端可以成功向服务端注册,所以需要配置客户端所在应用相关信息以及 Spring Boot Admin Server 服务端的 url。
server:
  port: 8761

spring:
  application:
    name: wireless-code-generatr
  cloud:
    nacos:
      discovery:
        server-addr: localhost:8848

#### 暴露端点
management:
  endpoints:
    web:
      exposure:
        include: '*'
  endpoint:
    health:
      show-details: always

logging:
  file:
    name: boot.log
  pattern:
####日志高亮
    file: '%clr(%d{yyyy-MM-dd HH:mm:ss.SSS}){faint} %clr(%5p) %clr(${PID}){magenta} %clr(---){faint} %clr([%15.15t]){faint} %clr(%-40.40logger{39}){cyan} %clr(:){faint} %m%n%wEx'
配置中的 include: "*" 公开了所有的端口,对于生产环境,应该自信的选择要公开的接口。
3.3. 客户端运行
启动客户端会暴漏相关的运行状态接口,并且自动向配置的服务端发送注册信息。
4. Spring Boot Admin 功能

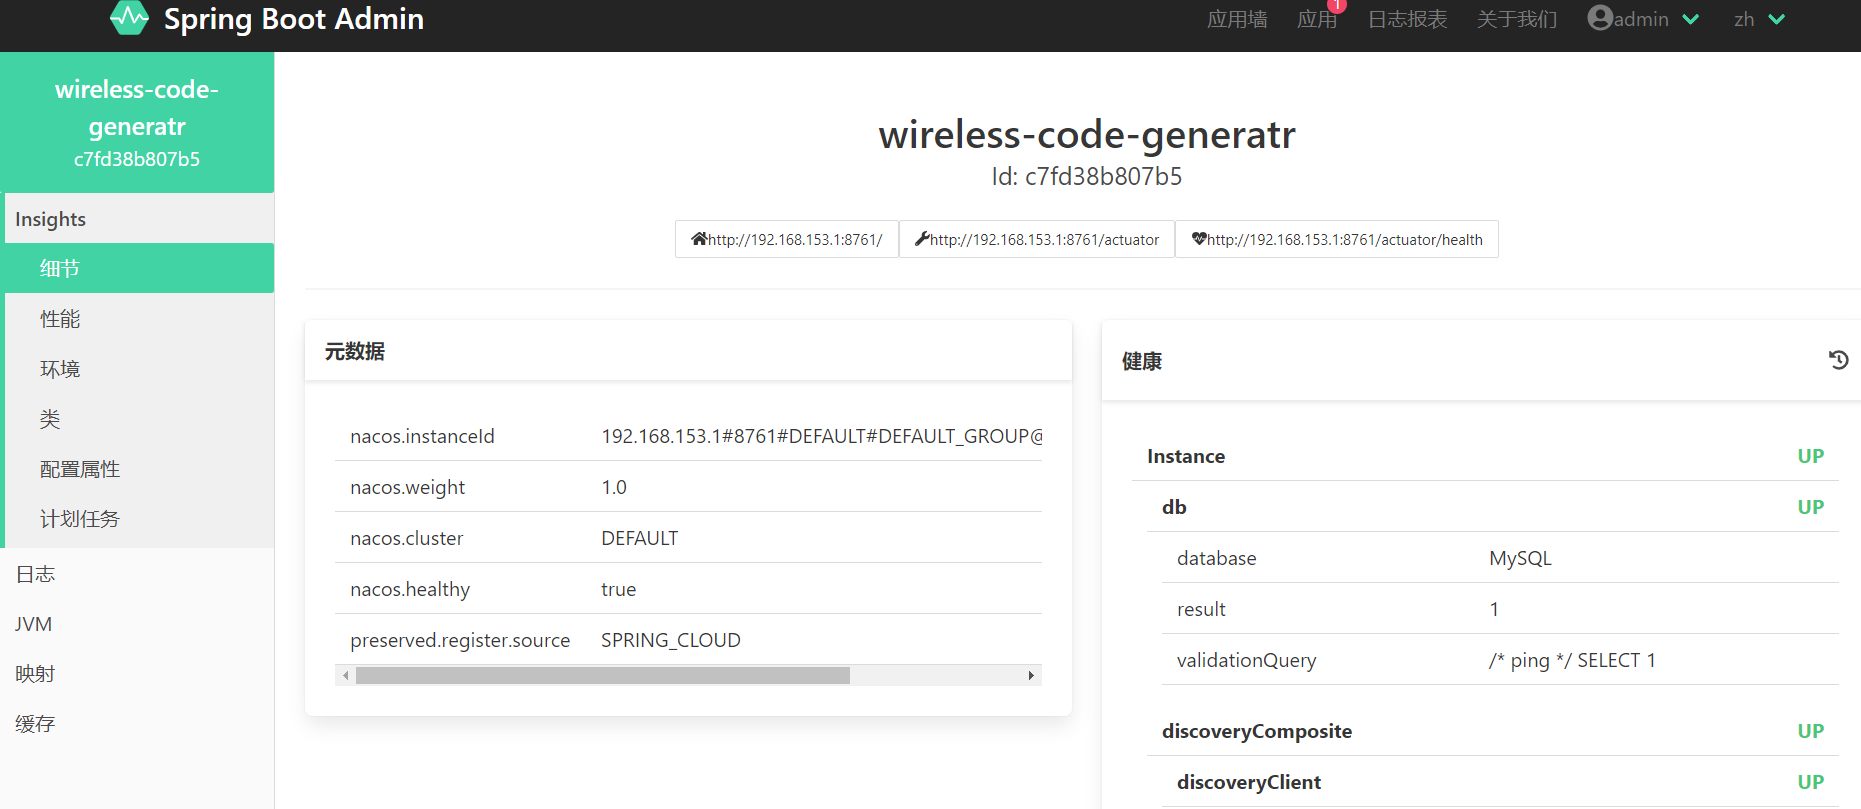
点击监控页面上的在线的应用实例,可以跳转到应用实例详细的监控管理页面,也就是 Vue.js 实现的 web 展示。
Spring Boot Admin Server 可以监控的功能很多,使用起来没有难度,
下面描述下可以监测的部分内容:
- 应用运行状态,如时间、垃圾回收次数,线程数量,内存使用走势。
- 应用性能监测,通过选择 JVM 或者 Tomcat 参数,查看当前数值。
- 应用环境监测,查看系统环境变量,应用配置参数,自动配置参数。
- 应用 bean 管理,查看 Spring Bean ,并且可以查看是否单例。
- 应用计划任务,查看应用的计划任务列表。
- 应用日志管理,动态更改日志级别,查看日志。
- 应用 JVM 管理,查看当前线程运行情况,dump 内存堆栈信息。
- 应用映射管理,查看应用接口调用方法、返回类型、处理类等信息。
上面提到的日志管理,可以动态的更改日志级别,以及查看日志。默认配置下是只可以动态更改日志级别的,如果要在线查看日志,就需要手动配置日志路径了。
客户端上可以像下面这样配置日志路径以及日志高亮。
# 配置文件:application.yml
logging:
  file:
    name: boot.log
  pattern:
#     日志高亮
    file: '%clr(%d{yyyy-MM-dd HH:mm:ss.SSS}){faint} %clr(%5p) %clr(${PID}){magenta} %clr(---){faint} %clr([%15.15t]){faint} %clr(%-40.40logger{39}){cyan} %clr(:){faint} %m%n%wEx'
下面是在 Spring Boot Admin 监测页面上查看的客户端应用日志。

参考资料:官方文档
以上为个人经验,希望能给大家一个参考,也希望大家多多支持。
加载全部内容