OpenGL Shader 彩虹条纹效果
JulyYu 人气:0前言
在一款图片处理软件colorow中发现彩虹效果滤镜感觉蛮有意思。

在OpenGL Shader系列更新到现在尝试通过之前积累的知识点来自行实现效果。
回顾
之前使用过内置函数smoothstep可实现数值过渡效果。如下代码所示实现在坐标0.5分割黑色和白色分界。
void main() {
    vec2 uv = gl_FragCoord.xy / iResolution.xy;
    vec3 color = vec3(0.);
    float glow = smoothstep(0.5001,0.5002,uv.x);
    gl_FragColor = vec4(color,1.);
}可知函数smoothstep能用于做分割效果。
分别在0.,0.2、0.05,0.25、0.15,0.3实现rgb色值效果,如下代码使用if-else来判断坐标。
void main() {
    vec2 uv = gl_FragCoord.xy / iResolution.xy;
    vec3 color = vec3(0.);
    float glow1 = 1. - smoothstep(0.,0.2,uv.x);
    float glow2 = uv.x > 0.05 ? 1. - smoothstep(0.05,0.25,uv.x) : 0.;
    float glow3 = uv.x > 0.15 ? 1. - smoothstep(0.15,0.3,uv.x) : 0.0;
    color += vec3(glow1,0.,0.)  + vec3(0.,glow2,0.) + vec3(0.,0.,glow3);
    gl_FragColor = vec4(color * 0.5,1.);
}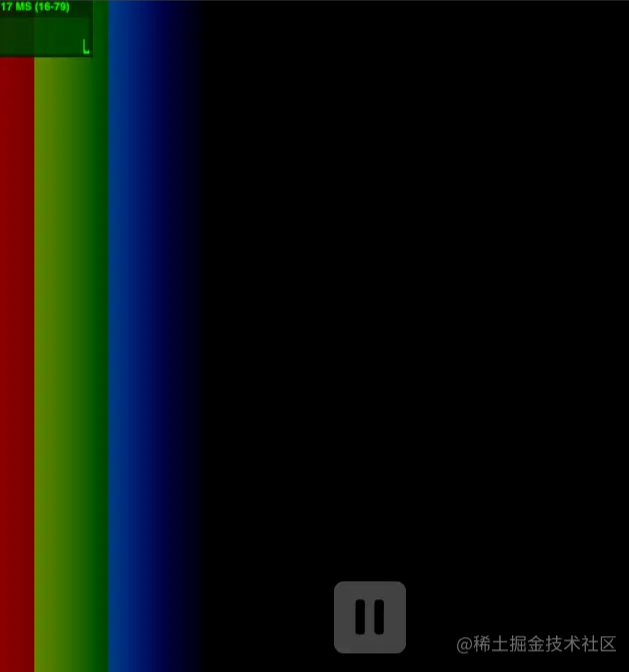
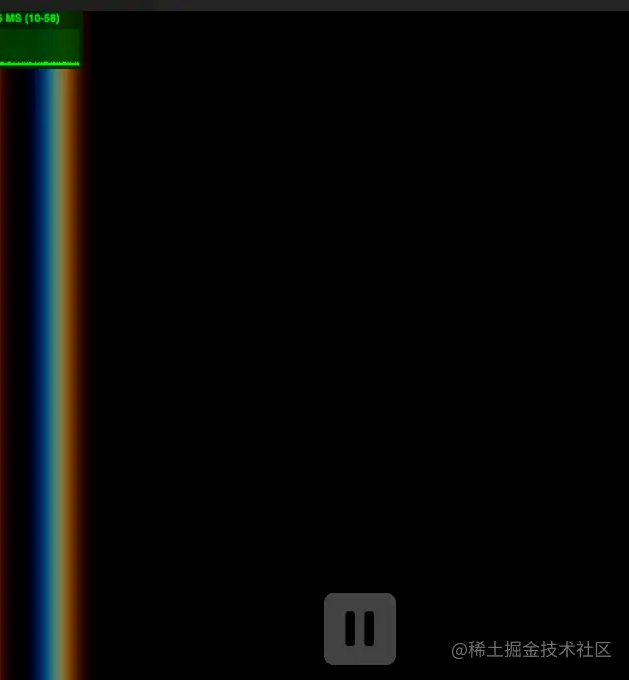
由于uv.x值是线性的所以呈现结果上来看并不自然。可以通过使用采用sin或是cos来增强过渡效果。
float glow1 = uv.x < 0.15 ? 1. - smoothstep(0.,1.,abs(sin(uv.x * 30.))) : 0.;
uv.x += 0.01;
float glow2 =  uv.x < 0.15 ? 1. - smoothstep(0.,1.,abs(sin(uv.x * 30.))) : 0.;
uv.x += 0.01;
float glow3 = uv.x < 0.15 ? 1. - smoothstep(0.,1.,abs(sin(uv.x * 30.))) : 0.;
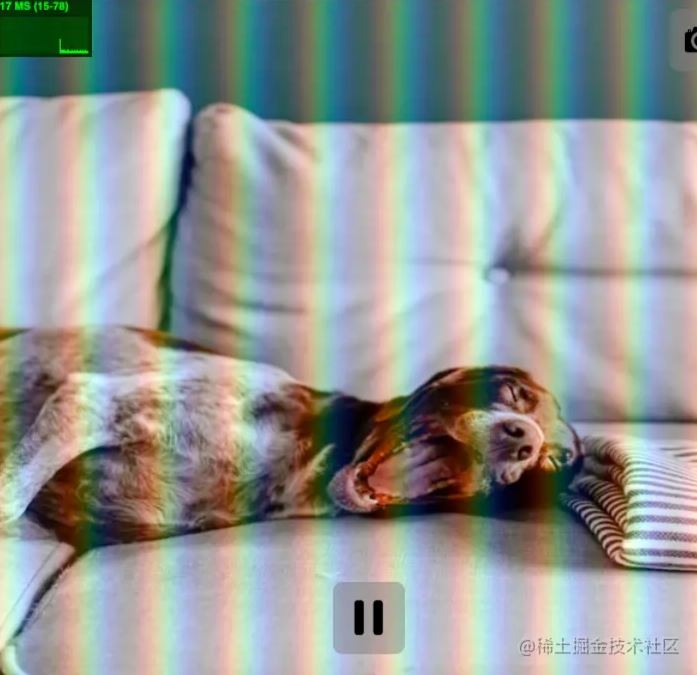
效果实现
增加条纹
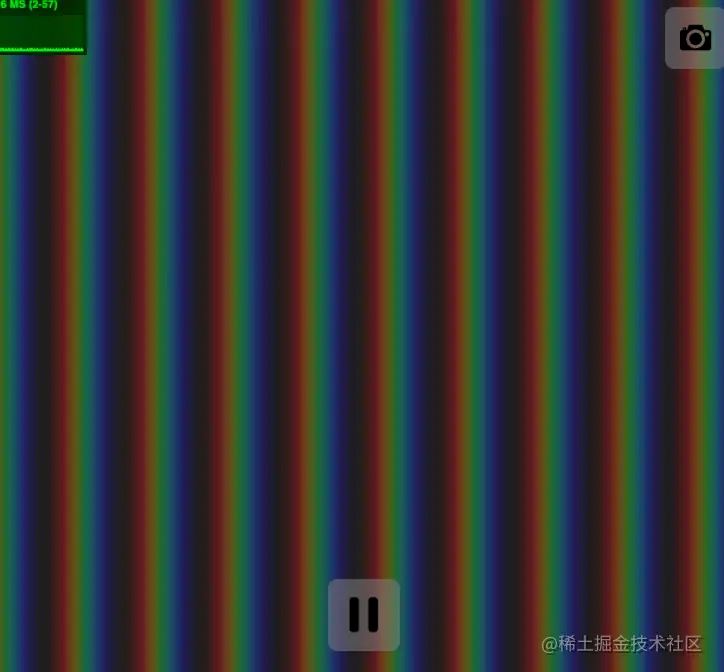
以上大致上实现了RGB彩条效果,若希望实现栅栏效果则需要将坐标平均分割出一段段。这里将再次使用sin或是cos配合abs只取正数,实现均匀分布的[0,1]取值范围,让取值为1或是0作为分割点即可。因为uv.x取值是[0,1]分割需要多段则需要将范围扩大将uv.x取值变更为[0,30]即可。
 // 色值大小计算
float v(in vec2 uv, float d, float o){
	 return 1.0-smoothstep(0.0,1.,abs(sin(uv.x * 30.)));
}
vec4 b(vec2 uv, float o) {
 // 坐标
 float d =  uv.x;
 return vec4(v(uv, d, o), 0.0, 0.0, 0.1) +  // 红色
 vec4( 0.0,v(uv + vec2(0.4,0.), d, o), 0.0, 0.1) + // 绿色
 vec4( 0.0,0.,v(uv + vec2(0.8,0.), d, o), 0.1);   // 蓝色
}
void main() {
    float iTime = 1.;
    vec2 uv = gl_FragCoord.xy /iResolution.x;
    gl_FragColor = b(uv, iTime)*0.2; // 降低亮度
}
角度变化
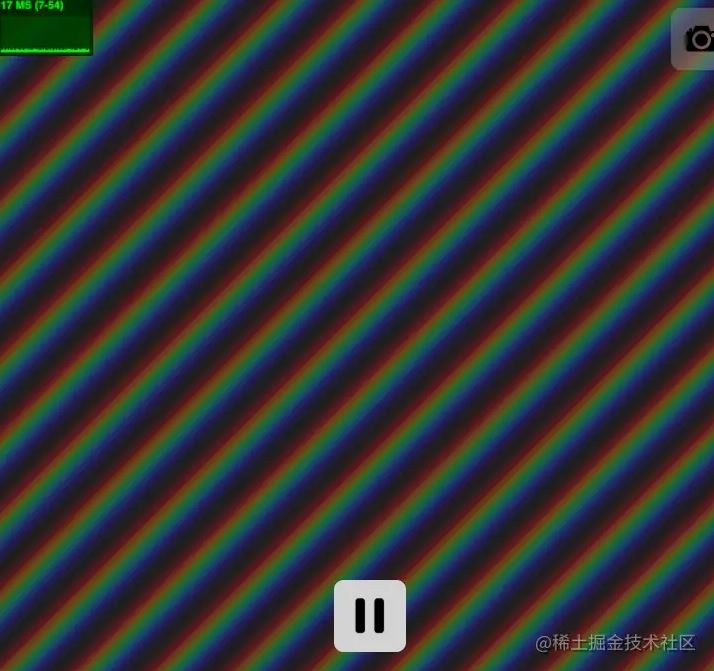
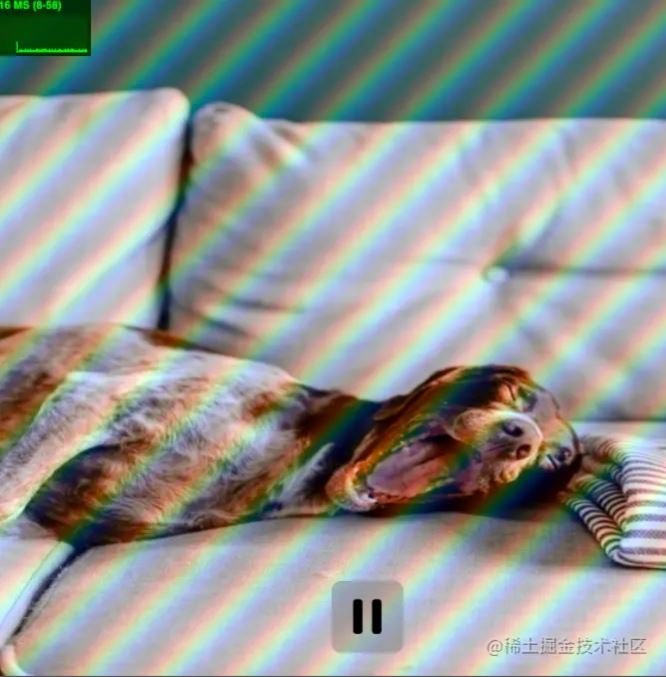
之前在简单转场效果中有介绍过对角线实现方法,这里对角线条纹实现采用distance内置函数,distance(x,y)等同于length(x-y)。 在这里使用smoothstep(0.0,1.,abs(sin(distance(uv.x ,uv.y)* 30.))),当x=y时v返回值为1表示最大,因此实现对角线效果。这里可以通过修改uv.y百分比来调节角度。
float v(in vec2 uv, float d, float o){
    return 1.0-smoothstep(0.0,1.,abs(sin(distance(uv.x ,uv.y)* 30.)));
}
拓展
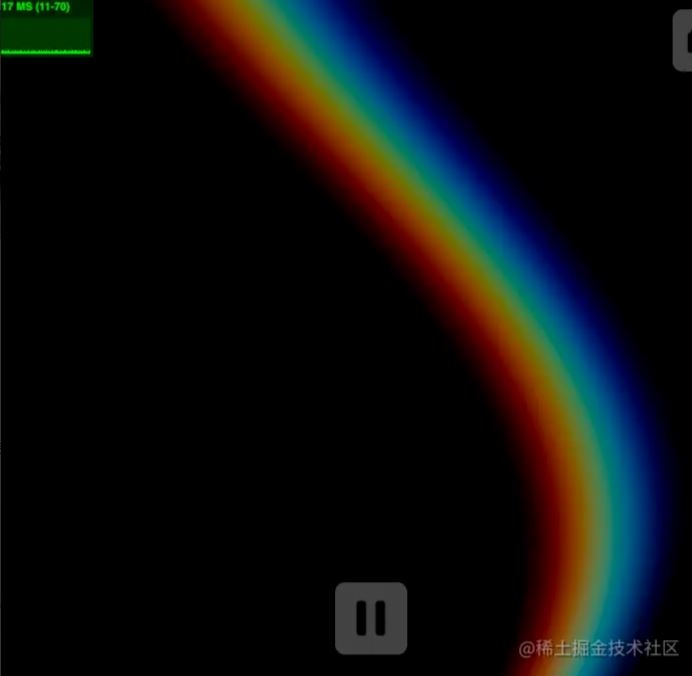
此外增加sin运用还能实现彩虹扭曲效果。
水平
对角线
扭曲
加载全部内容