win8中mac虚拟机网络连接设置方法(图文)
人气:0
win8中mac虚拟机网络连接
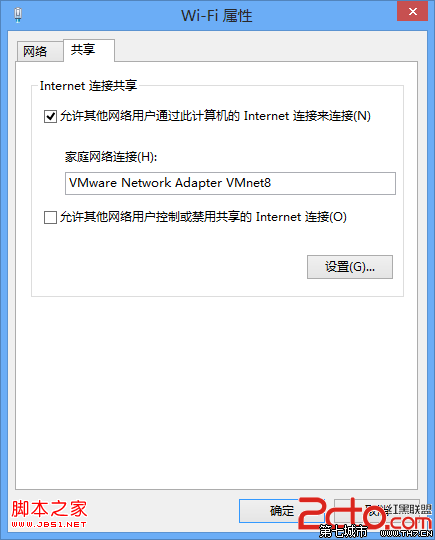
先设置自己的网络为共享

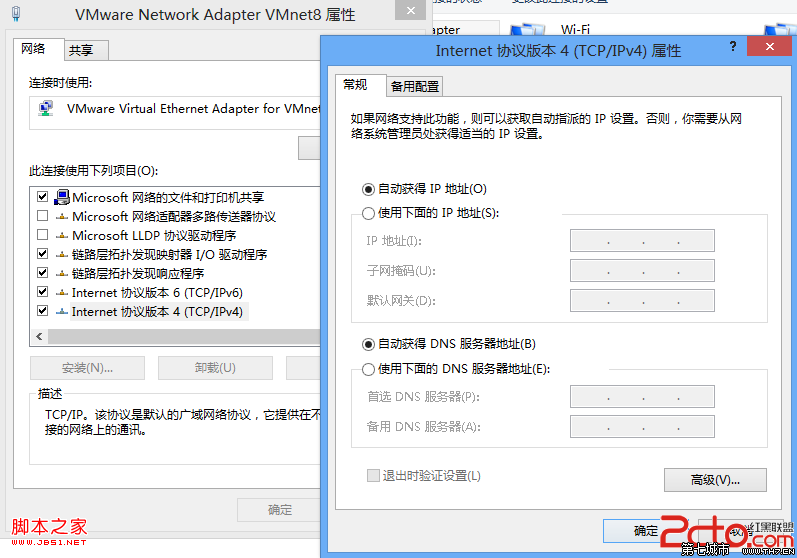
然后设置VMnet8的TCP4/IPv4
为自动获取ip
然后将虚拟就的网络适配器的
网络连接改成NAT

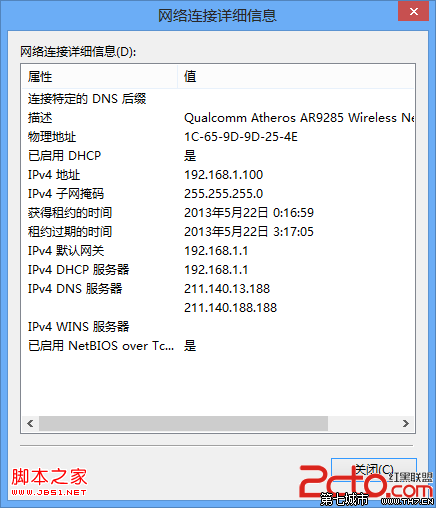
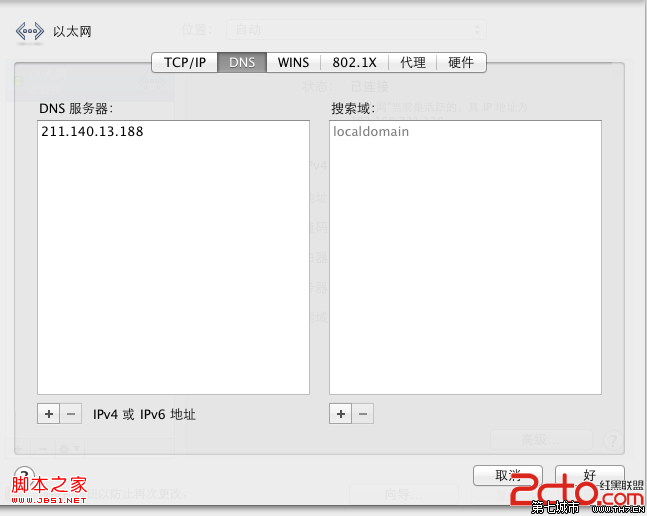
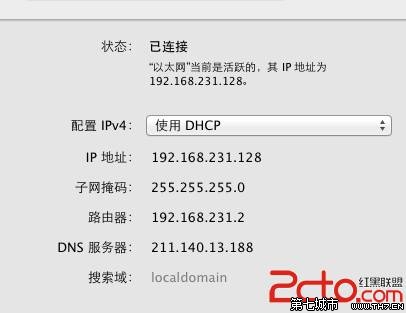
然后根据自己的DNS设置mac
上的DNS服务器

然后就ok了

先设置自己的网络为共享
然后设置VMnet8的TCP4/IPv4
为自动获取ip
然后将虚拟就的网络适配器的
网络连接改成NAT
然后根据自己的DNS设置mac
上的DNS服务器
然后就ok了
加载全部内容