无光驱无U盘安装系统的图文教程
人气:0
先下载ISO镜像,再在电脑上安装虚拟光驱,因为虚拟光驱也可以读取镜像文件,这样就可以安装系统了。(win7为例)


通常采用ULTRAISO
一直点击下一步,最后会提示重启,重启之后虚拟光驱就安装完成。
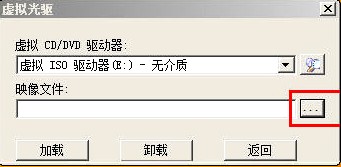
然后启动虚拟光驱
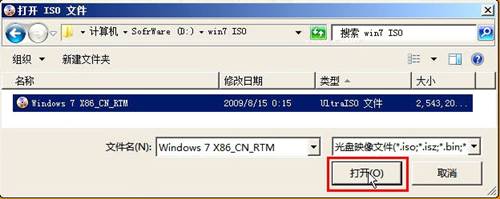
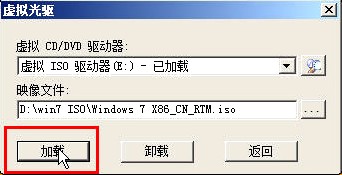
加载下载好的Windows7ISO,在ultraISO选择工具(F6),加载到光驱。
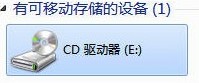
打开我的电脑,右键CD驱动器,打开。
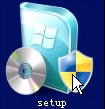
双击setup.exe安装
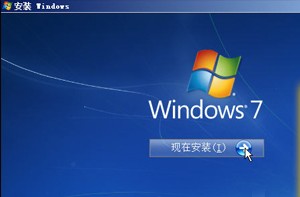
安装程序将会在ISO复制文件,Windows7将会自动安装
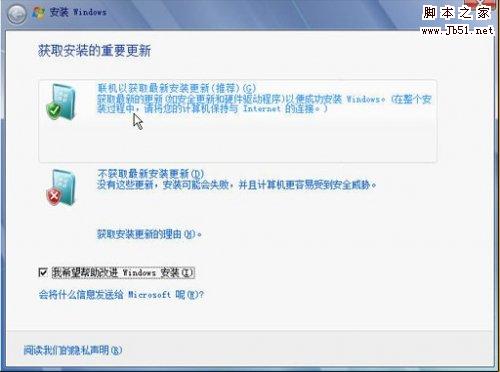
大约30分钟之后安装完成之后,确保电脑连接到internet,Windows7会自动更新驱动,完成驱动的安装。
加载全部内容