Photoshop 绚丽的电网广告文字效果
软件云 人气:0
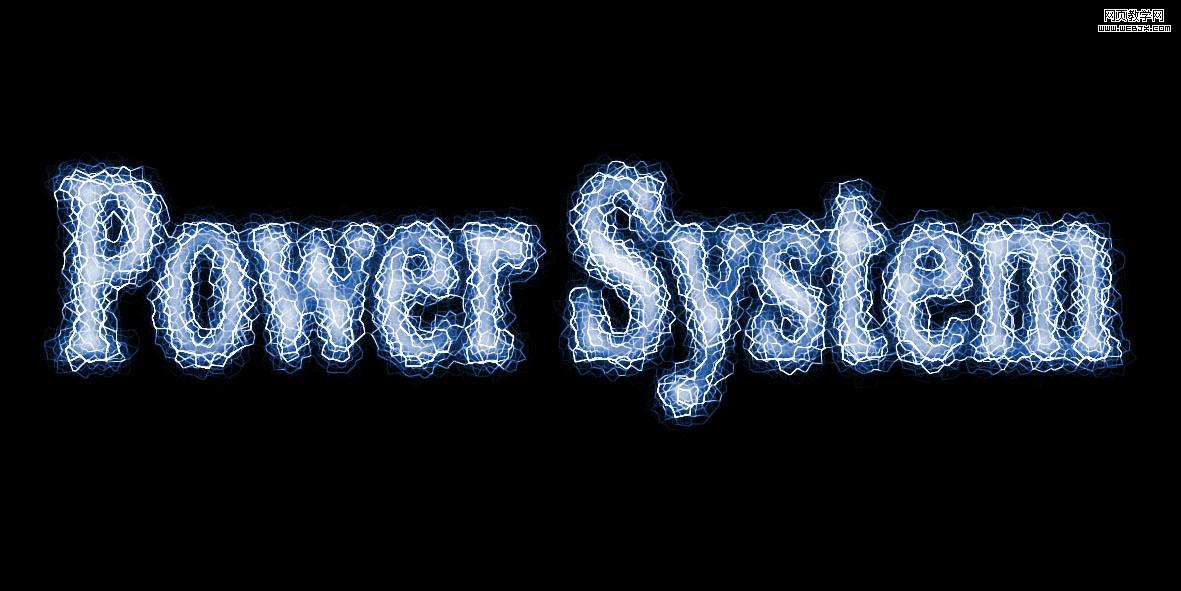
效果图:
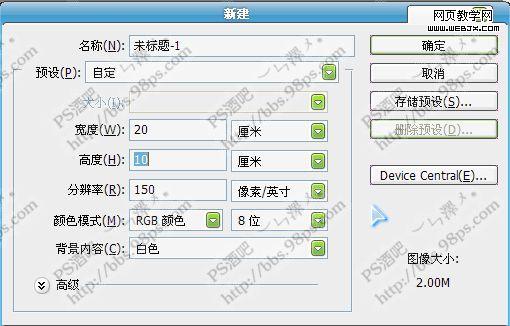
1 新建文件 如图
2 新建图层,填充黑色,打入文字,调整位置,宽度, 与刚填充完黑色的图层合并
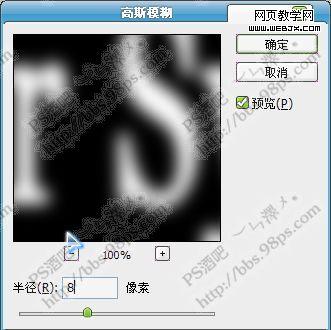
3 执行 滤镜/模糊/高斯模糊, 半径为 8像素
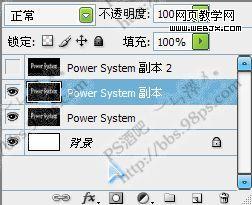
4 复制图层Power System,为Power System副本,Power System副本2, 隐藏Power System副本2,
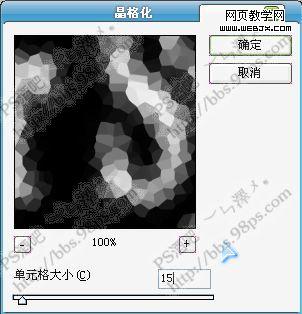
5 在Power System副本 执行 滤镜/像素化/晶格化, 单元格大小,15
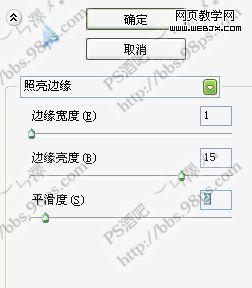
6 执行 滤镜/风格化/照亮边缘, 边缘宽度1,边缘亮度15,平滑度2
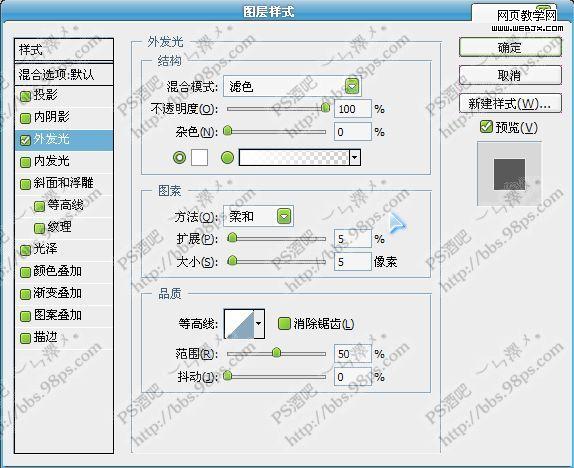
7 选择通道面板,选择蓝通道, 按Ctrl单击蓝通道,载入选区,回到图层面板,按Ctrl+J,复制选区内容, 在 图层样式中 选择外发光,设置如图,
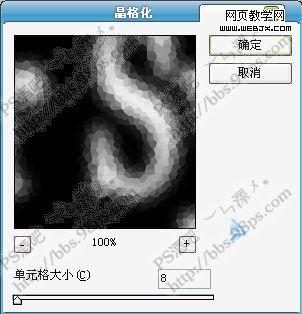
8 选择Power System副本2,执行滤镜/像素化/晶格化, 单元格大小 8
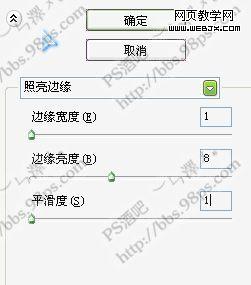
9 执行 滤镜/风格化/照亮边缘, 边缘宽度1,边缘亮度8,平滑度1
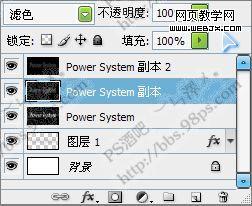
10 Power System副本2 将图层混合模式 改为 滤色
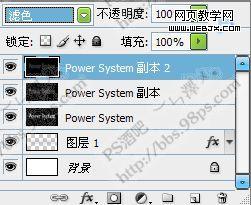
11 Power System副本 将图层混合模式改为 滤色
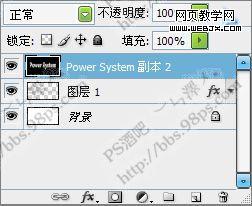
12 合并 Power System,Power System副本,Power System副本2为Power System副本2
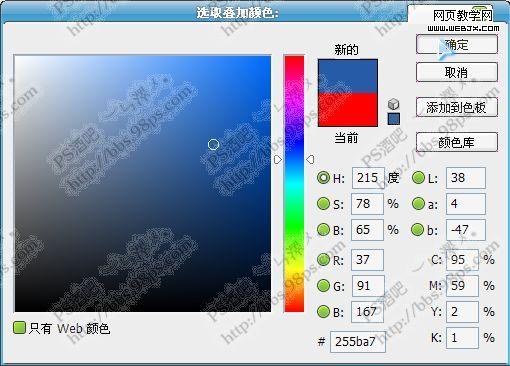
13 选择Power System副本2,设置图层样式, 选择 颜色叠加,设置颜色,为R37,G91,B167,
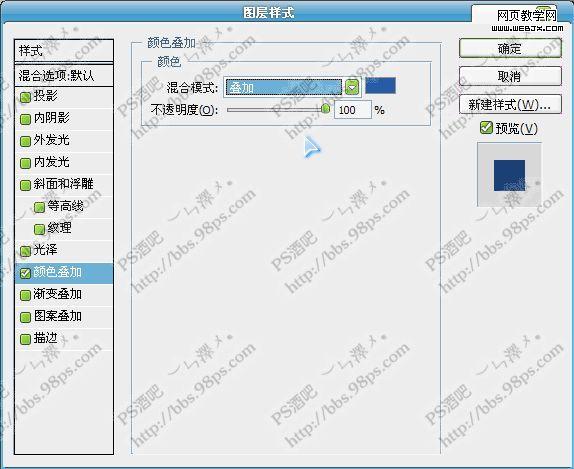
14 设置混合模式为 叠加
15 完成
1 新建文件 如图
2 新建图层,填充黑色,打入文字,调整位置,宽度, 与刚填充完黑色的图层合并
3 执行 滤镜/模糊/高斯模糊, 半径为 8像素
4 复制图层Power System,为Power System副本,Power System副本2, 隐藏Power System副本2,
5 在Power System副本 执行 滤镜/像素化/晶格化, 单元格大小,15
6 执行 滤镜/风格化/照亮边缘, 边缘宽度1,边缘亮度15,平滑度2
7 选择通道面板,选择蓝通道, 按Ctrl单击蓝通道,载入选区,回到图层面板,按Ctrl+J,复制选区内容, 在 图层样式中 选择外发光,设置如图,
8 选择Power System副本2,执行滤镜/像素化/晶格化, 单元格大小 8
9 执行 滤镜/风格化/照亮边缘, 边缘宽度1,边缘亮度8,平滑度1
10 Power System副本2 将图层混合模式 改为 滤色
11 Power System副本 将图层混合模式改为 滤色
12 合并 Power System,Power System副本,Power System副本2为Power System副本2
13 选择Power System副本2,设置图层样式, 选择 颜色叠加,设置颜色,为R37,G91,B167,
14 设置混合模式为 叠加
15 完成
加载全部内容