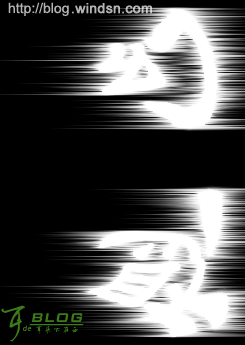
Photoshop简单文字实例教程:发光字
佚名 人气:0
1,建立一个350*250的文件,黑色背景。
2,用文字工具写字,字体颜色为白色

![](https://img.qb5200.com/download-x/20201017/42654.gif)
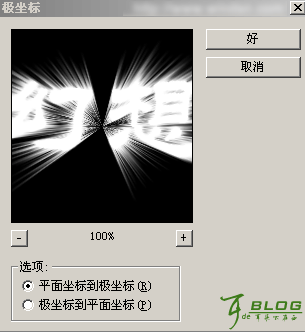
3,滤镜--扭曲--极从标,(设置为极坐标到平面)
![](https://img.qb5200.com/download-x/20201017/42655.gif)
4,顺时针90度
![](https://img.qb5200.com/download-x/20201017/42656.gif)
5,滤镜--风格化--风(风向从右)
![](https://img.qb5200.com/download-x/20201017/42657.gif)
![](https://img.qb5200.com/download-x/20201017/42658.gif)
6,再执行第5步,然后将风的方向换一下(风向从左),再执行两次。
![](https://img.qb5200.com/download-x/20201017/42659.gif)
7,按逆时针旋转90度
![](https://img.qb5200.com/download-x/20201017/42660.gif)
8,滤镜--扭曲--极从标,(设置为平面到极坐标)
![](https://img.qb5200.com/download-x/20201017/42661.gif)
![](https://img.qb5200.com/download-x/20201017/42662.gif)
9,修改一下色相饱和度
![](https://img.qb5200.com/download-x/20201017/42663.gif)
加载全部内容