Photoshop 城市街头风格流行张贴画
软件云 人气:0
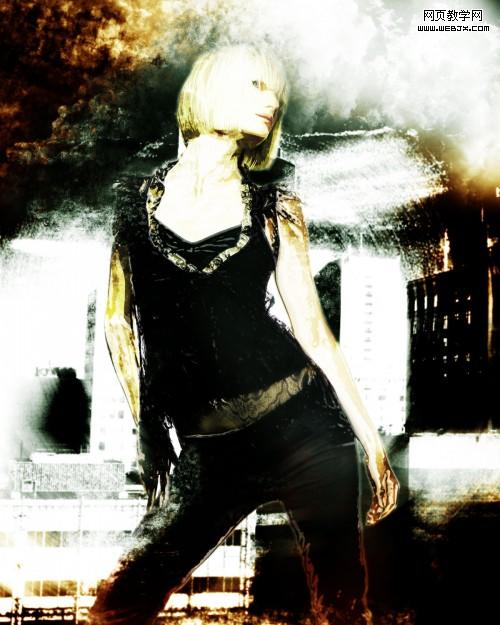
在这个PS教程中,我们将采用一个城市街头为背景,制作一个流行艺术的张贴画,而且有彩色和黑白两种风格,希望大家喜欢。
彩色效果的:
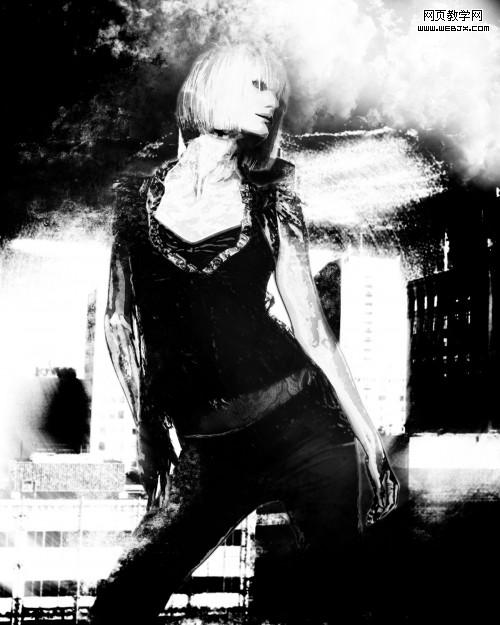
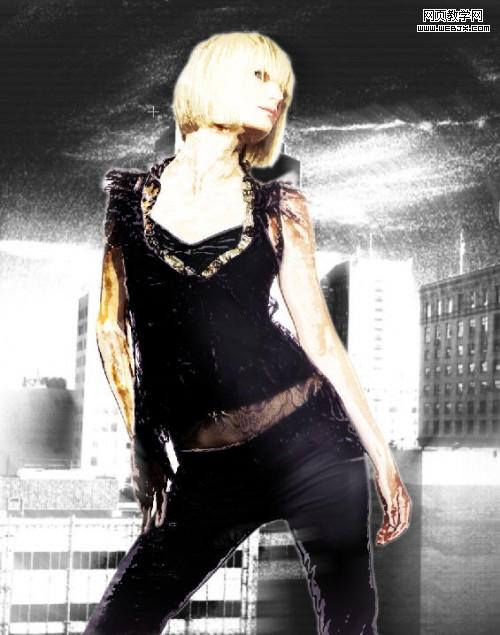
黑白风格的:
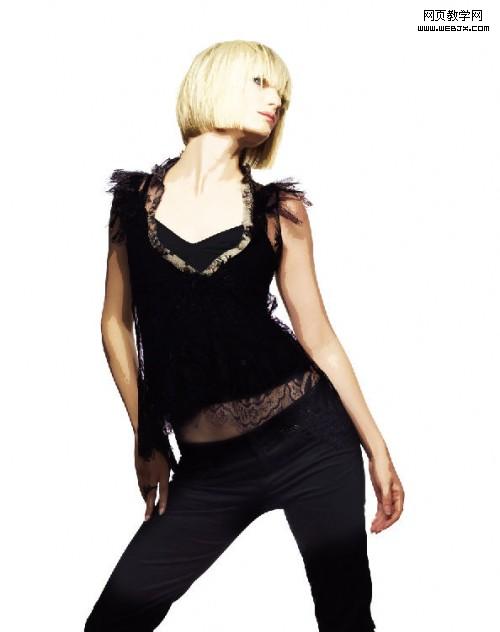
 原图:
原图:

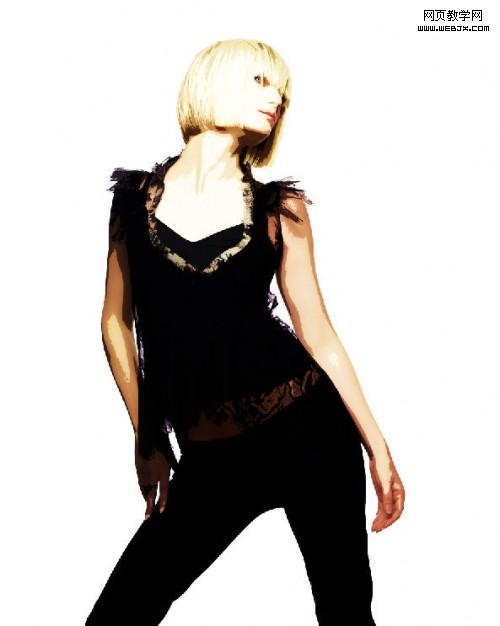
首先打开原图,执行滤镜>>艺术>>抠出命令,设置如下:

新复制一个图层,把人物扣取出来,效果如下:
用一个大的笔刷,绘制一个图案:
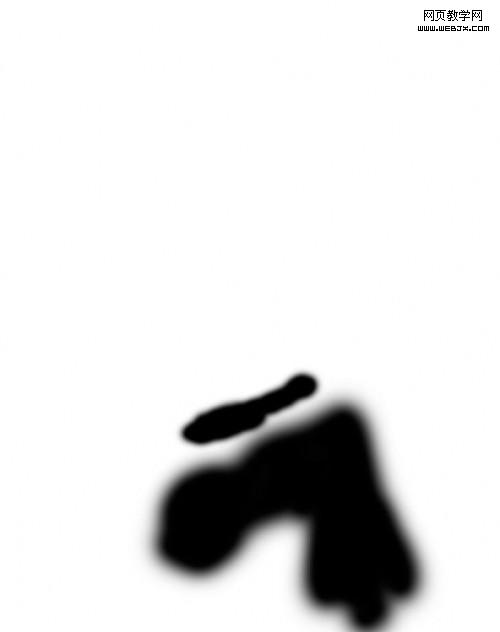
原始图像如下:
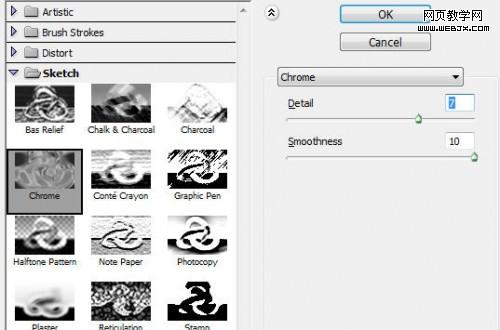
复制扣取出来的人物图层,执行滤镜>>艺术>>铬黄命令,设置如下:
复制图层,设置模式为柔光,效果如下:

滤镜/加杂点(滤镜)/杂点数量为中
效果如下:

使人物有一个侧面的光源:

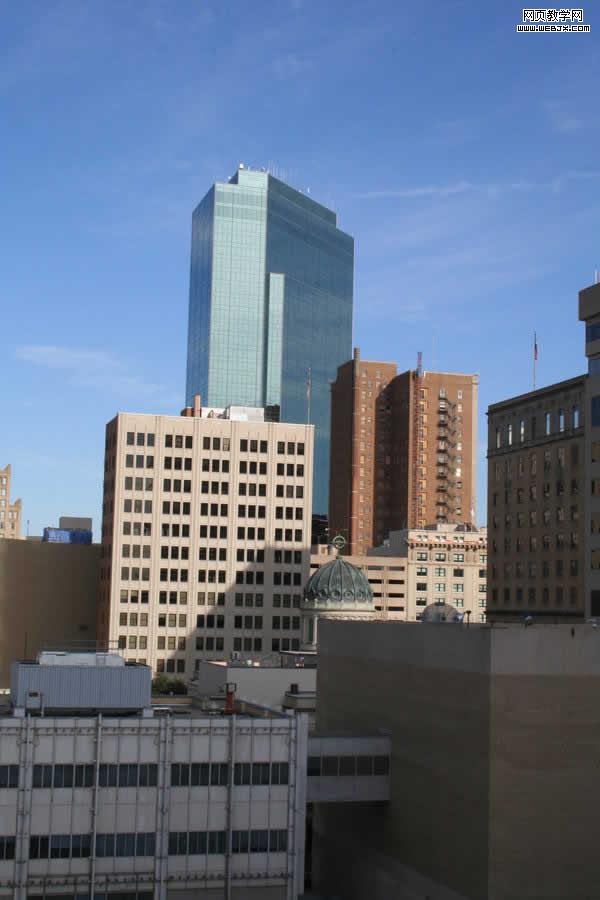
设置城市图片当背景使用:
调整该图案:

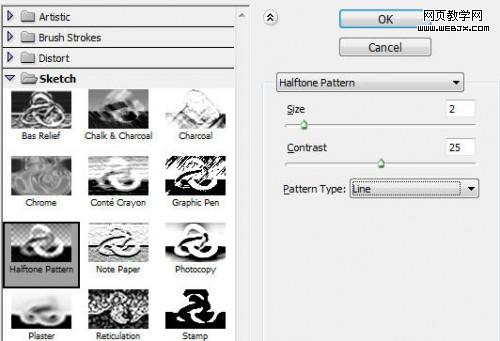
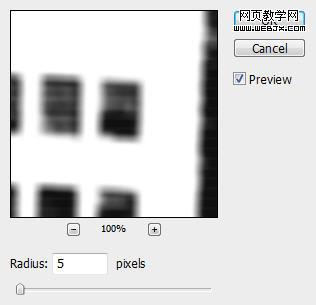
应用下面滤镜设置:
Halftone Pattern
Box Blur
效果如下:

把人物照片选择出来:
按Ctrl + Alt + R and bring up the Refine Edge tool, 应用如下设置:
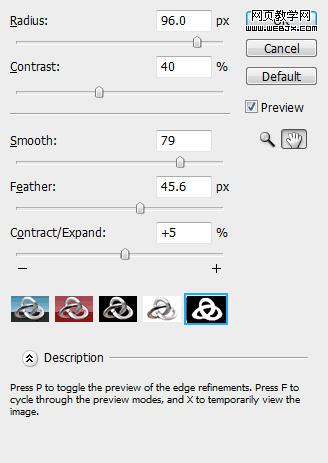
Hit Ctrl + Shift + I and inverse theselection, go back to the “city” layer and go to Edit > Clear and you will have see the model image pop out:
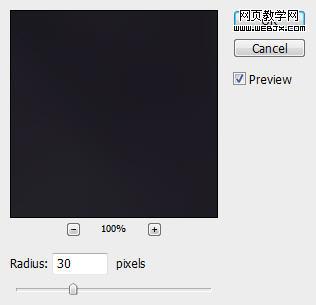
复制城市照片的图层,然后径向模糊滤镜,设置如下: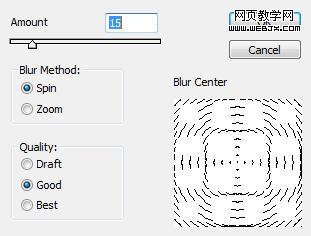
改变图层模式为滤色,效果如下:
再次复制,改变图层模式为颜色加深,效果如下:

给图片添加朦胧,云彩特效:

效果如下: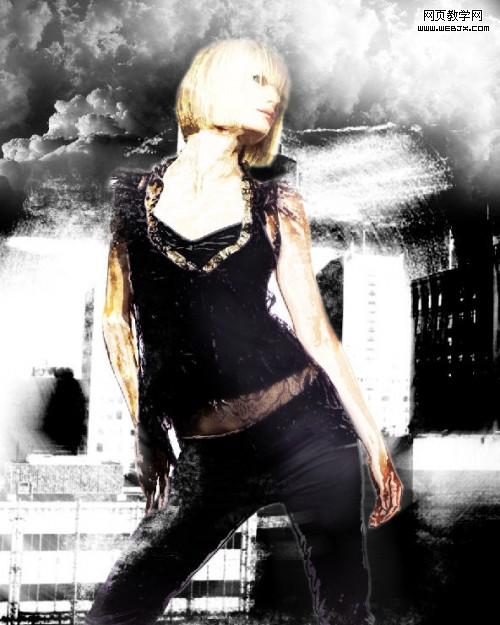
继续调整图像
Shadow
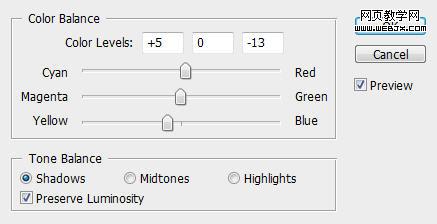
Midtones

Curves

看到的效果如下:
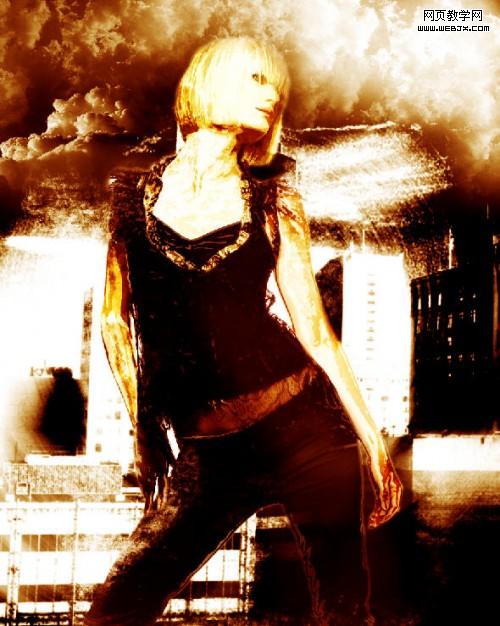
彩色效果的:
黑白风格的:
彩色效果的:
黑白风格的:
原图: 首先打开原图,执行滤镜>>艺术>>抠出命令,设置如下:
新复制一个图层,把人物扣取出来,效果如下:
用一个大的笔刷,绘制一个图案:
原始图像如下:
复制扣取出来的人物图层,执行滤镜>>艺术>>铬黄命令,设置如下:
复制图层,设置模式为柔光,效果如下:
滤镜/加杂点(滤镜)/杂点数量为中
效果如下:
使人物有一个侧面的光源:
设置城市图片当背景使用:
调整该图案:
应用下面滤镜设置:
Halftone Pattern
Box Blur
效果如下:
把人物照片选择出来:
按Ctrl + Alt + R and bring up the Refine Edge tool, 应用如下设置:
Hit Ctrl + Shift + I and inverse theselection, go back to the “city” layer and go to Edit > Clear and you will have see the model image pop out:
复制城市照片的图层,然后径向模糊滤镜,设置如下:
改变图层模式为滤色,效果如下:
再次复制,改变图层模式为颜色加深,效果如下:
给图片添加朦胧,云彩特效:
效果如下:
继续调整图像
Shadow
Midtones
Curves
看到的效果如下:
彩色效果的:
黑白风格的:
加载全部内容